First of all, welcome to step 1! I’m excited to have you here crocheting along!
I know that we have crocheters of all levels here, so I will try to link videos that will help guide you through all steps in the process.
First, I will post the written pattern. Here, on Twitter, and on Instagram. So if you are a seasoned crocheter, you can get started immediately. If you need more help, I will post videos that follow the written pattern that will help teach you special stitches and things you need to know to work the pattern. Finally, I will have live Instagrams at least once a week to show you how to work some of the pattern. You will be able to ask questions of me there.
If you haven’t already, follow me here:
You can always find my links here: armymellissa.carrd.co
I want to say one more thing before we get started. I’m giving you this as a gift. This pattern is a result of my hard work. Please only use this for personal use. I want you to create this pattern to keep for yourself and use to give gifts. Please be kind and do not use this pattern to make items to sell.
Now, we are ready to actually start! Here is the first step of this pattern! This week we are working on the head. This will probably be the easiest part of the pattern.
Step 1 Materials
These will be the materials needed for just step one. Other materials will be required each week. I will try to let you know what these are before the drop each week, but I can’t promise.
Fiberfill ( I use Morning Glory)
Black Yarn (I use 5ply milk cotton. You may use a different yarn, but note that you will have a different size result, which may change some things during the process. The important thing is that whatever yarn you choose now stick with that same yarn for future steps.)
stitch markers
scissors
3.0mm hook (if you choose a different yarn, you may need to choose a different size hook….look on your yarn’s label for gauge and then choose a hook a size or two down)
Optional:
Stuffing tool
finger guard/guide
Abbreviations and Notes
This pattern will be worked in the amigurumi style of continuous rounds. That means do not join at the ends of rounds. Make sure you use a stitch marker to mark the first stitch of each round. That way you will never get lost while creating this pattern.
I will also be using US terminology.
MR: magic ring (see video list below)
sc: single crochet (this will be the sc x stitch unless otherwise noted; see video list below)
bpsc: back post single crochet
BLO: back loop only
inc: single crochet increase (two single crochet stitches in one stitch)
dec: invisible decrease (Video coming to Instagram…stay tuned)
st: stitch
When the pattern says, (2 sc, inc), what it means is sc in the next two stitches and then increase in the third stitch. So it would be : sc in next st, sc in next st, inc in next st.
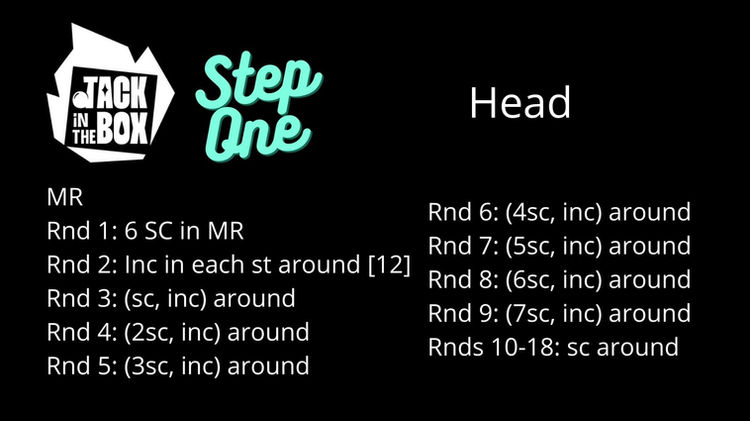
Head
With black yarn (I use 5ply milk cotton yarn)
MR
Rnd 1: 6sc in MR
Rnd 2: (inc) around [12]
Rnd 3: (sc, inc) around
Rnd 4: (2sc, inc) around
Rnd 5: (3sc, inc) around
Rnd 6: (4sc, inc) around
Rnd 7: (5sc, inc) around
Rnd 8: (6sc, inc) around
Rnd 9: (7sc, inc) around
Rnds 10-18: sc around
Rnd 19: (7sc, dec) around
Rnd 20: (6sc, dec) around
Rnd 21: (5sc, dec) around
Rnd 22: (4sc, dec) around
Rnd 23: (3sc, dec) around
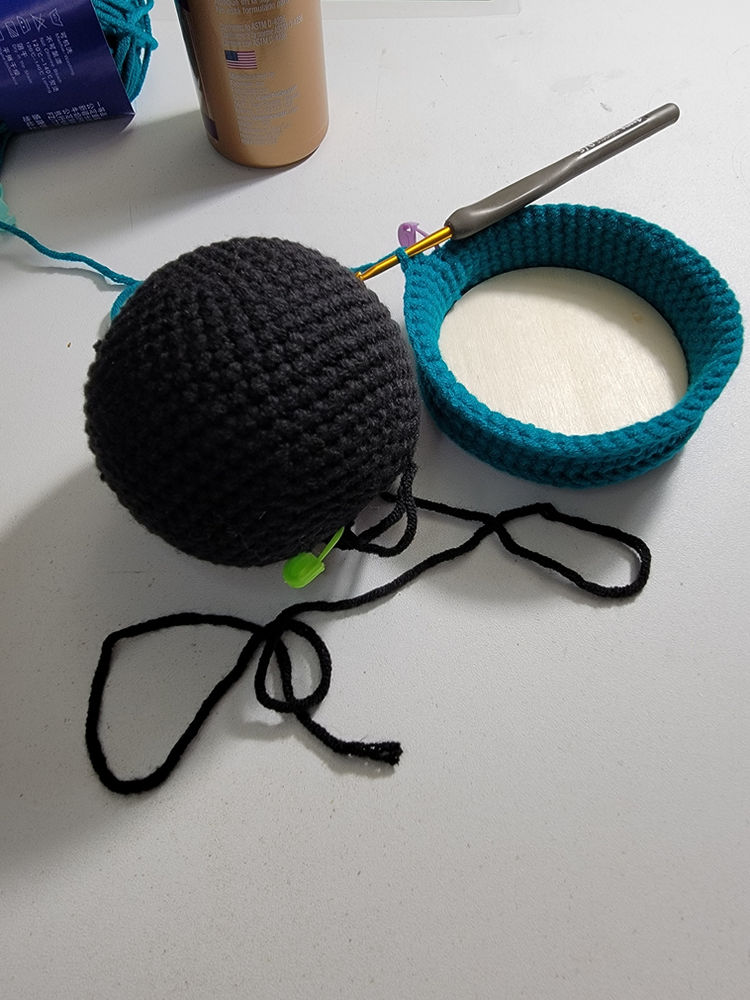
Begin to stuff and shape head…stuff firmly
This may be the most important step to creating successful amigurumi designs. As you stuff, make sure you are carefully shaping your design. Your head should be a perfectly round ball at the end. You also want to stuff this firmly. Think of how hard a baseball is. That is why I choose to use Morning Glory fiberfill instead of Fairfield Polyfield. I can get a firmer stuff. You can overstuff, however, so make sure your fill is not coming through the stitches.
Rnd 24: (2sc, dec) around
Rnd 25: (sc, dec) around
Rnd 26: dec around
Finish off; leave a long tail for sewing ; Do NOT close up hole!!!
You are finished for this week!!!!

Feel free to ask questions on social media and I will try to answer them and guide you through this process.
Video List for the Week
Unless I say they are my videos, these videos belong to other crafters. I just choose good videos from online. You may find others that can help you as well. Simply search on YouTube.
Learning how to read an amigurumi pattern and beginner knowledge:
Magic Ring
On Instagram: https://www.instagram.com/reel/Cgw5bCCDn08/?next=%2F
More detail: https://youtu.be/ftiu4OzYhrk
SC X Stitch
DEC Video is coming soon from me but here is another!
I decrease a little differently, but this technique is a good one and will work for you.


One thought on “Jack in the Box Step 1”