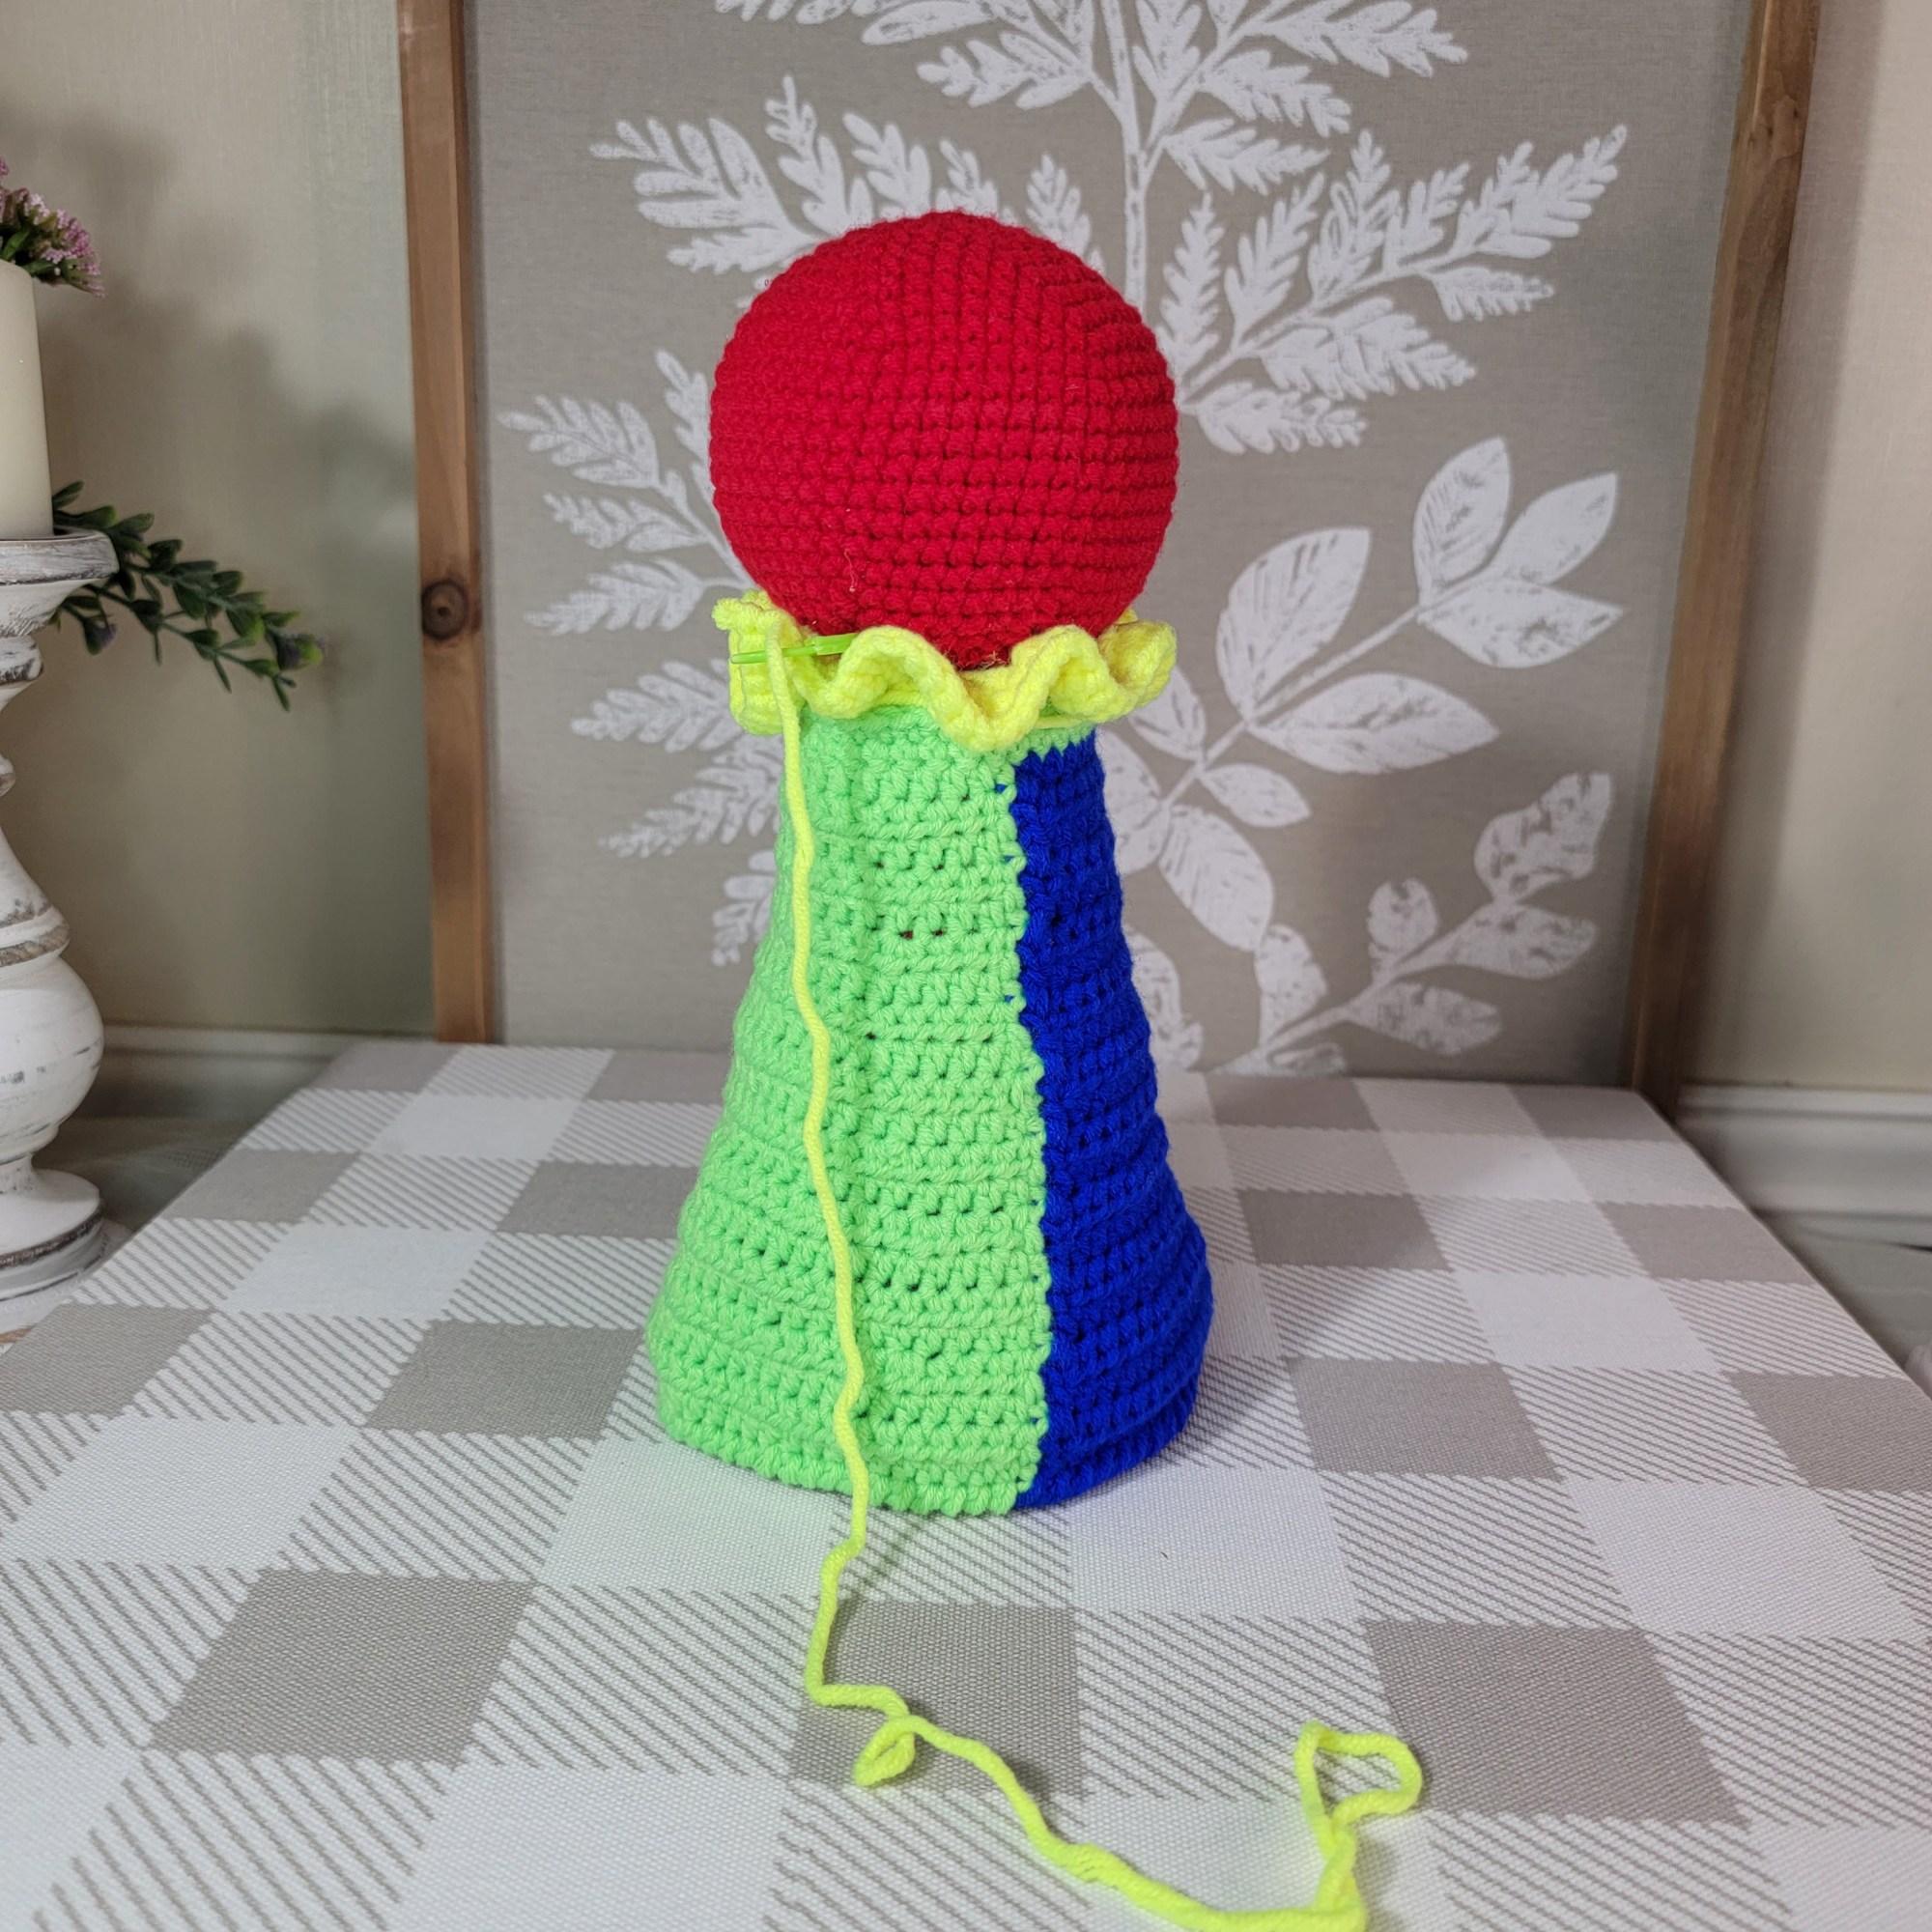
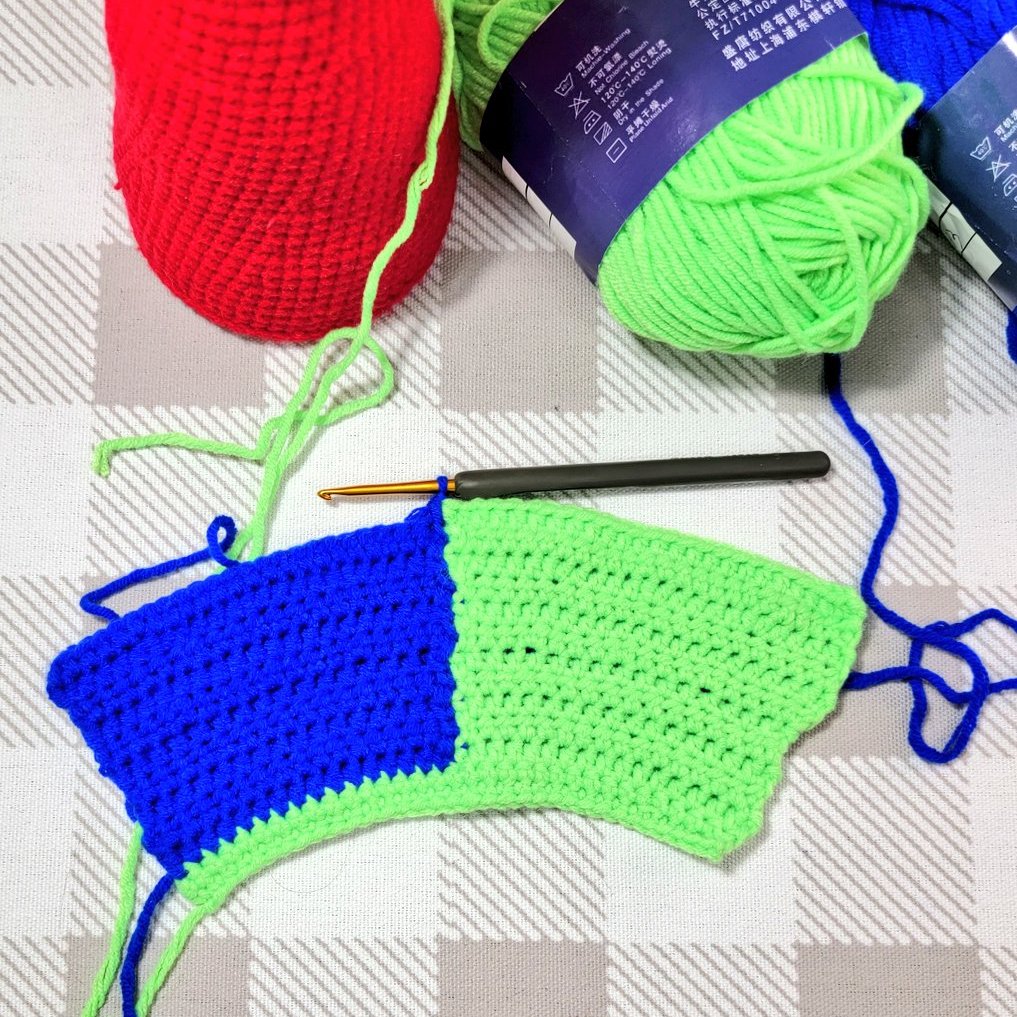
This week we are working on crocheting the “dress” part of our Jack doll. I used the Hope Version so that you can easily see the stitches. There are some tricky stitches this time.
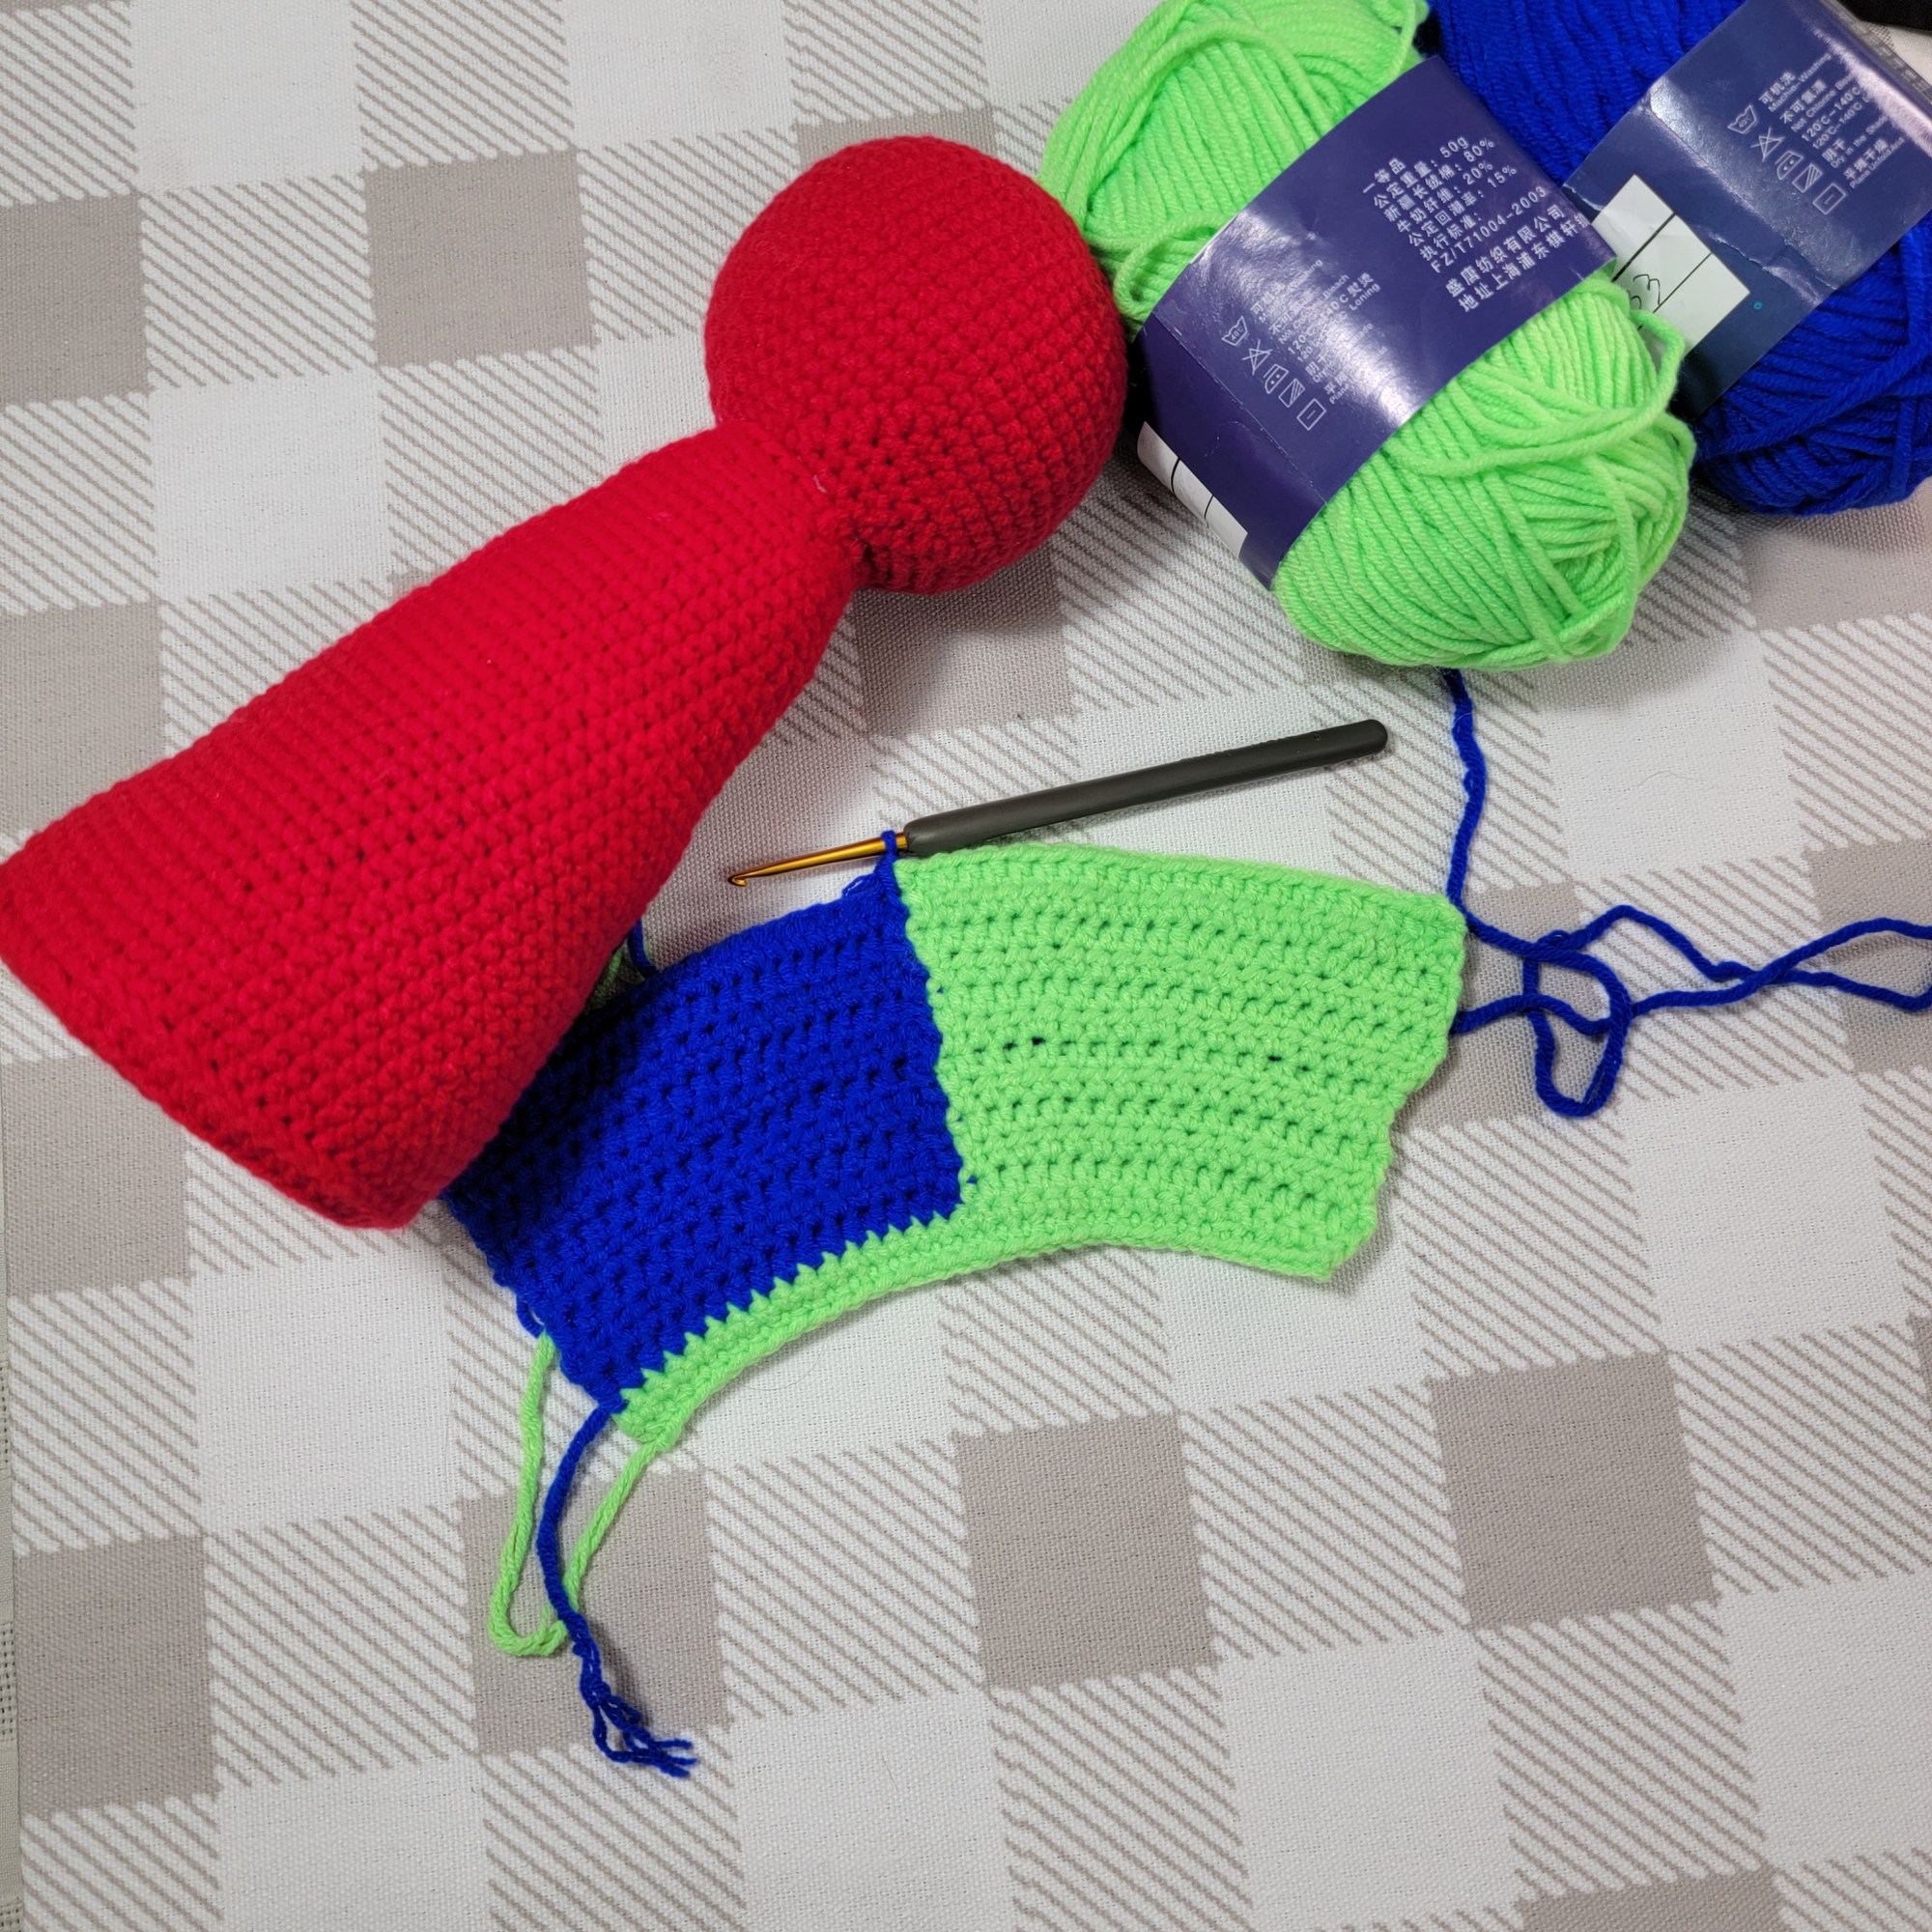
If you have ever tried to crochet vertical lines in crochet, there will be jagged edges created by the color change being off slightly from the previous stitch. I have used a technique that helps lessen that jagged effect to give you a better and cleaner vertical line. Don’t worry! I have posted a video that will help guide you through it.
Materials:
You will need two colors of yarn this week. For the Hope Version, I used neon green and a bright blue. For the Jack Version, I will use grey and black as pictured in the original Jack in the Box promo images. I don’t have pictures of the Jack Version yet, but they will be coming this week. You should use the same yarn that you have been using.
If you are doing the Hope Version. Color 1 would be neon green. If you are doing the Jack Version, Color 1 would be grey.
3.0mm crochet hook (or whatever hook you have been using)
scissors
Abbreviations:
RS: Right Side
WS: Wrong Side
sc: single crochet (This week we are using the standard v shaped single crochet instead of the sc x st)
st: stitch
ch: chain
hdc: half double crochet stitch
half & half: I will say half & half to mean that half of the row is color 1 and the other half is color 2
yo: yarn over
Instructions:
US Terminology
This will be worked in rows.
We will start from the neck and crochet down to the bottom of the dress.
With Color 1,
Ch 33
Row 1: (RS) sc in 2nd ch from hook and each ch across [32]
Row 2: (WS) ch 1, turn, sc in each st across
Row 3: ch 2, turn, hdc in next 16 st, change to color 2, hdc in the remaining 16 st [32]
***When you change colors, do NOT cut the color 1 yarn. Simply, drop it to the back of the work. Do NOT carry it across. Just leave it hanging. You will pick it back up when you come back across. This is a standard color change. The next time across is when you will do the special color change.***
From this point on, all your color 1 stitches will stack on top of each other. The same for your color 2 stitches.
Row 4: Ch 2, turn, 32 hdc (half & half)
This time across you will do the special color change halfway across or after 16 hdc.
Watch the video linked below to see how to make the vertical color change. It is really hard to type out what this stitch looks like. But I will try:
Instead of inserting your hook in the top loop of the next st, you will, yarn over and insert your hook through the bottom V of the next st. You will pull up a loop. Then, you will yo and pull through the first loop on your hook. Next, drop the color you are holding and yo and pull through all three loops on your hook. That completes the first step of this color change.
Next, you will insert your hook under the long loop you pulled up with your color change and insert it in the top loop of the next st. Yo and pull through all three loops on your hook.
Again, all this will make more sense if you watch the video a couple of times. Trust me.
Row 5-7: ch 2, turn, 32 hdc (half & half)
Row 8: ch 2, turn, (3 hdc, inc) across (half & half) [40]
Row 9-10: ch 2, turn, hdc in next st and in each across [40] (half & half)
Row 11: ch 2, turn, (4 hdc, inc) across [48] (half & half)
Rows 12-15: ch 2, turn, hdc in next st and in each st across [48] (half & half)
Row 16: ch 2, turn, (3 hdc, inc) across [60] (half & half)
Row 17-19: ch 2, turn, hdc in next st and in each st across [60] (half & half)
Row 20: ch 2, turn, (4hdc, inc) across [72] (half & half)
Rows 21-23: ch 2, turn, hdc in next st and in each st across [72] (half and half)
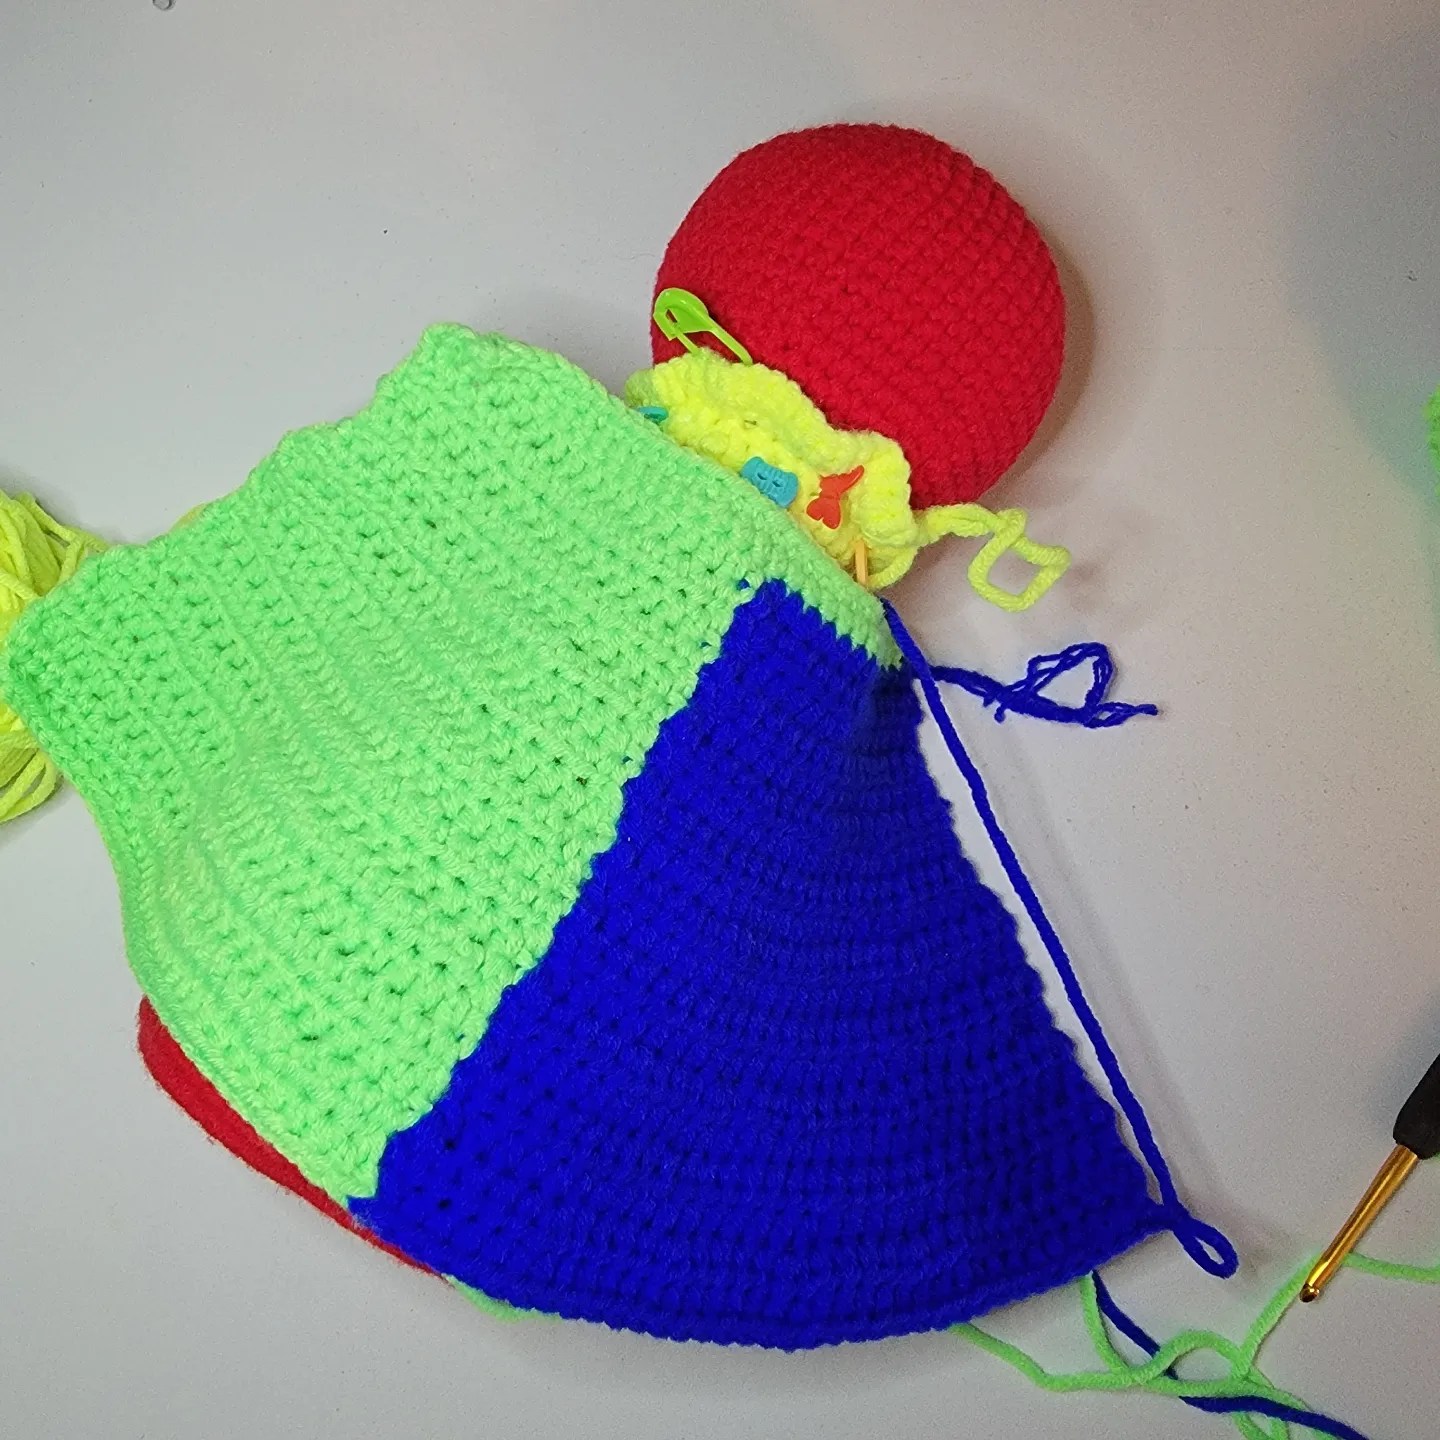
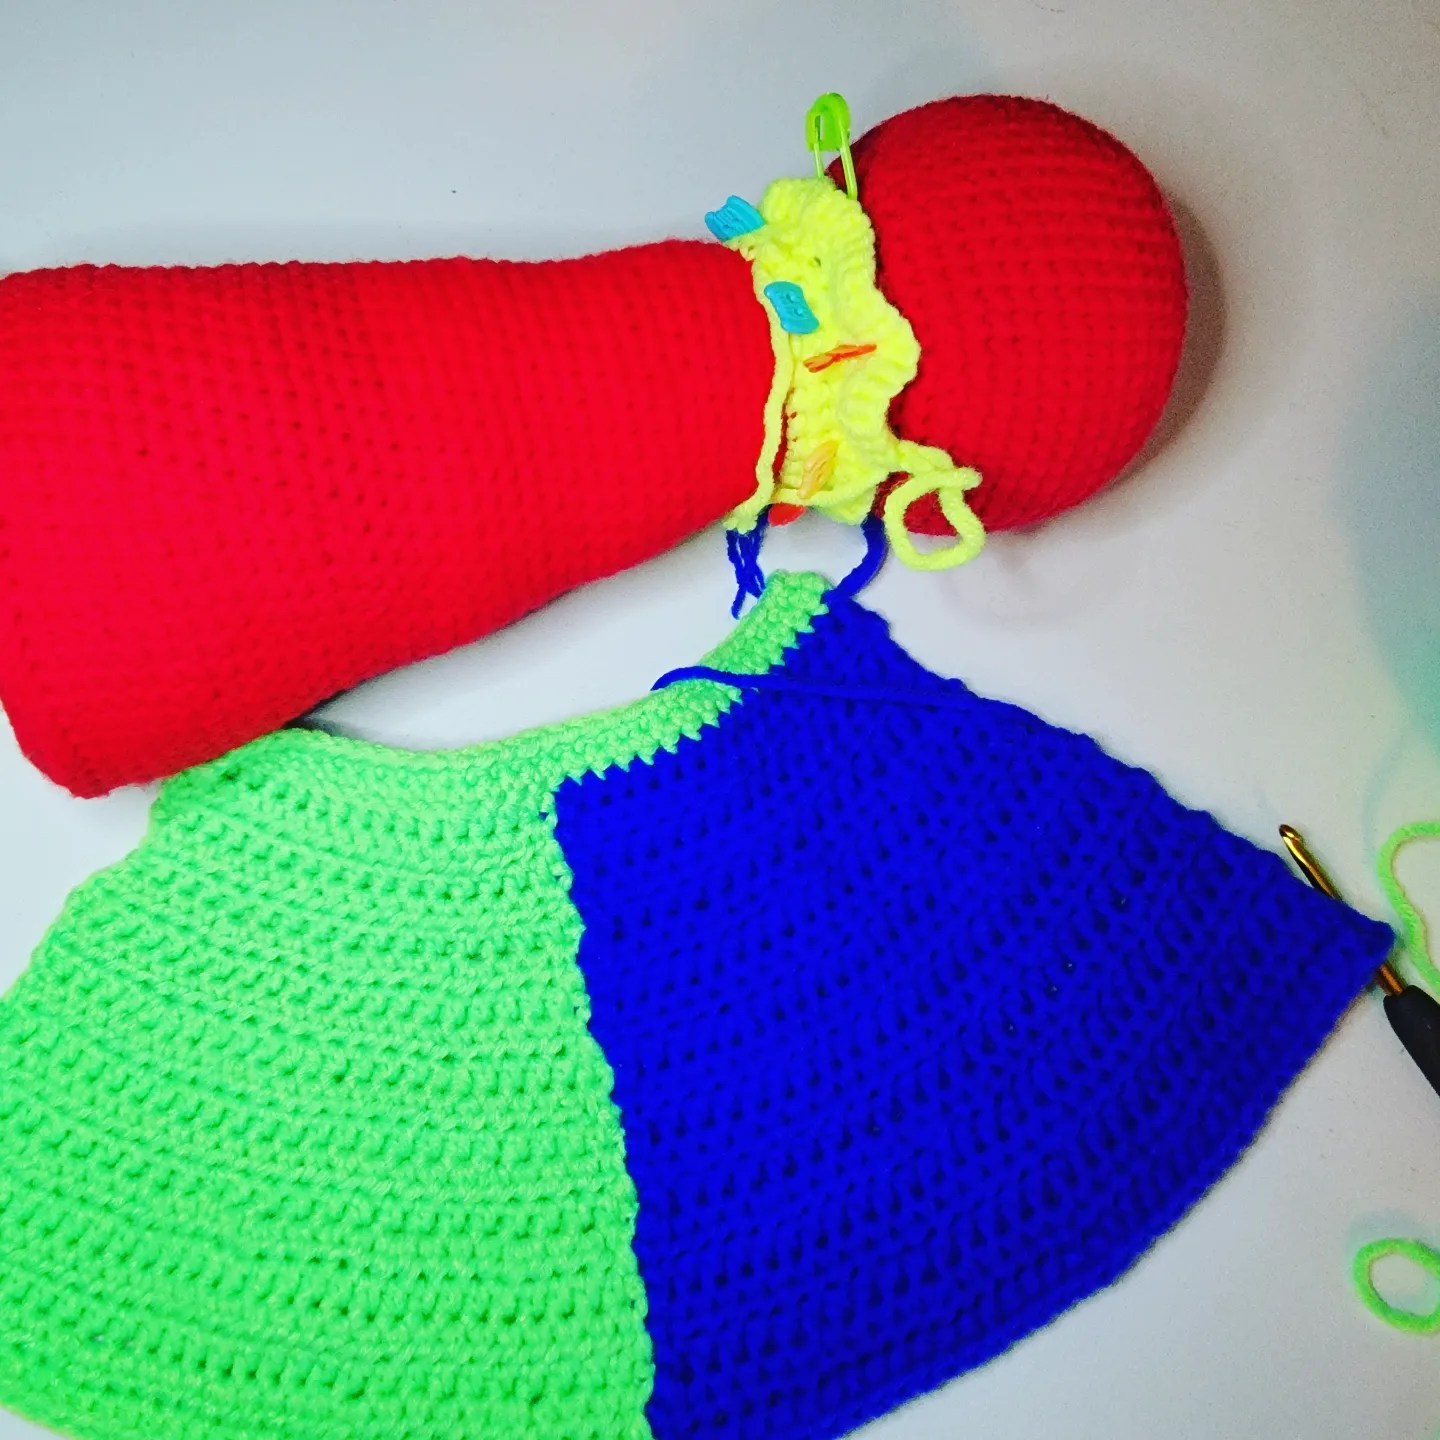
Note: This is where you will need to measure the dress on your doll. If it is long enough you can go on to Row 24. If it is too short, continue to repeat Row 21 until it reaches the correct length. Make sure you add room for the last finishing row of stitches. If your dress is too long, you can stop crocheting sooner and jump to Row 24. Make sure that you measure the length by putting the top against Rnd 48 of the Hidden Cone from Step 3. The fit will be a bit tight around the neck.
Rnd 24: ch 1, do NOT turn, reverse sc across
When you get to the Color 1 yarn, change colors, but this time crochet over the Color 2 yarn and carry it to the end of the row.
This is where we will end this week. Do NOT cut your yarns just yet. We will use one of them to sew up the back of the dress while it is on the doll.
Good work this week! Keep going! Even if you fall behind, you can take your time making this item. This week has a lot of fancier crochet techniques, so feel free to ask questions. As always use #jibcrochet when posting pics of your Jack!


You can also choose to use one yarn color across the entire bottom. I just used black for the Jack version.

Helpful Videos
