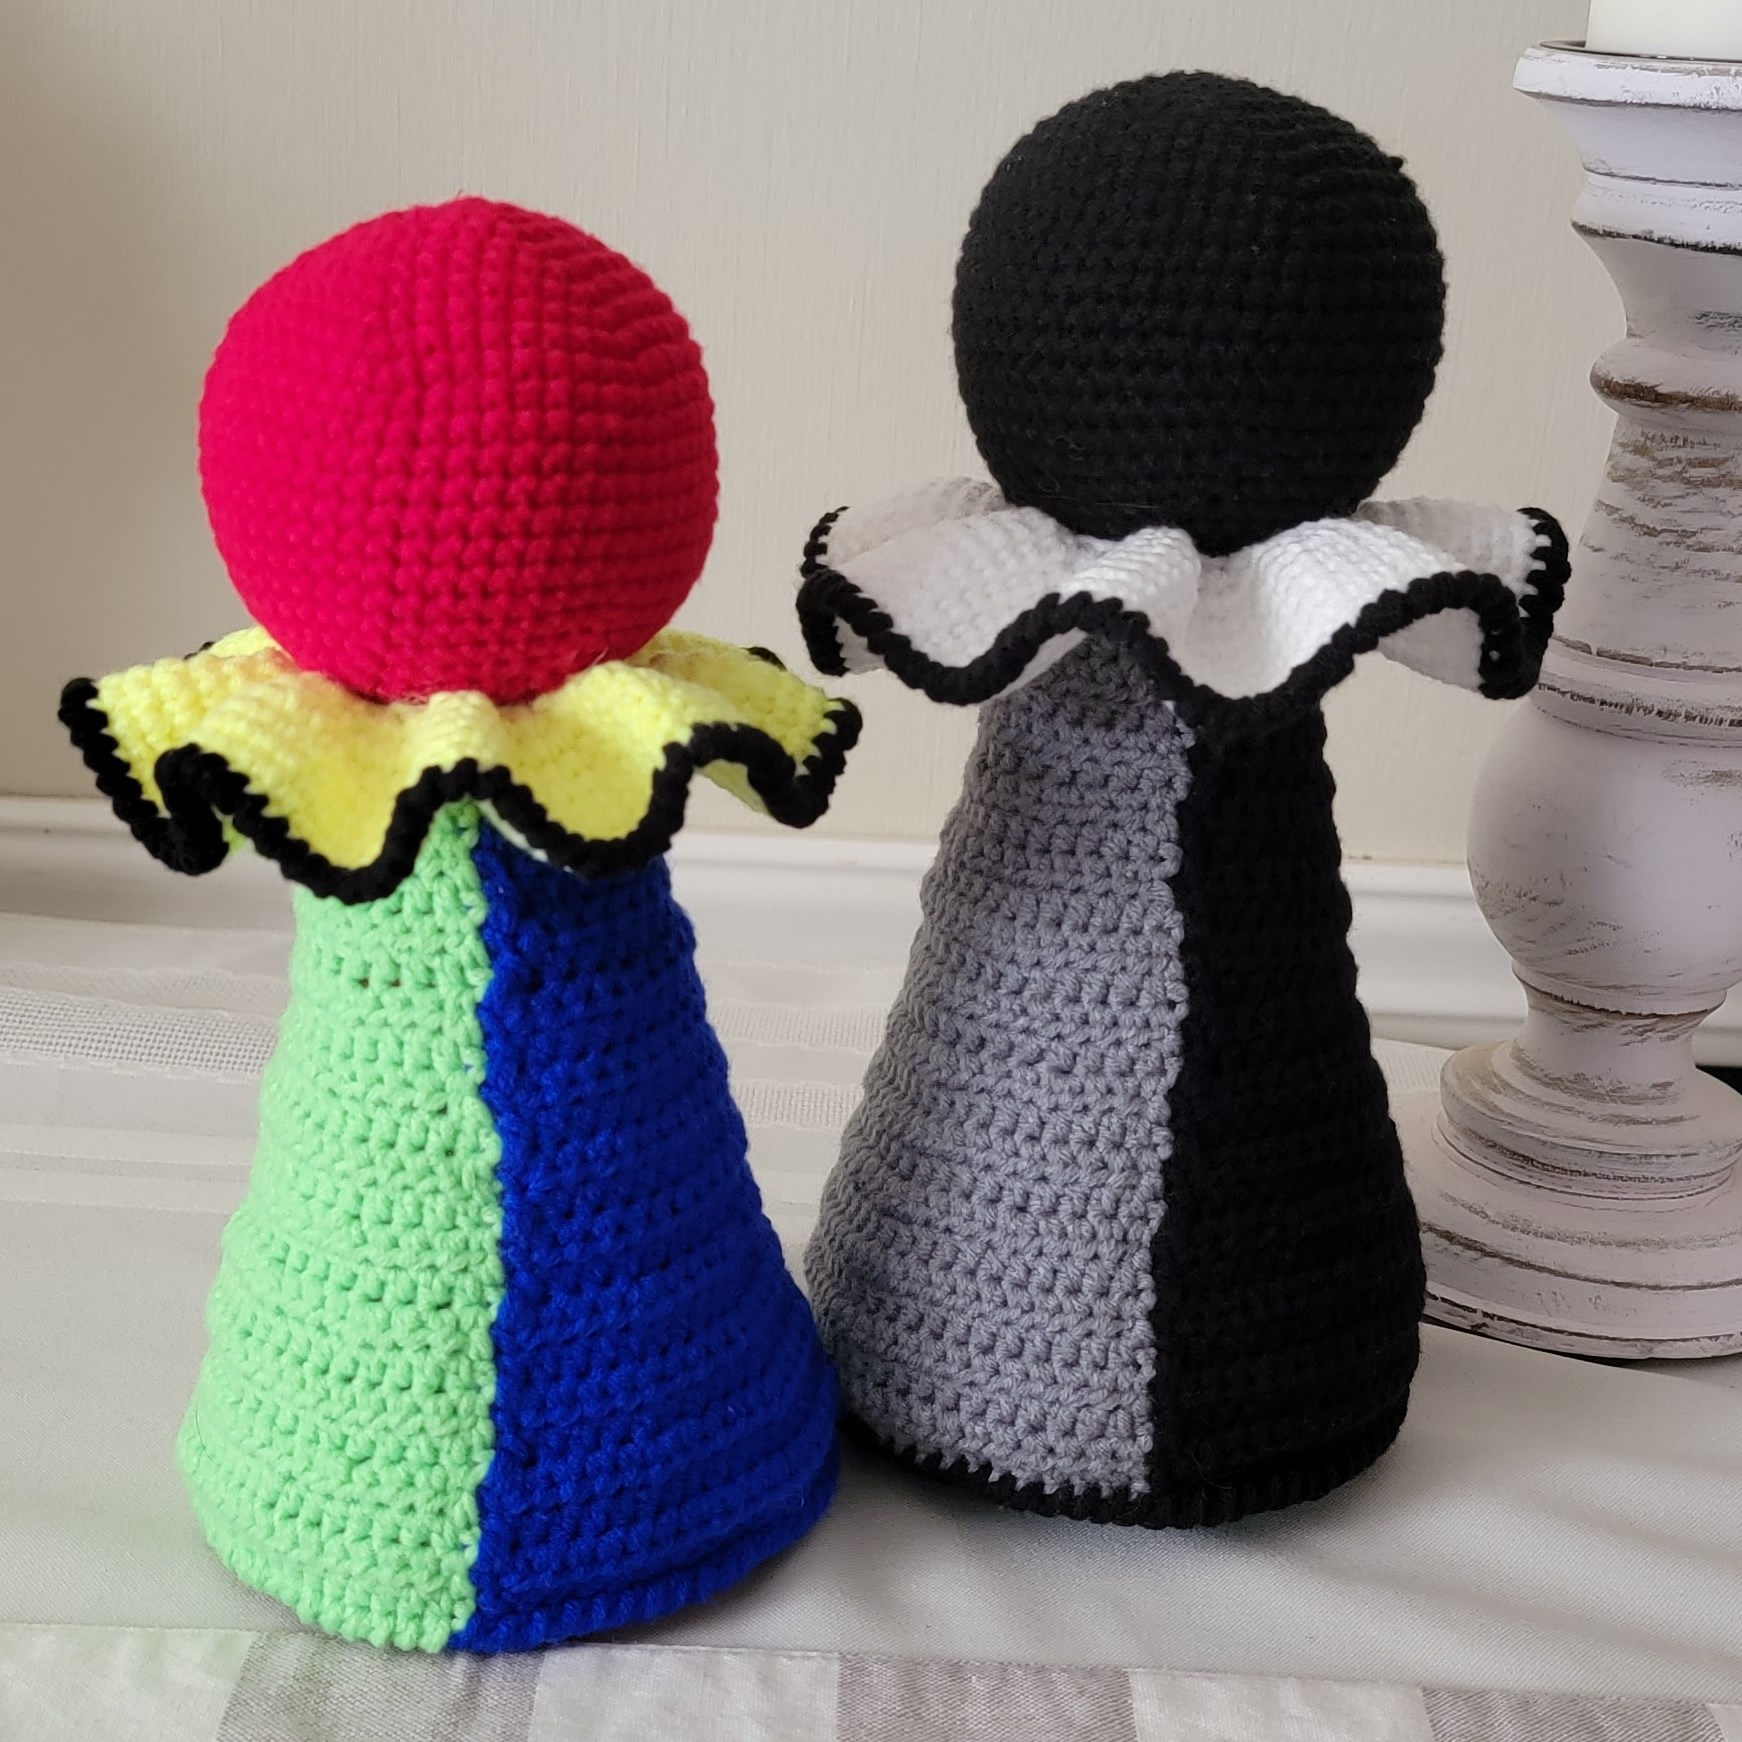
Wow! How are we already at Week 5? Time is flying by. When you complete this step, you will see your project becoming whole. This week, we are putting on the collar and the “dress”.
Materials for this week | Pattern Instructions | Materials for next week

Materials for this step:
For Collar:
White yarn for Jack Version / Yellow for Hope Version / Black for trim on both versions
As always, use the same type of yarn you used for the rest of your project.
3.0mm hook (or whatever size you’ve been using for your yarn)
For the whole project this week:
yarn needle
scissors
Pattern:
As always, US Terminology.
See Step 1 for list of abbreviations and notes!
***In this step, we will be using the regular sc stitch and not the sc x stitch.***
We are again working in continuous rounds.
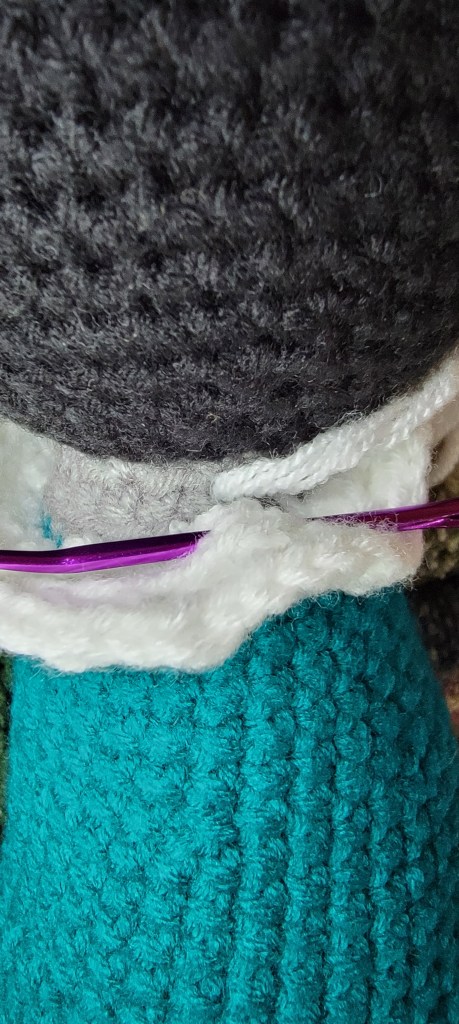
Turn your doll so that the head is near your chest, and the body is headed away from you. Also make sure that the back is up. By back I mean where you can see the weird join between the BLO rounds (48 and 49) from Step 3.
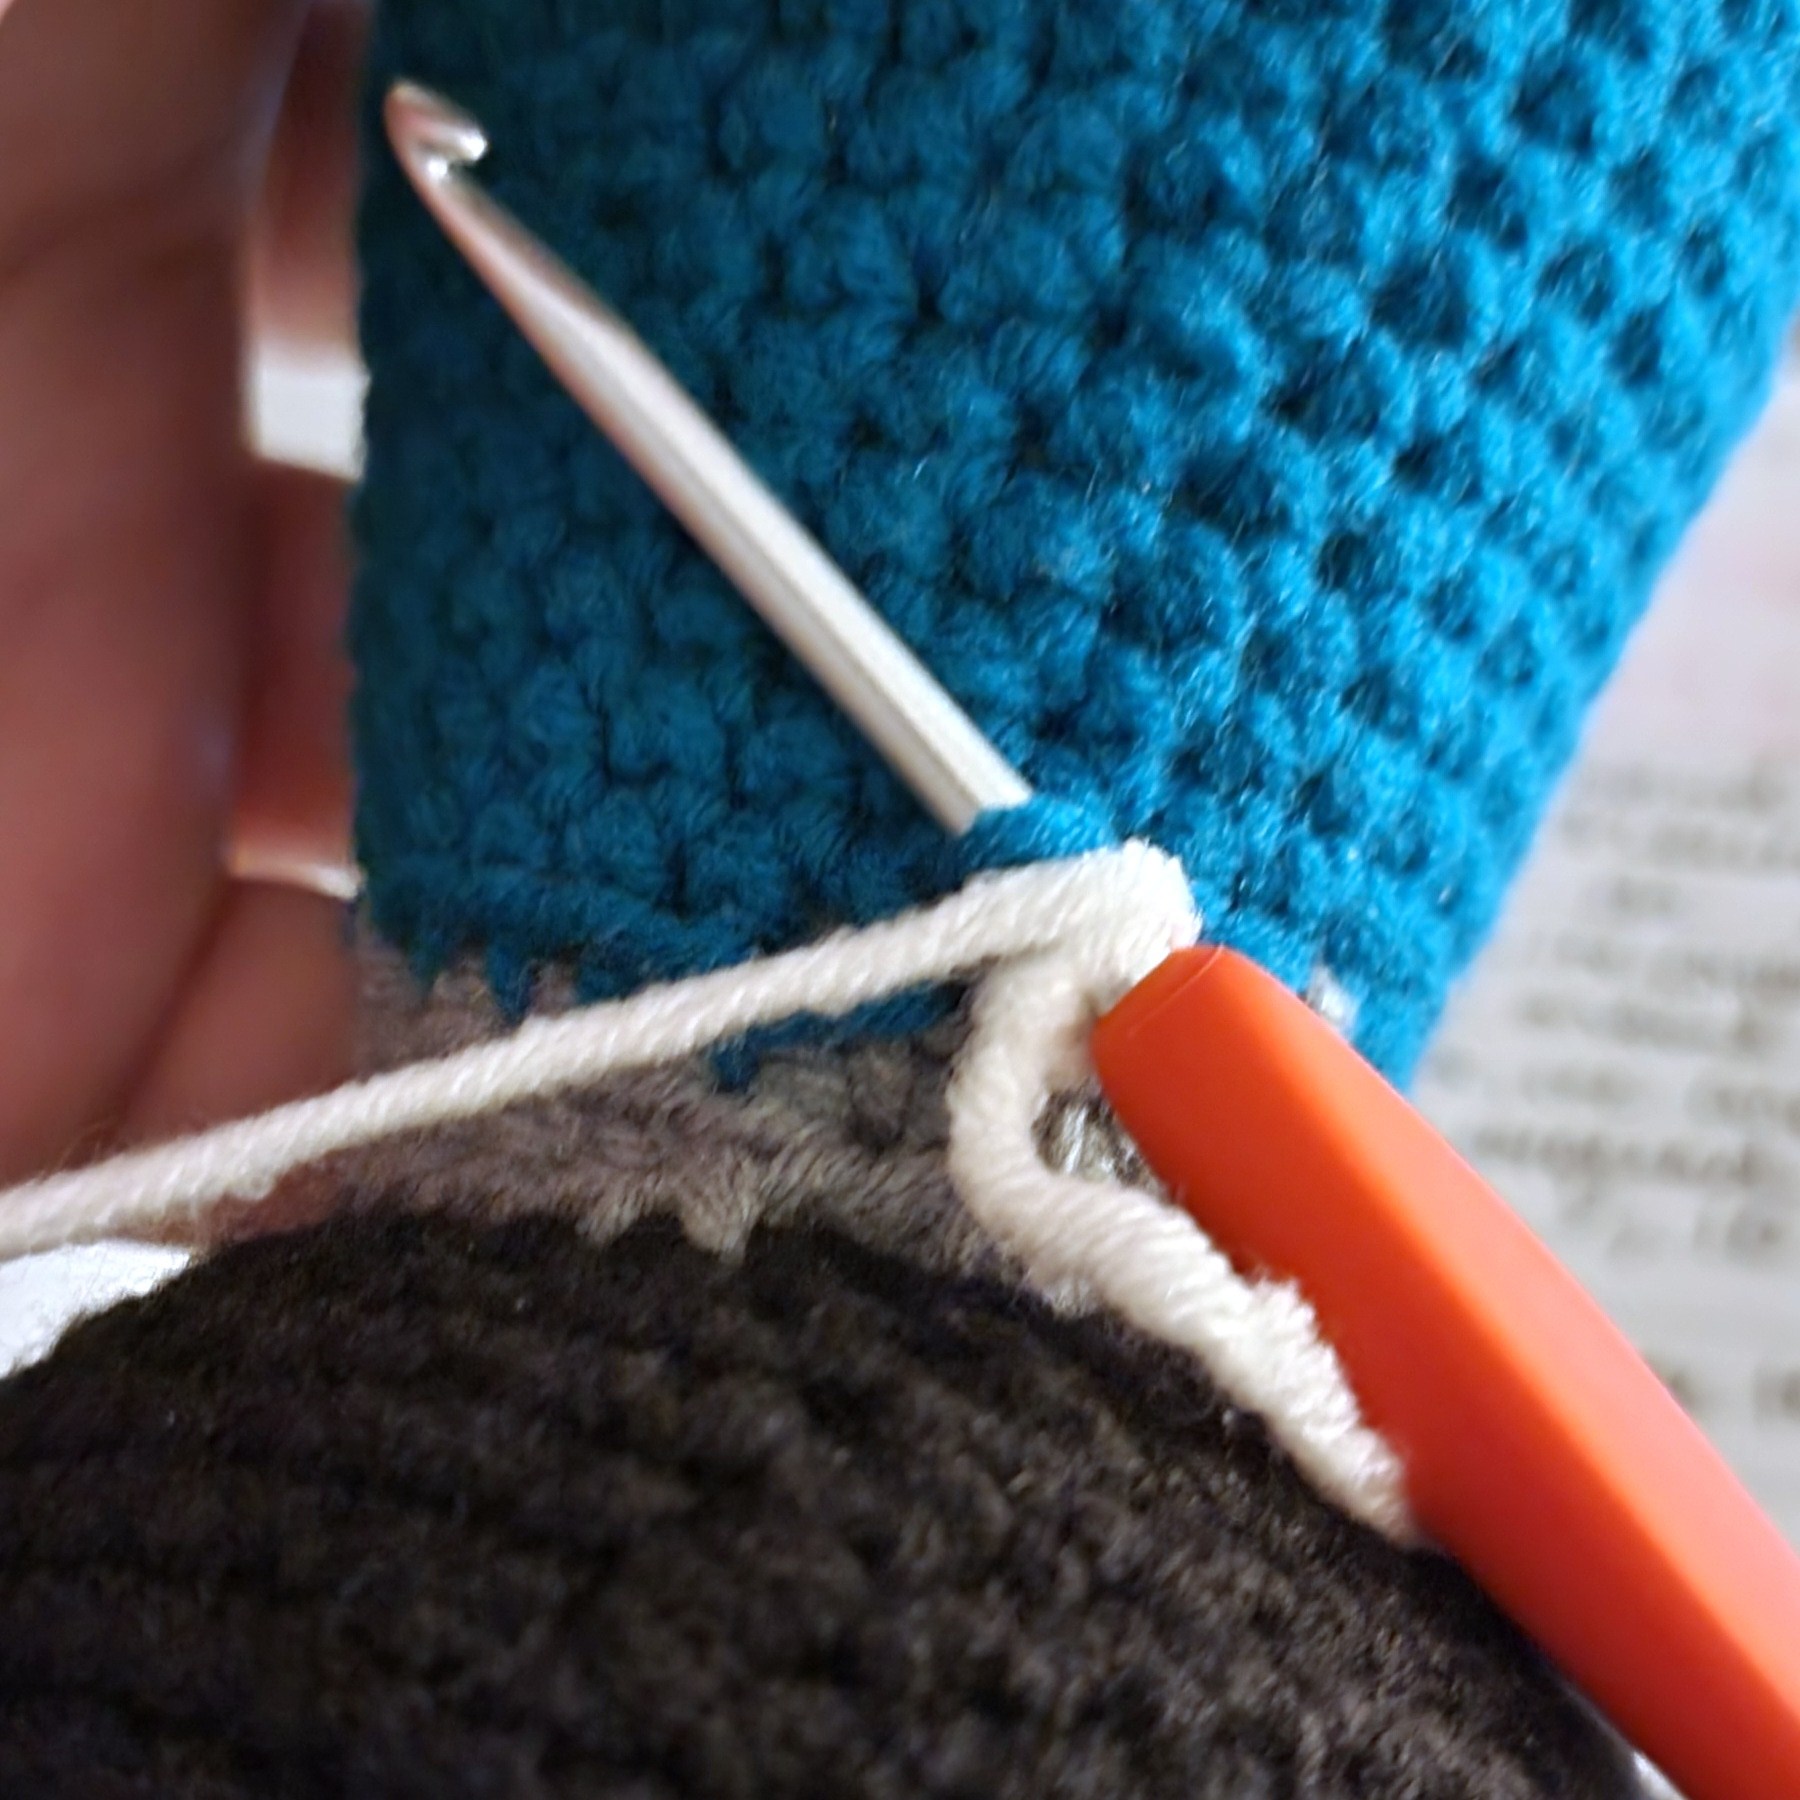
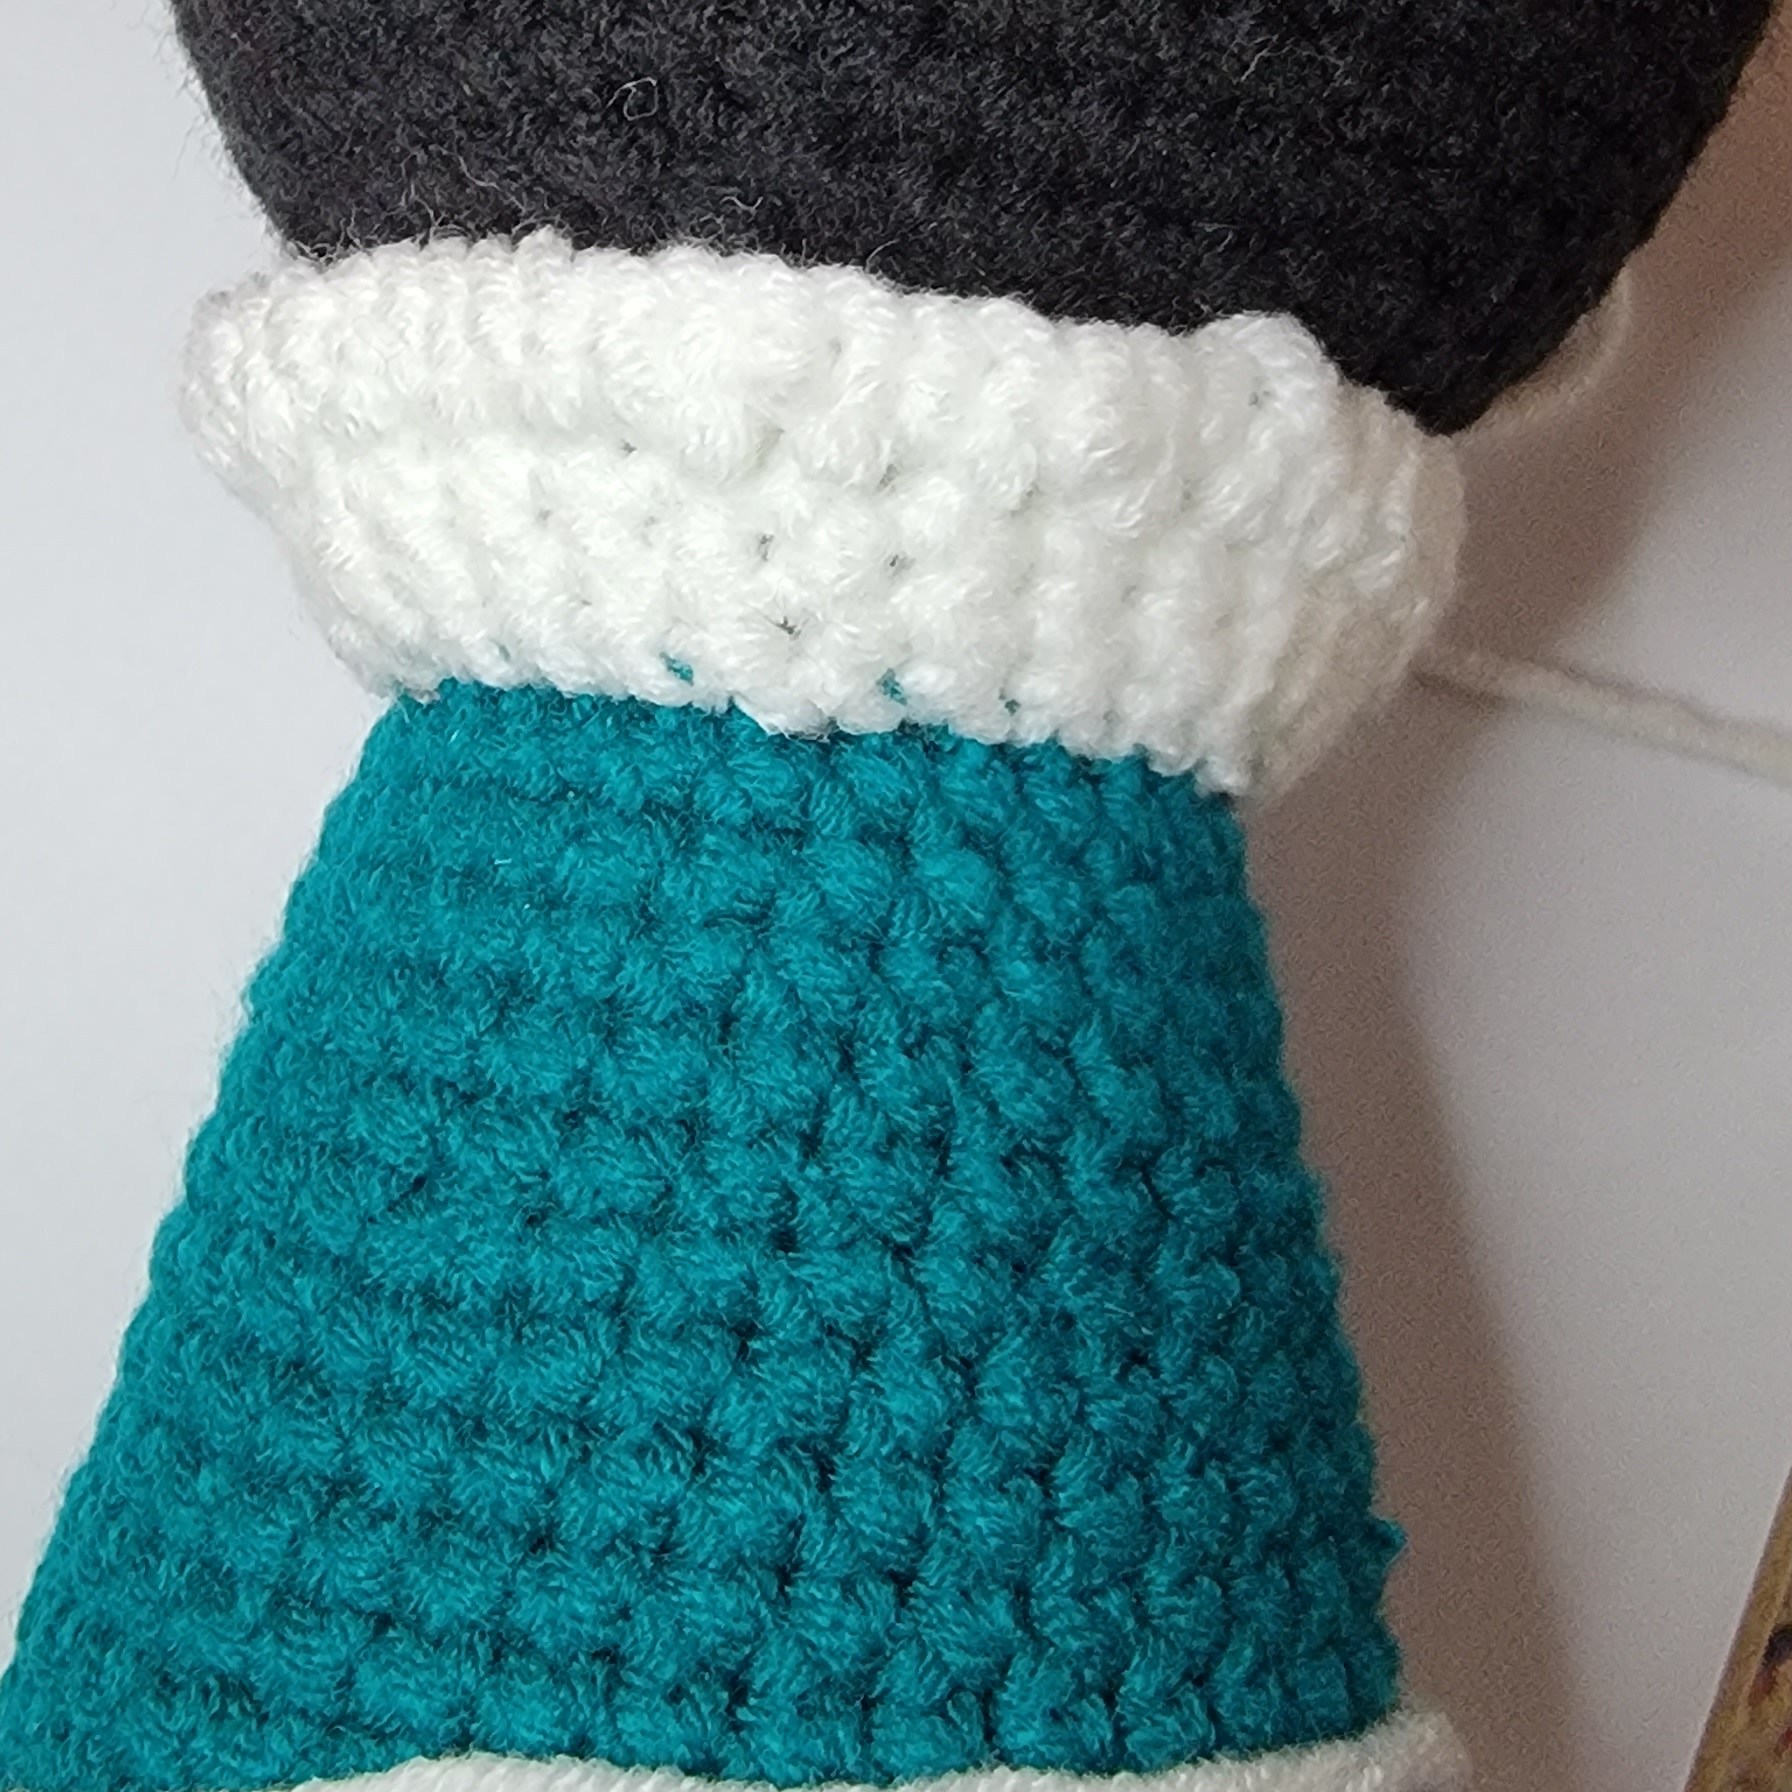
In the second to last round, 48, You are going to join your white (or yellow for Hope Version) yarn to one of the front loops that were left unworked. Leave a long tail to use for sewing after rnd 4.

Then, sc around all the unworked front loops of rnd 48. You should have 30 sc stitches at the end. This is Rnd 1.
Rnds 2-3: sc in next stitch and in each st around [30]
Rnd 4: BLO (inc in next st and in each st around) [60]
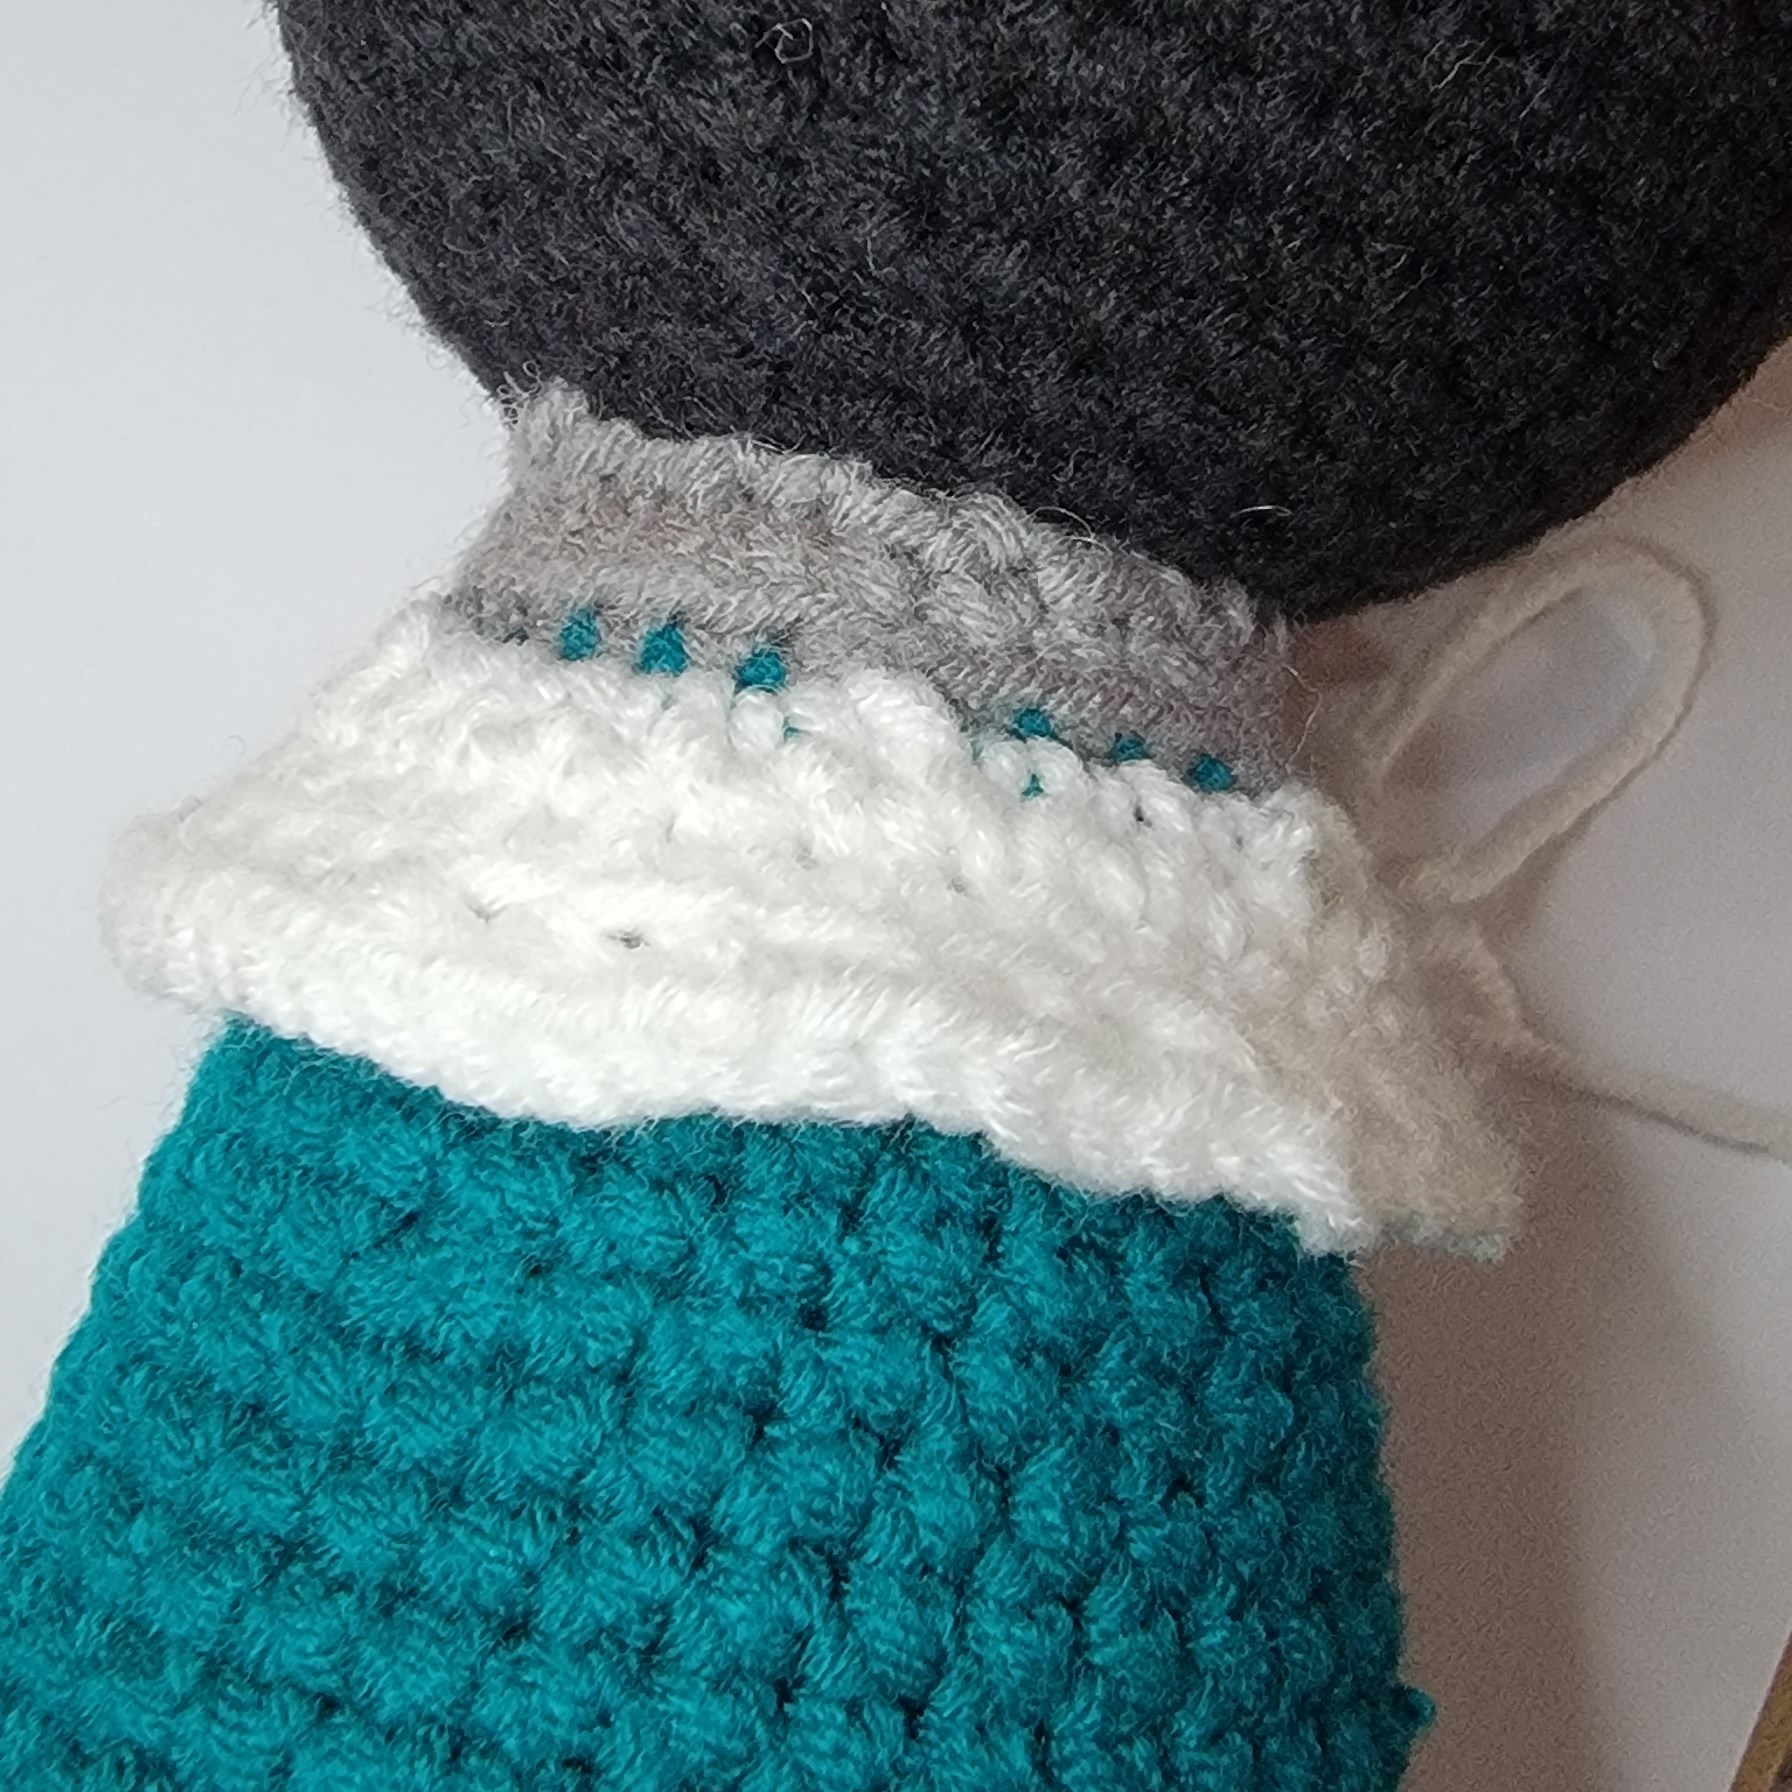
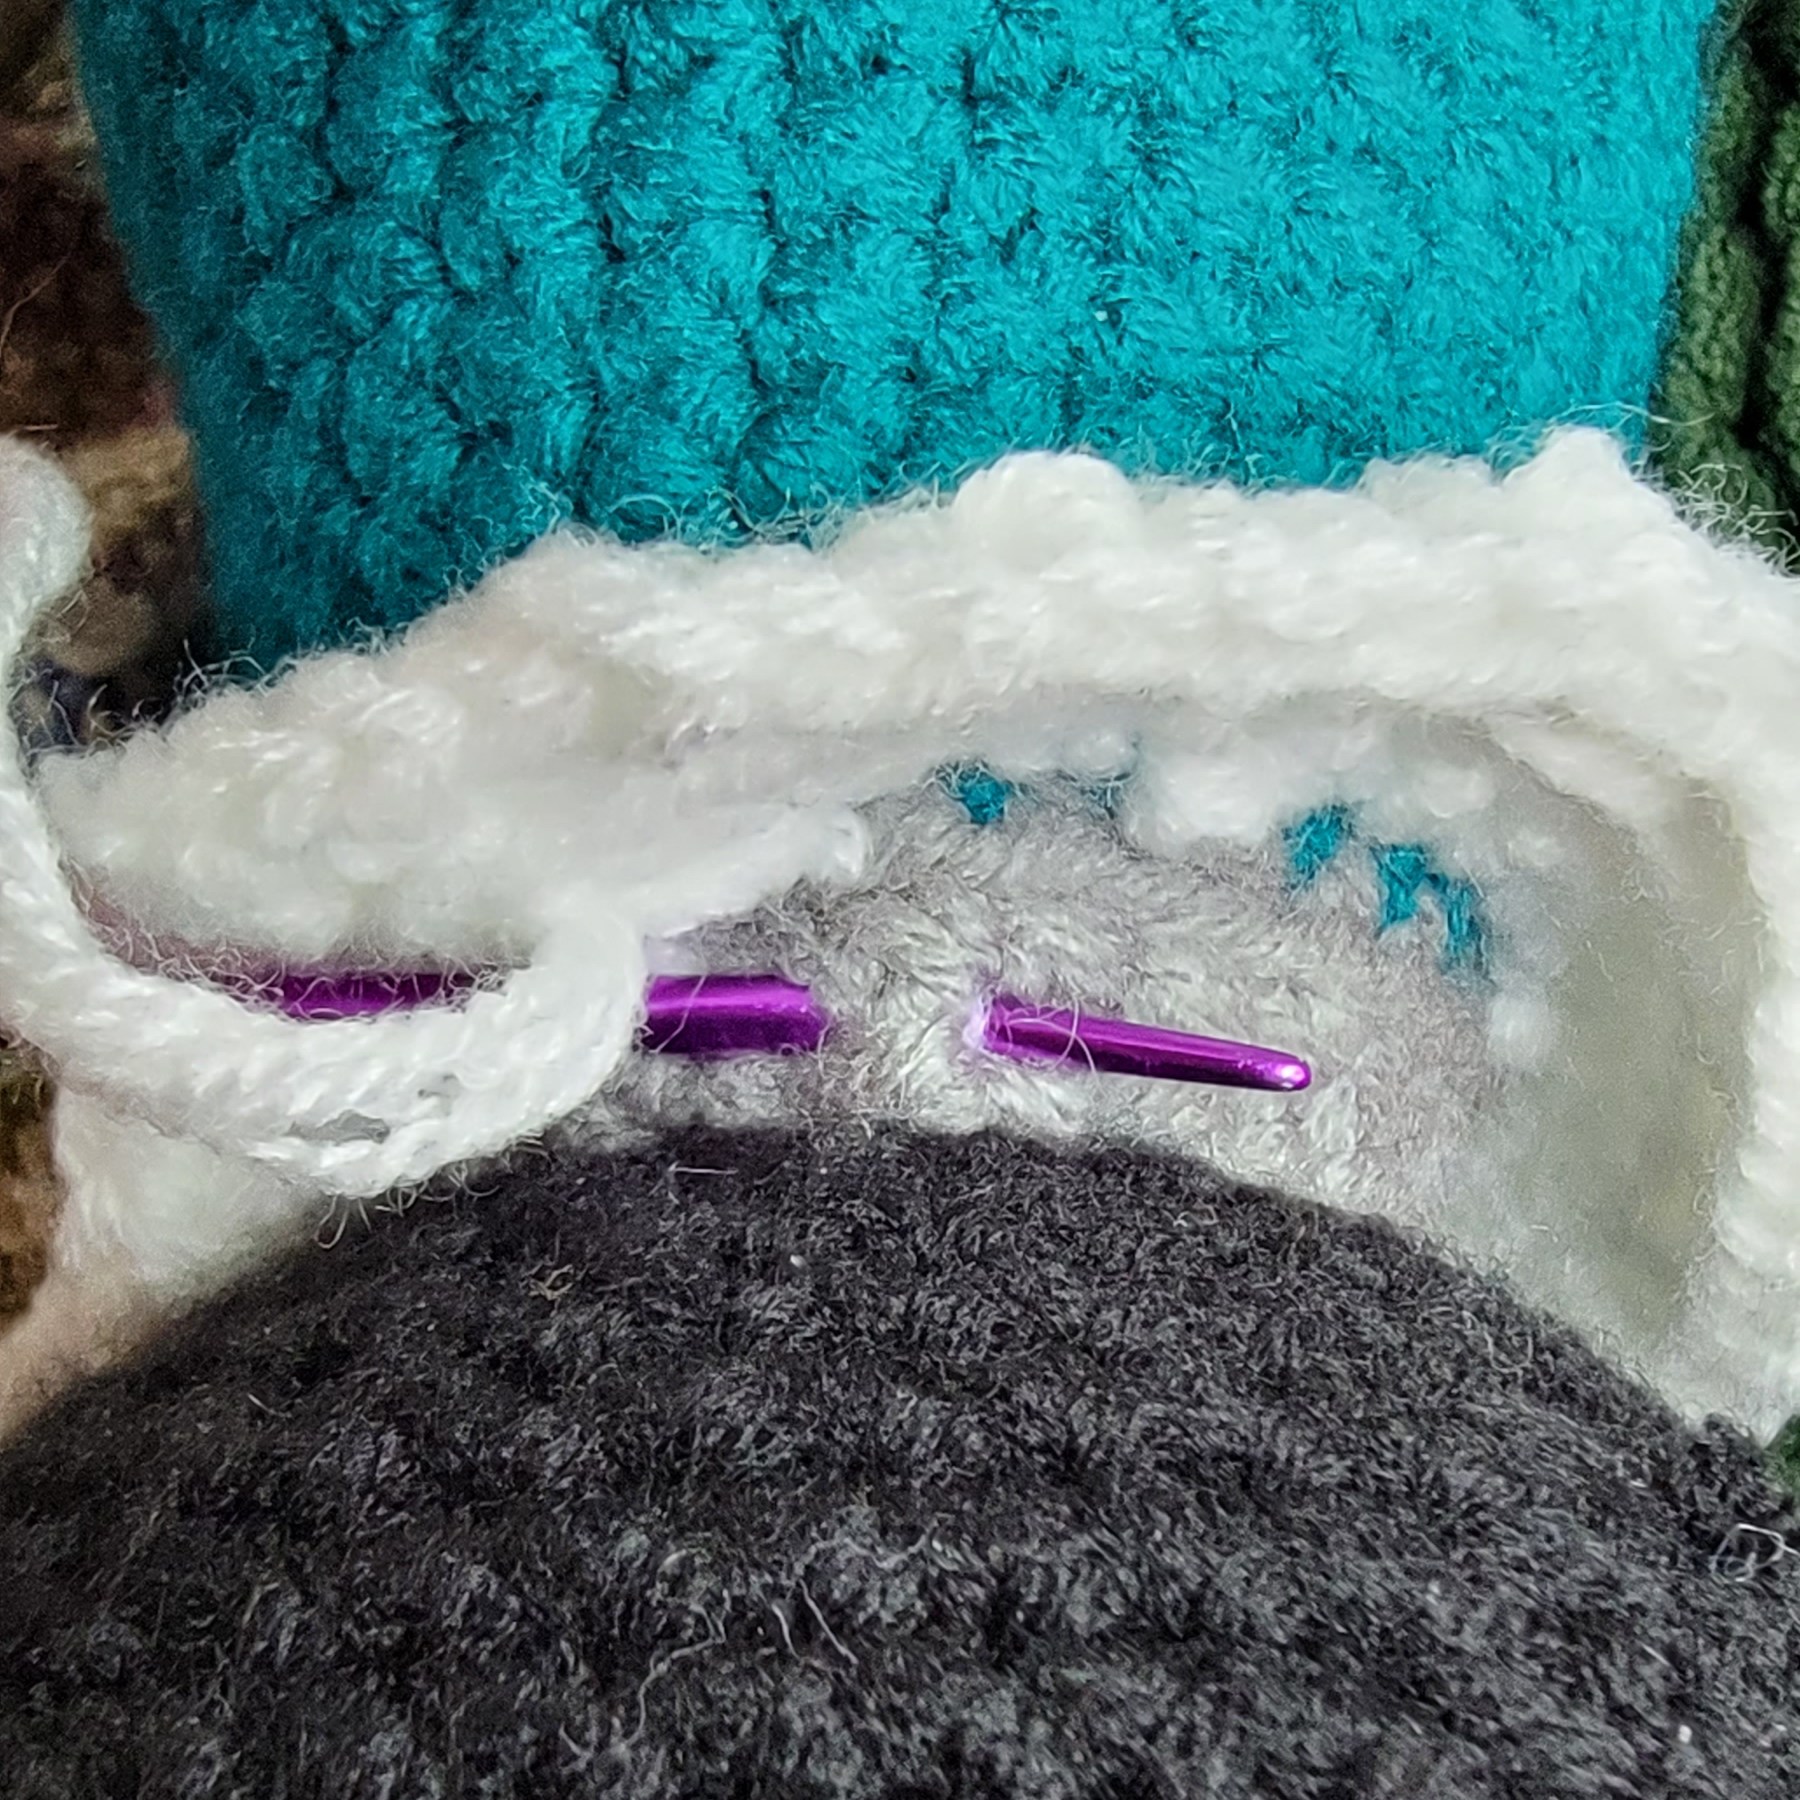
Push the collar up and sew rnd 3 to the top of the neck to hold in place. You want to make sure the stitches from the hidden cone are indeed hidden here.
Rnd 4 is where our collar starts to fold out. That is why we only crocheted in the back loop
Finish off the sewing and cut the yarn from the long tail. Be careful! Don’t cut the yarn you are still using to work your collar!
Make sure you are holding the head toward your chest still or again after sewing the collar up.
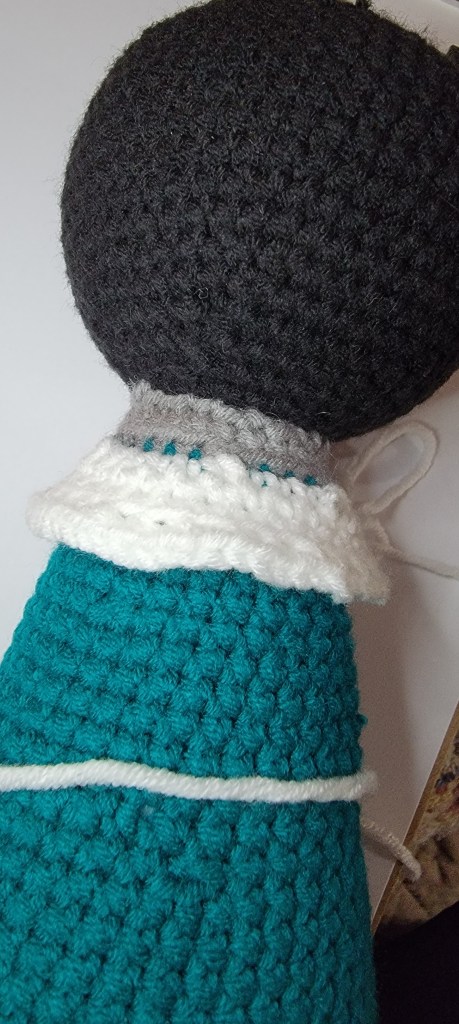
Rnd 5: (sc, inc) around
Rnd 6: sc around
Rnd 7: (2sc, inc) around
Here is where you get to choose how long you want to make the collar. For my Hope Version, I stopped at Rnd 10. For the Jack Version, I stopped at Rnd 13. Stop where you think it looks good to you. This is a way to make it your own. If you want to go longer than 13 rounds, just keep single crochet around for each round until you get the desired length. Then pick up with the trim stitch.
Rnds 9-13: sc around
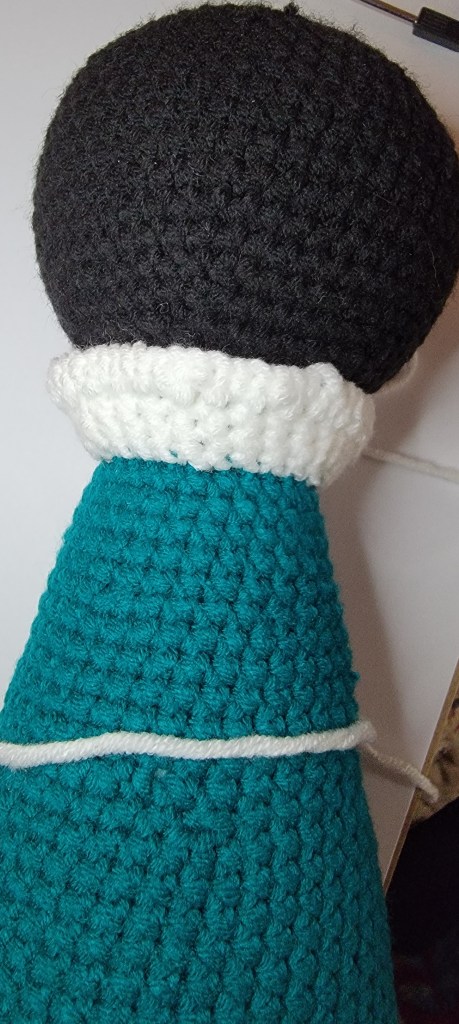
Change to Black yarn
Trim:
rev sc around
This is the same trim that we used at the bottom of the dress.
Finish off. Weave in all ends.
Attaching the Dress
Once your collar is done, fit your dress up under that collar. Make sure that the front is in the front and the back…or the open part of the dress in the back. You probably want the black to be where you ended the trim.
You may want to pin the dress so that you make sure the rows match up with each other.
Leaving a long tail, finish one of the colors you used on the trim for the dress. The other color just cut and finish. You can weave in ends later.
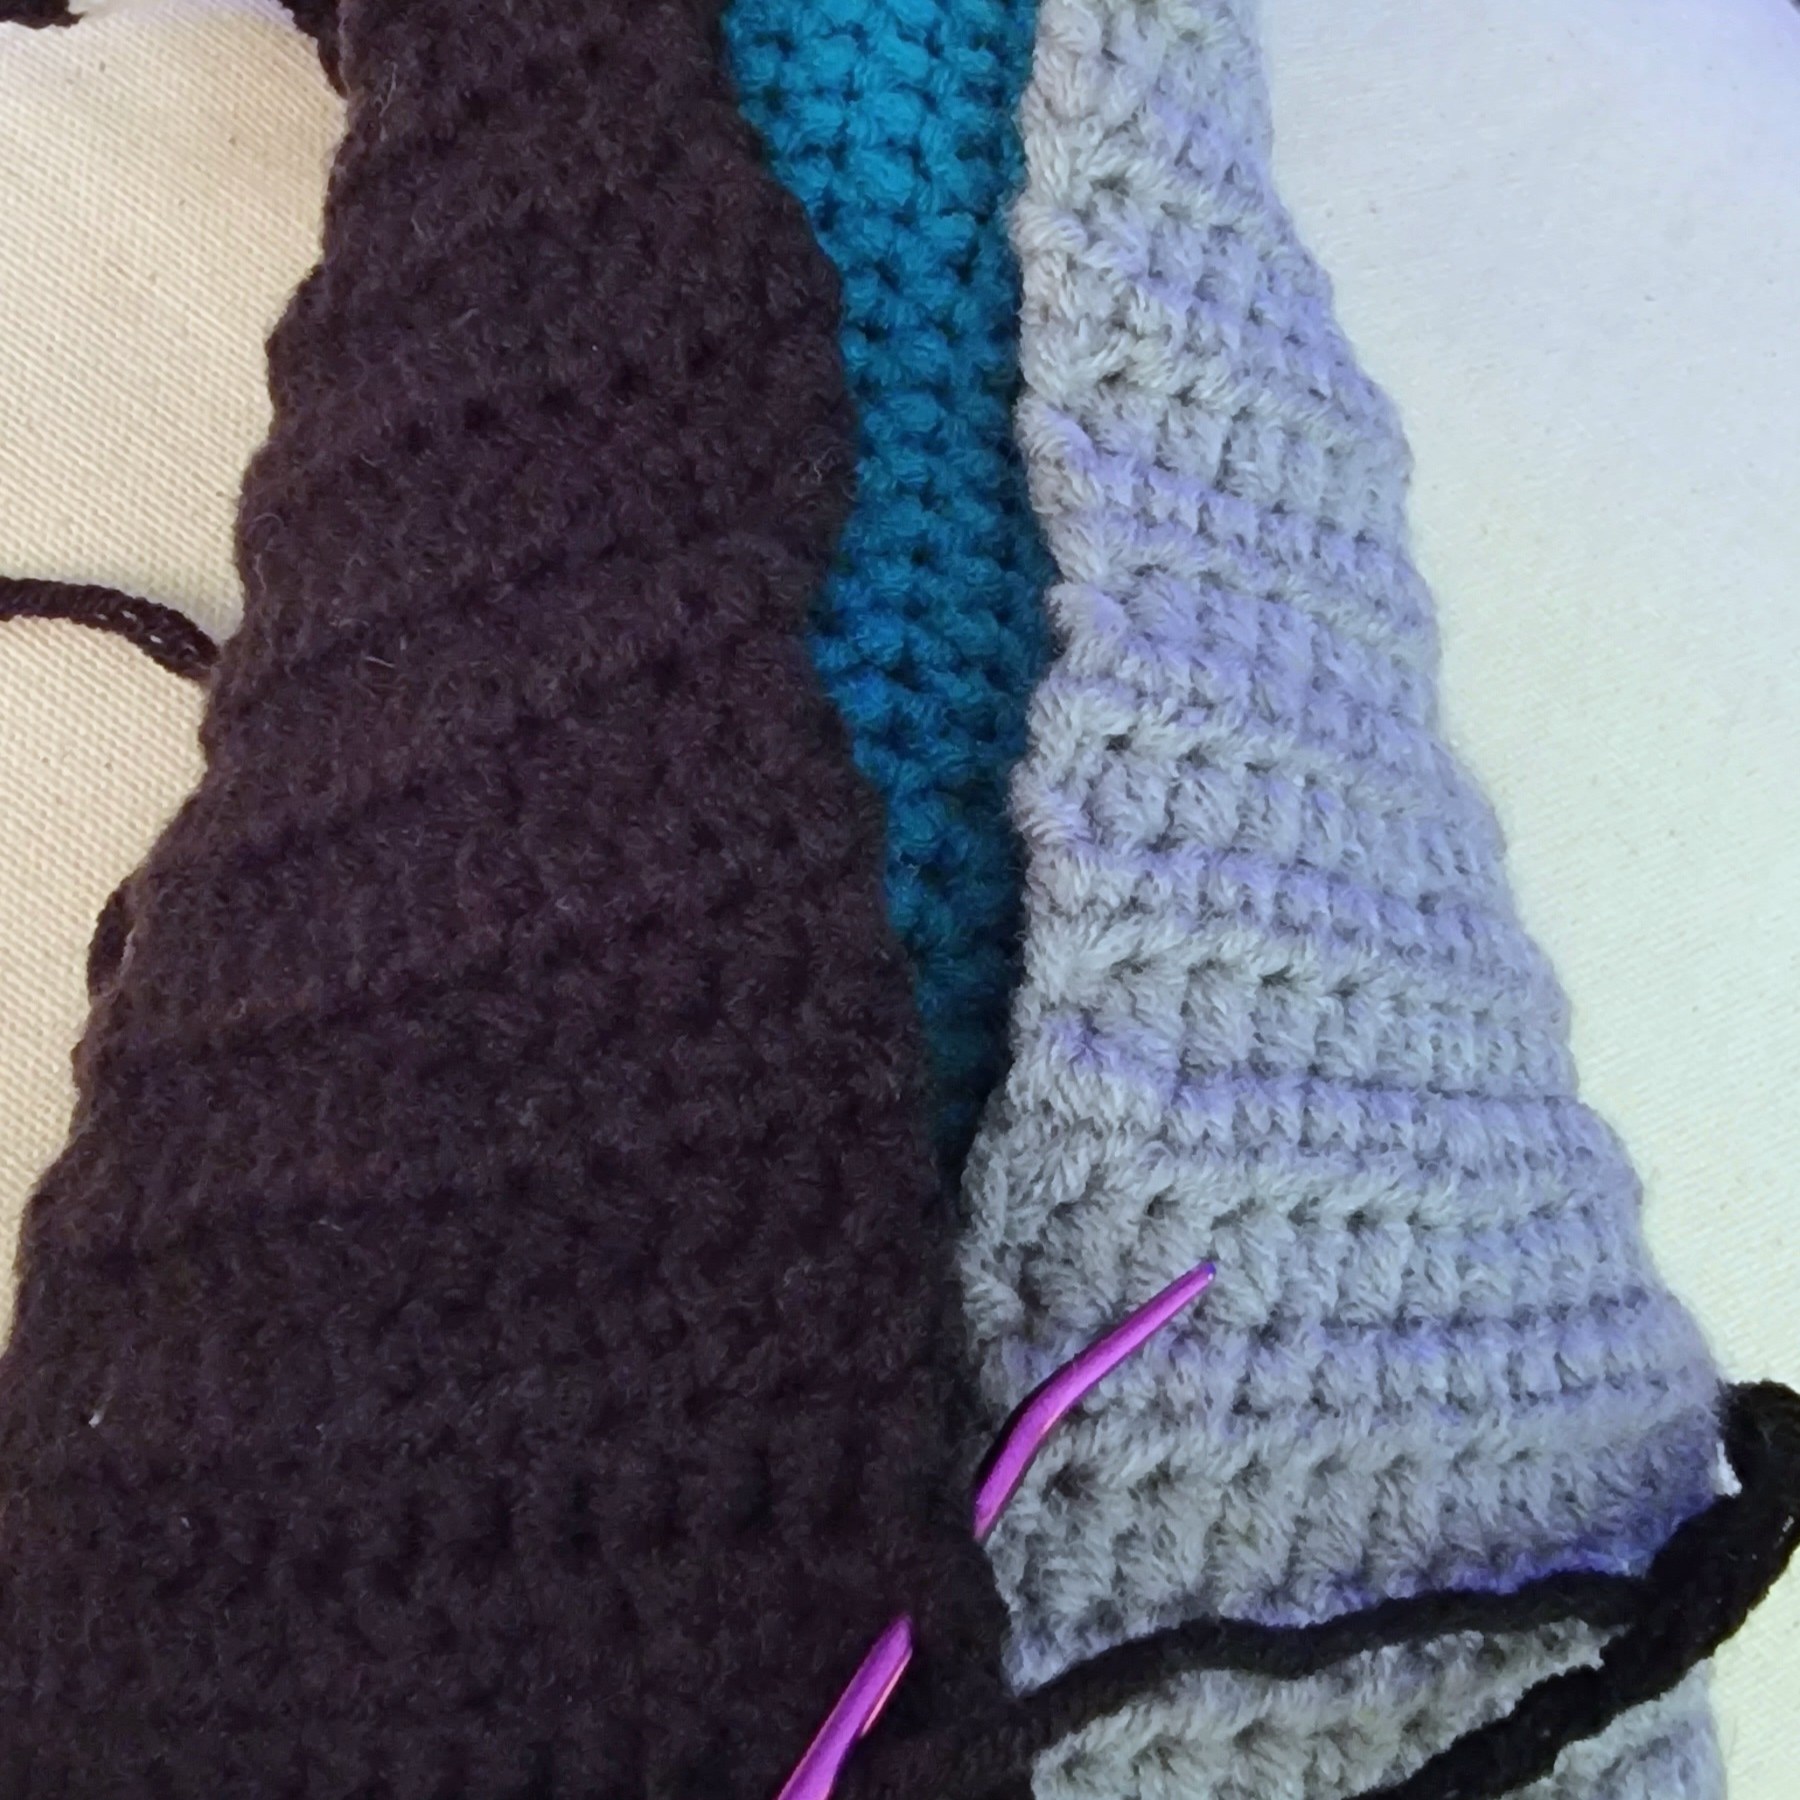
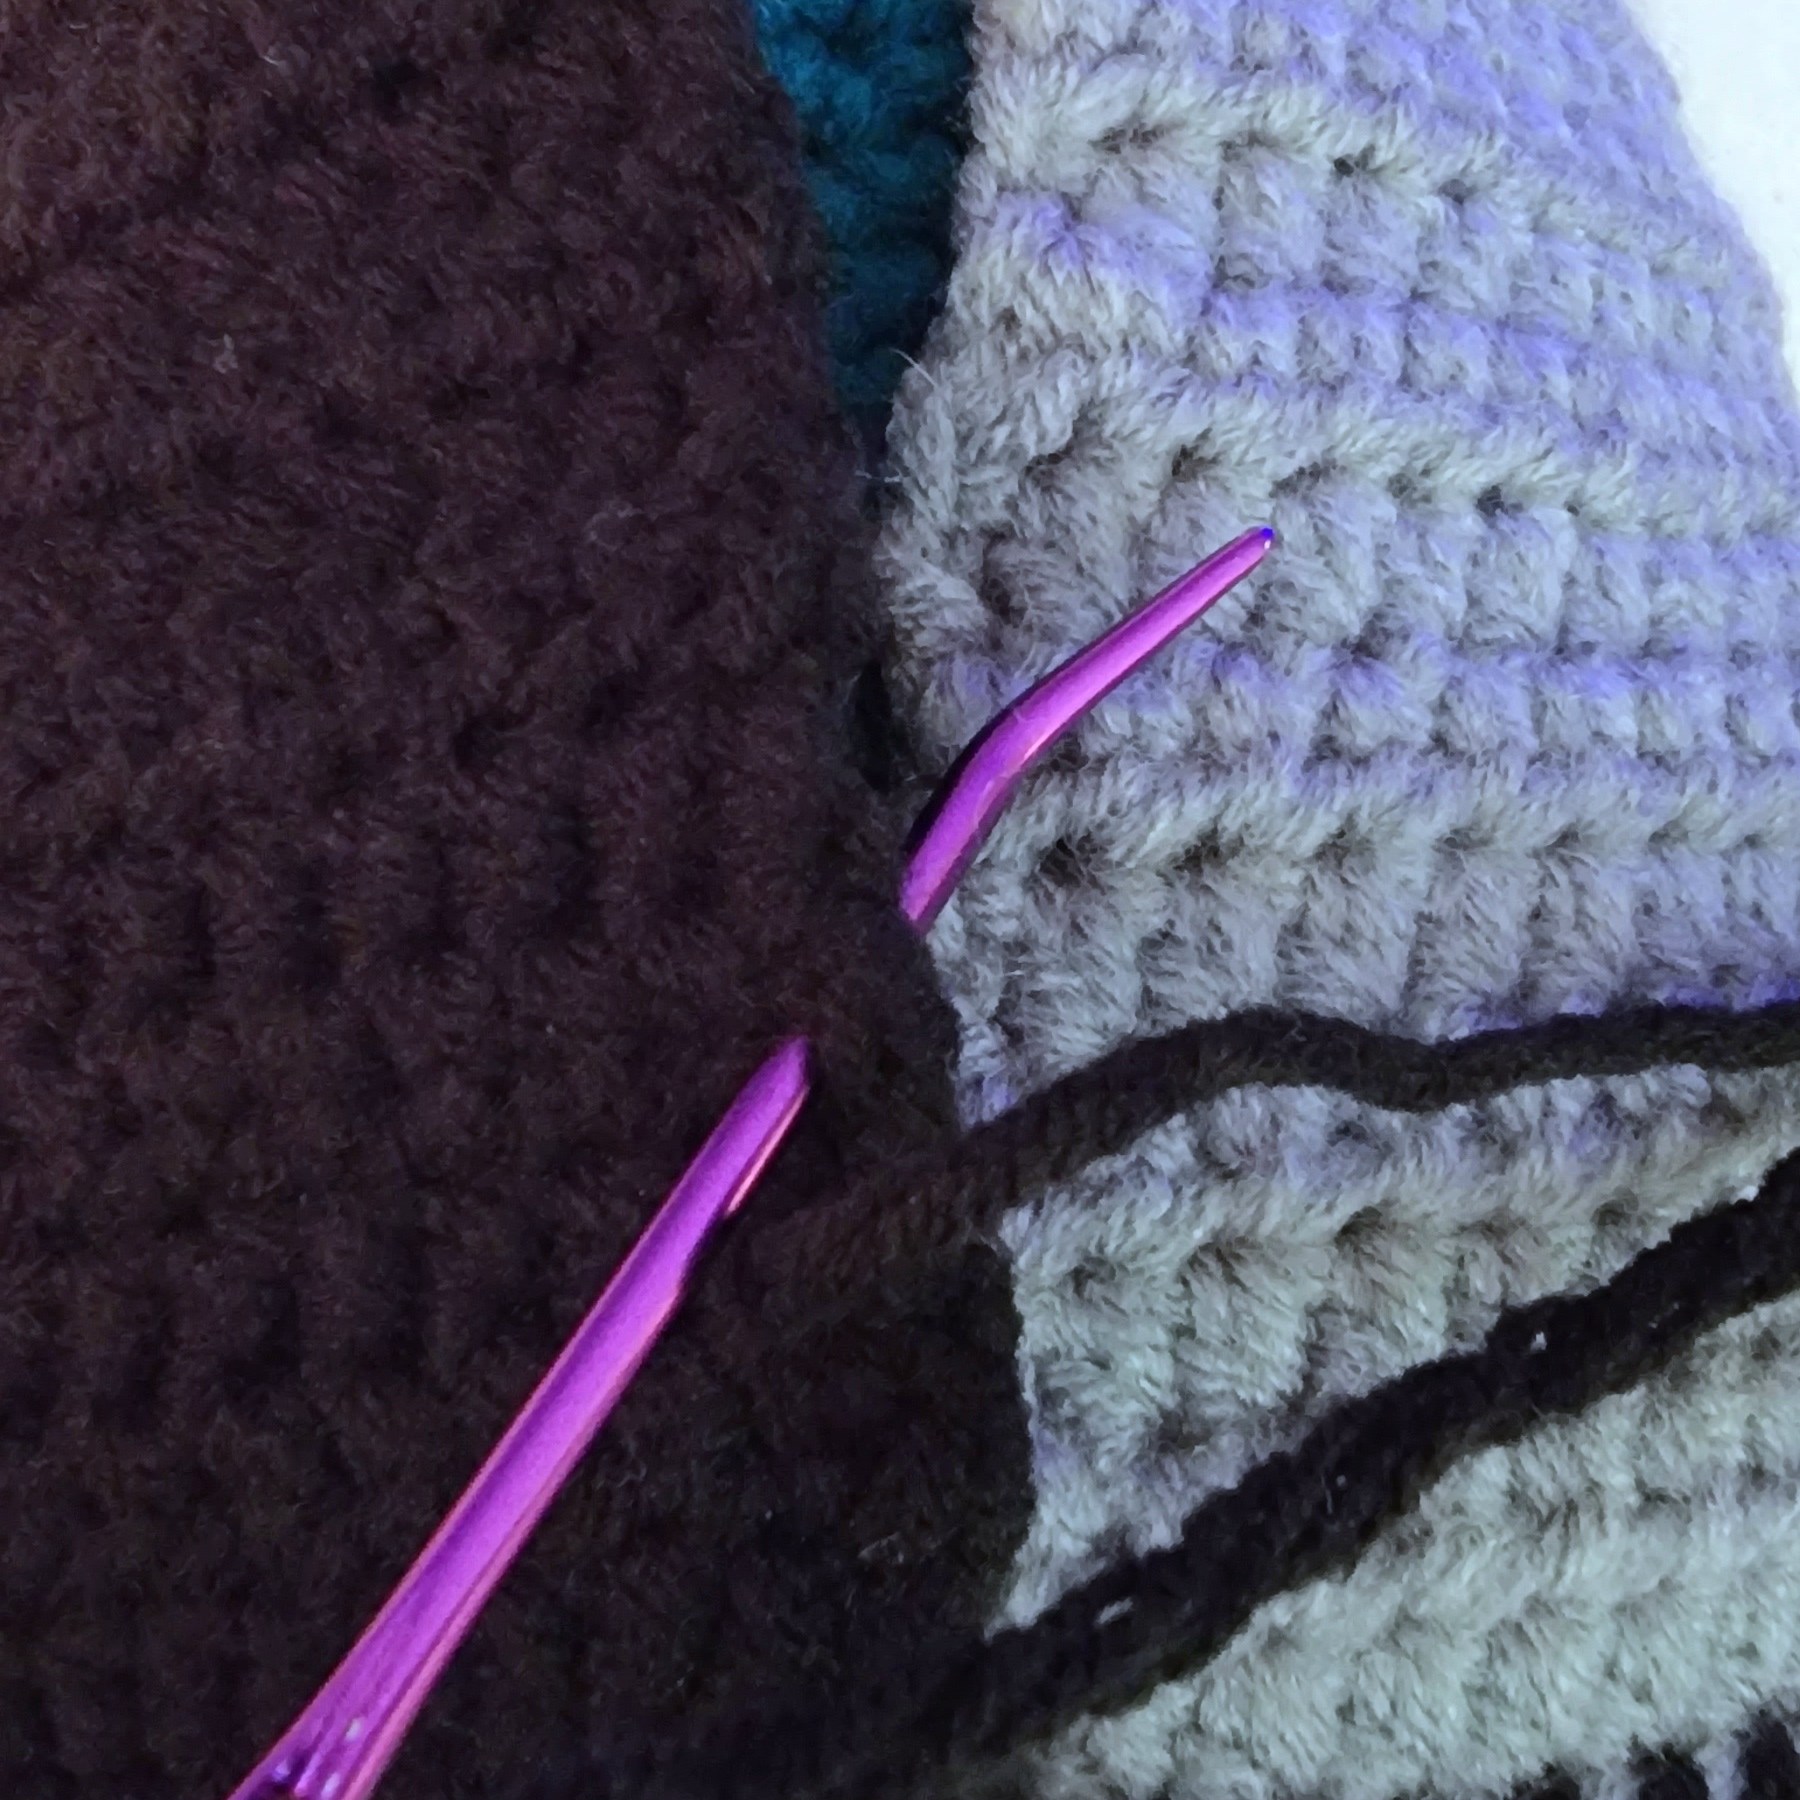
Now, you are going to sew up the back of the dress WHILE IT IS ON YOUR DOLL. You CANNOT sew it up off your doll and then put it on. You have to have it wrapped around your hidden cone. Sew it together while it is ON your doll.
You are probably wanting to ask what stitch I used to sew it up. I don’t know. I hate sewing and I just use whatever I can to make sure the color doesn’t show on the side that isn’t its color. Use whatever you are comfortable with. This is the back. I wouldn’t be too sloppy, but it doesn’t matter if it is a little weird. I also don’t pin my stuff in place…mainly because I am lazy. But it tends to work out!

Materials for Next Week
Next week, we are going to make the hat! If you’ve seen any of my items, you know that I love to mix mediums. We are going to make our hats out of felt or fleece or whatever fabric you want. I would just make sure the fabric is a little stiff.
So, you will need felt in turquoise or teal for the Jack Version and maybe a bright aqua for the Hope Version, fiberfill, sewing thread & needle, and small pom poms in black for Jack Version…and some other color for Hope Version. I’m not sure what I’m going to use yet.
And that’s it for this week! We only have 2 more steps to go!!!! Woo Hoo!!! I’m excited that we have gotten this far. At this point, you can see the vision of our project as a reality. I love how my Jacks are sitting and they are a good size.
For the final step, putting the face on, you need to start thinking about how you want to do that. I’m not into embroidery that much, so I will probably do something else that is more my style. But if you embroider, you may want to do that. I think stenciling the face on with some white fabric paint could work. I might use htv. You could use felt or foam. It really is something you can use to make this project your own! Start letting your mind work on the problem! See you next week for Step 6!
As always, post your progress on twitter using #jibcrochet. Tag @mellmakes or @army_mellissa!
