
Materials | Pattern Instructions | Beginner detailed Instructions | Homework
Last time you crocheted the body of the whale. Today, we are going to crochet the bottom. This means you will need to learn how to stitch the invisible decrease stitch, and we will learn how to change colors. You should have something that looks like the image below. If you finished the last stitch in rnd 18, pull it out. You will need to work half of it in the first color and the second part we will change to your second color.

Materials
Color B Yarn (should be the same type of yarn as A but in a different color)
Fiberfill
9mm-12mm Safety Eyes (Choose the size
eyes that fits your project)
stitch marker
hook
Pattern Instructions
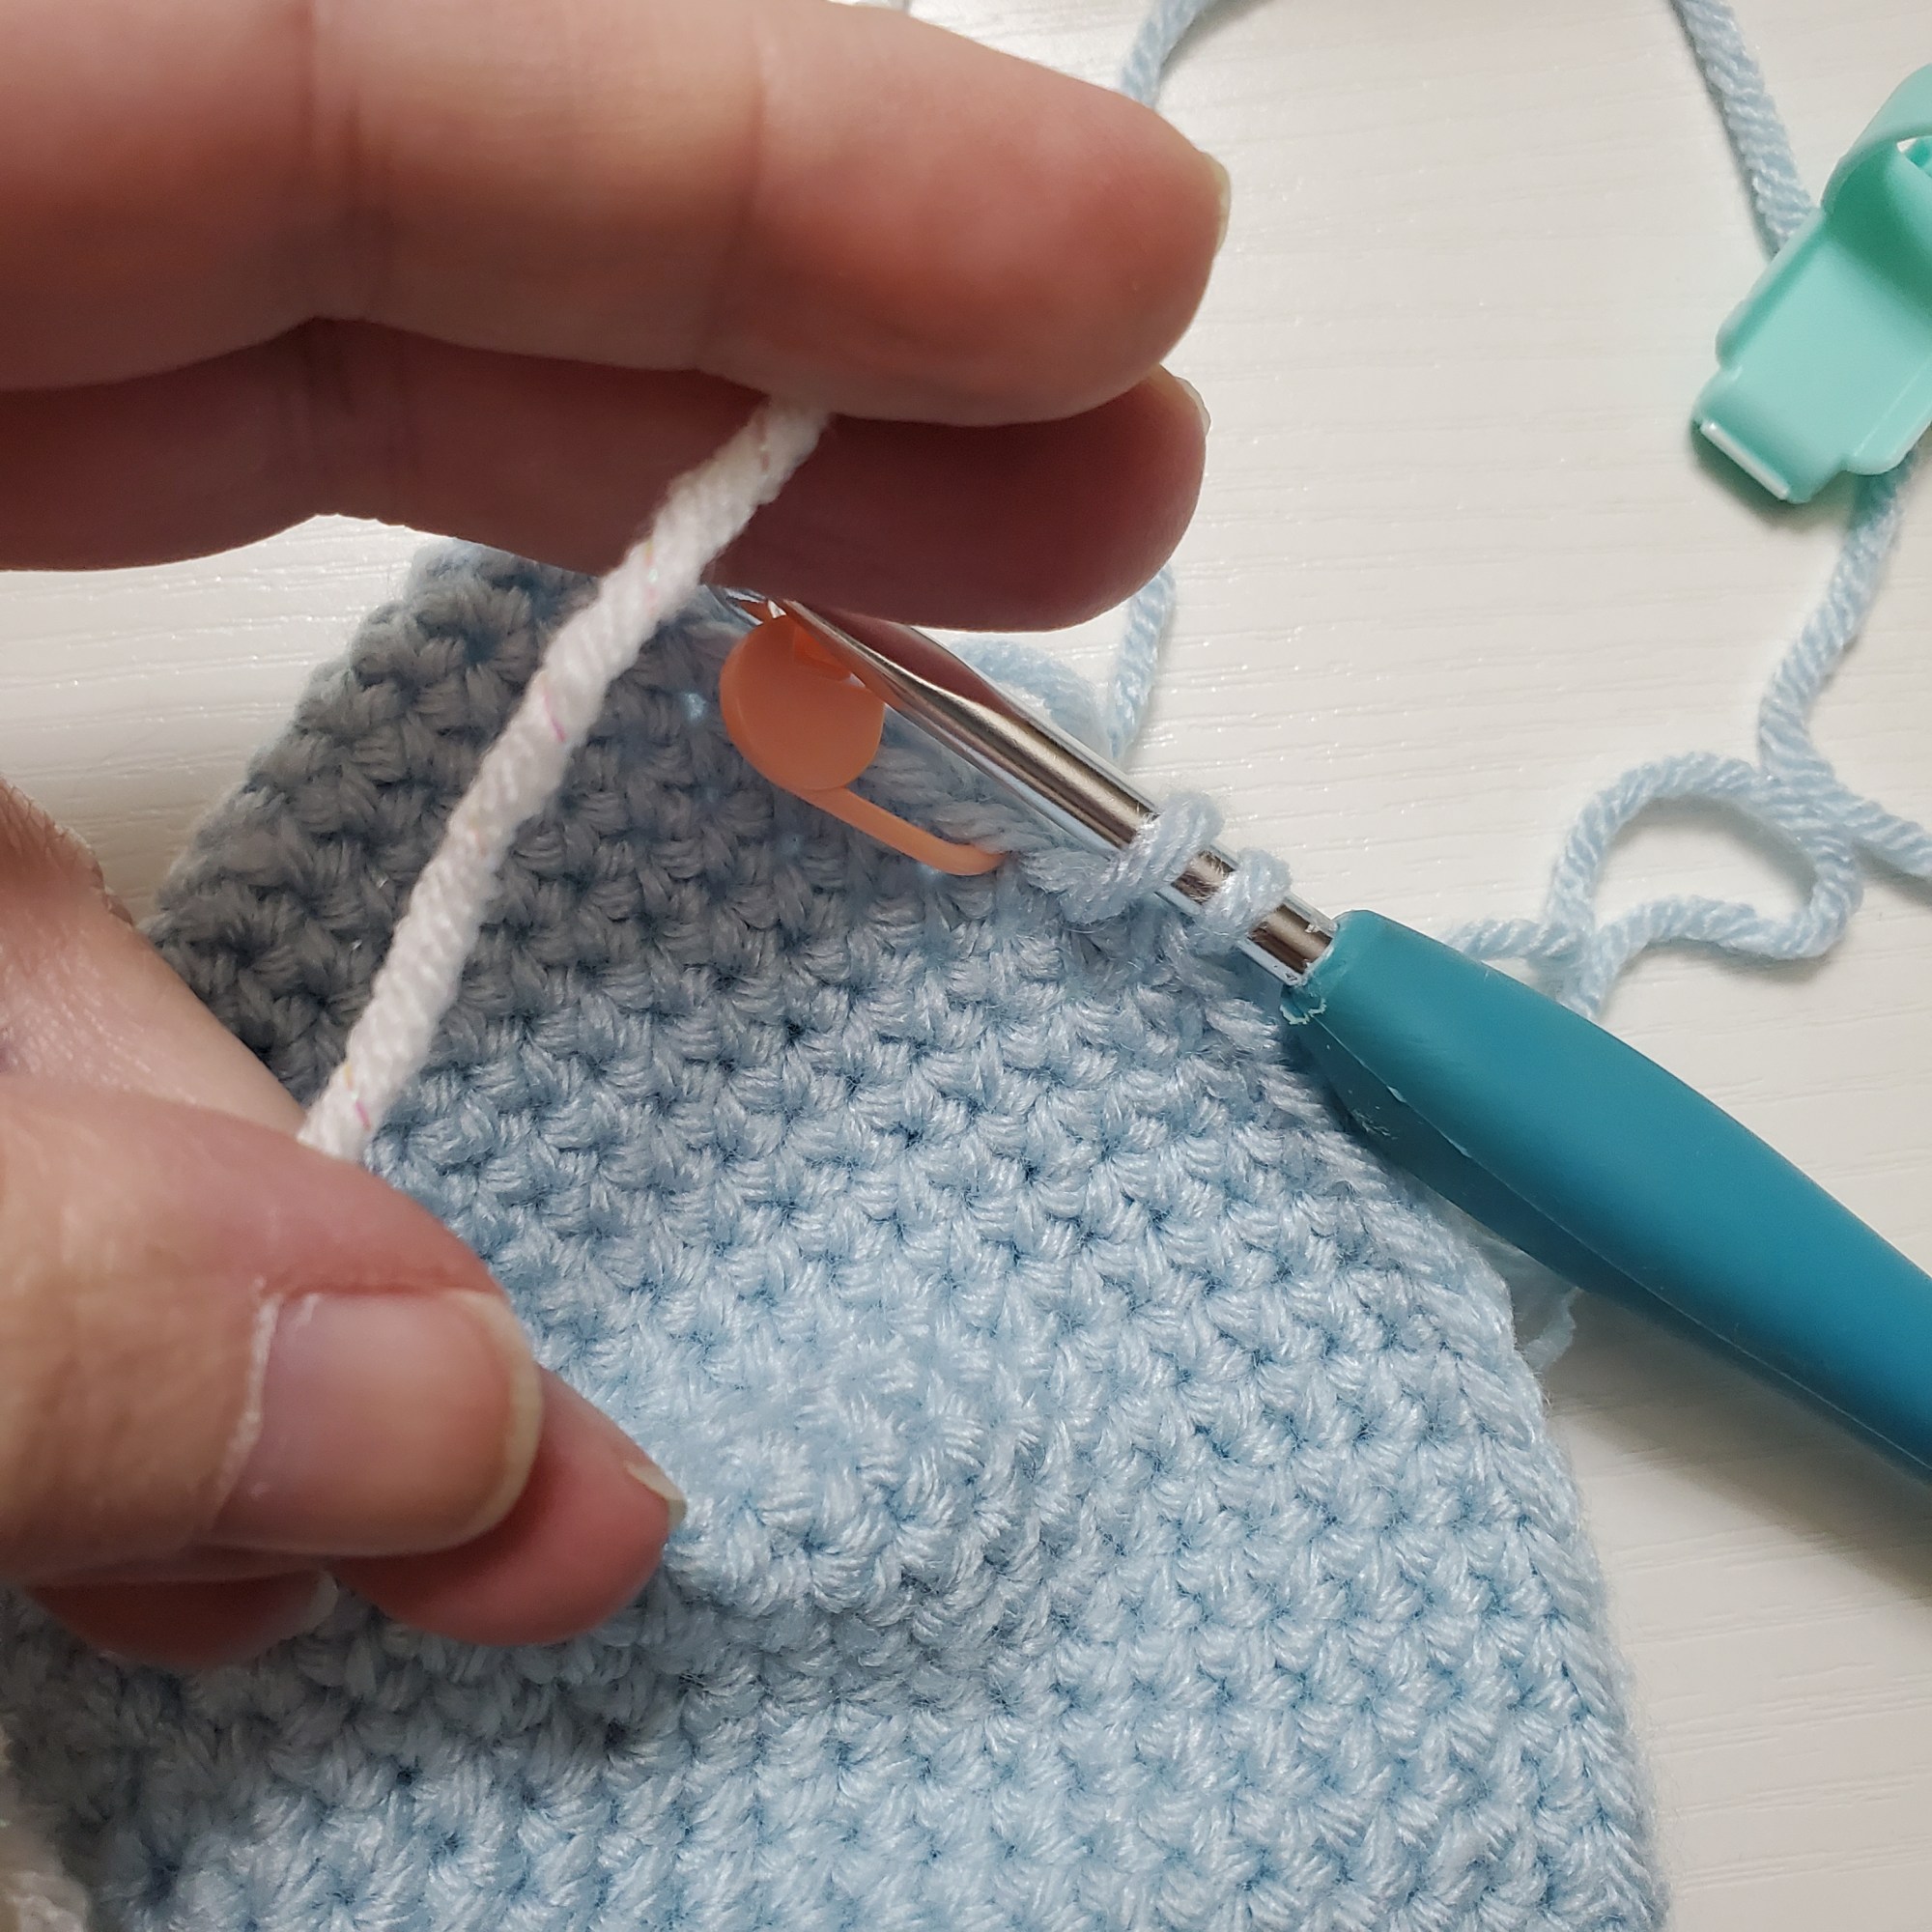
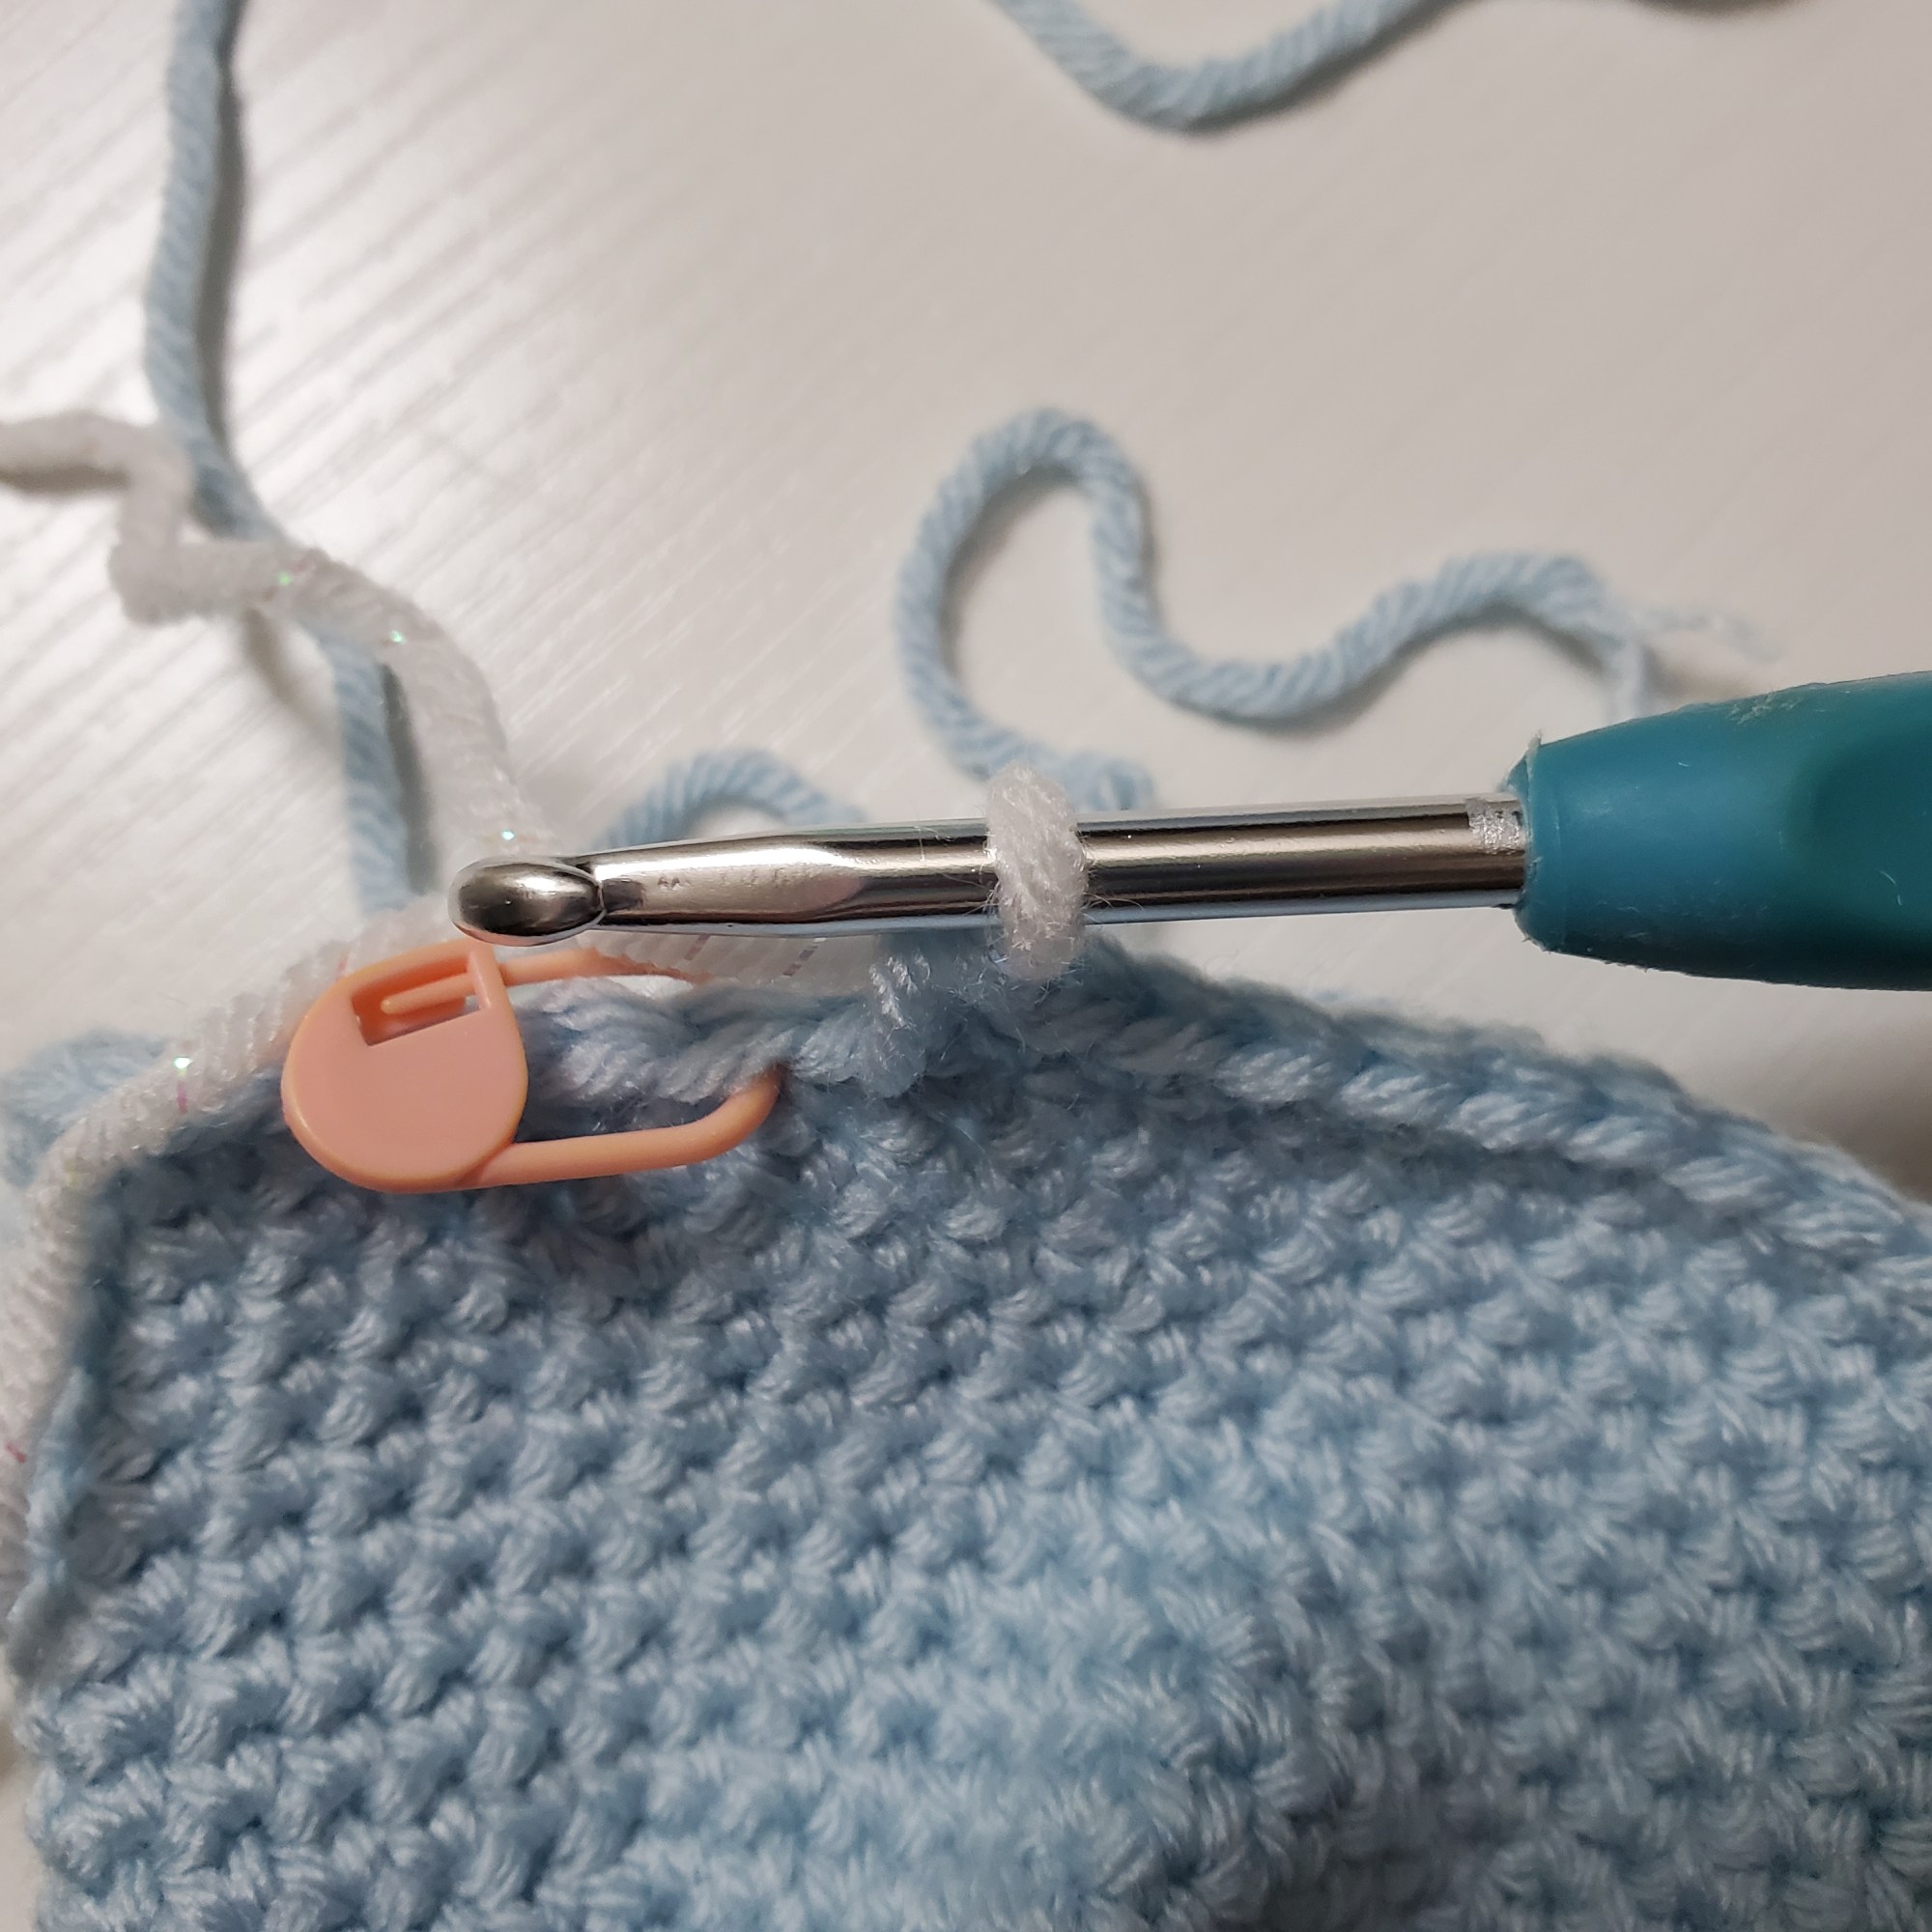
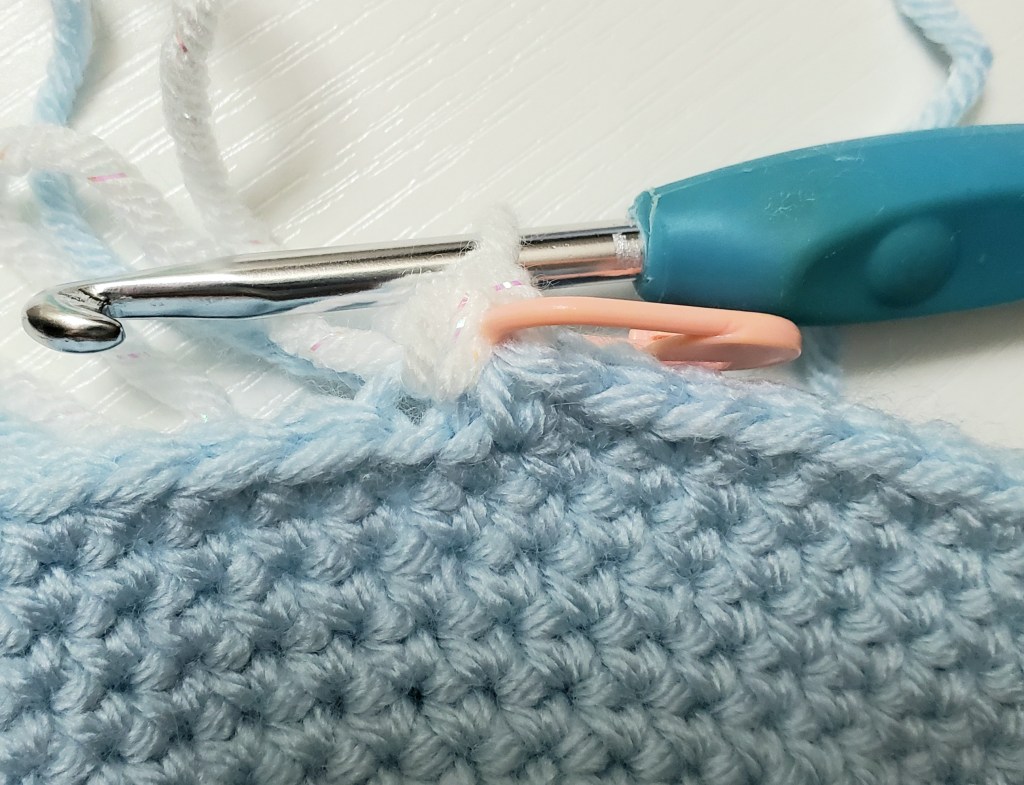
Change to Color B:
Before you complete your last sc in round 18, pull Color B through as the
last loop that completes the stitch. Cut Color A. You will work over both
loose ends of Color A and B for the first few stitches of Rnd 19.
Rnd 19: BLO: 12sc, 24hdc, 12sc [48] ***Place a stitch marker between
hdc 12 and 13. This will help with eye placement.
Rnd 20: (6sc, inv dec) around [42]
Rnd 21: (5sc, inv dec) around [36]
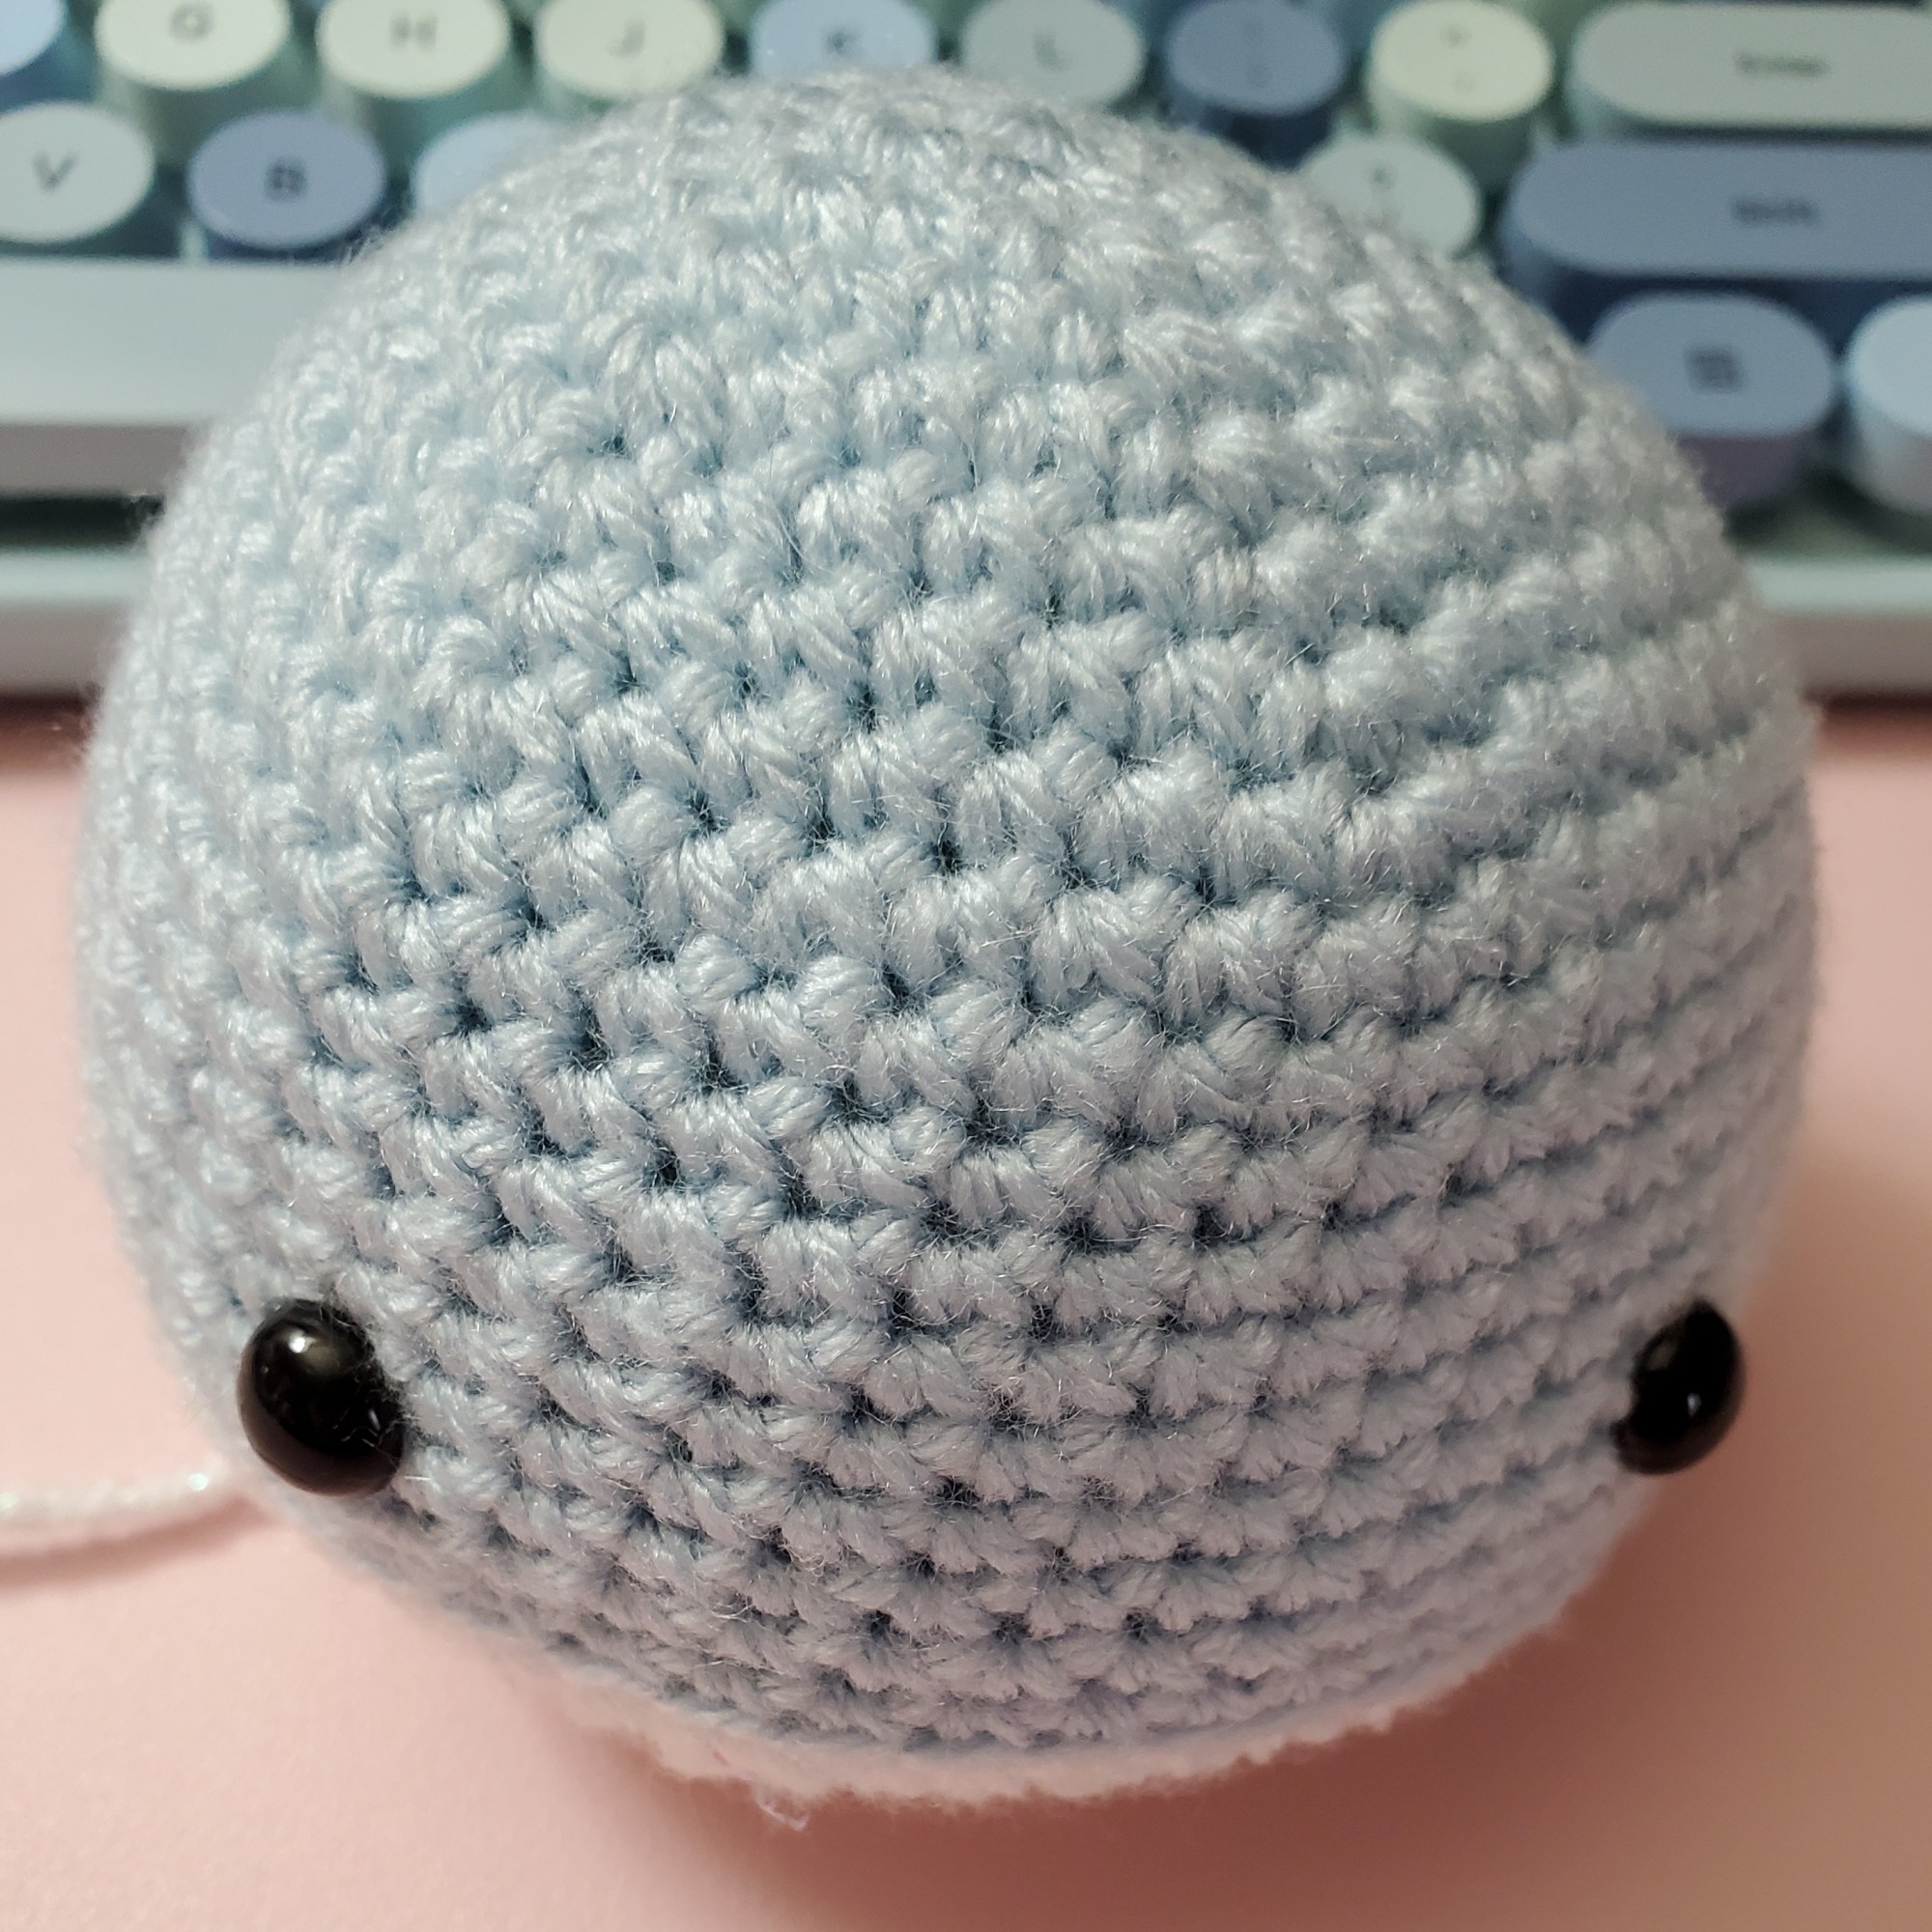
Insert safety eyes. Use the stitch marker that you placed in Rnd 19 to
find the center of the front of the whale. Go up approximately 3 or four
rows, so that you are working between Rnds 15 and 16. Count 6 stitches
from the center and place one eye. Count 6 stitches in the other
direction from the center and place the other eye. Use your judgment
and the pictures provided to find the best placement.
Begin to stuff at this Rnd as well. You will continue to stuff the whale as
you work the next rounds to make sure you fill the entire body. I tend to
stuff my work tightly as fiberfill has a tendency to settle. Correct stuffing
is one of the most important parts to achieving a great outcome in
plushie crochet. Use a stuffing tool to reach hard places and to compact
the stuffing to make sure it fills all areas. Shape your whale as you work
the stuffing in. It is better to use smaller amounts of stuffing and keep
turning your whale in a circle as you stuff. This will ensure that all sides
are equally filled and that a round appearance is achieved.
Rnd 22: (4sc, inv dec) around [30]
Rnd 23: (3sc, inv dec) around [24]
Rnd 24: (2sc, inv dec) around [18]
Rnd 25: (sc, inv dec) around [12]
Rnd 26: inv dec around [6]
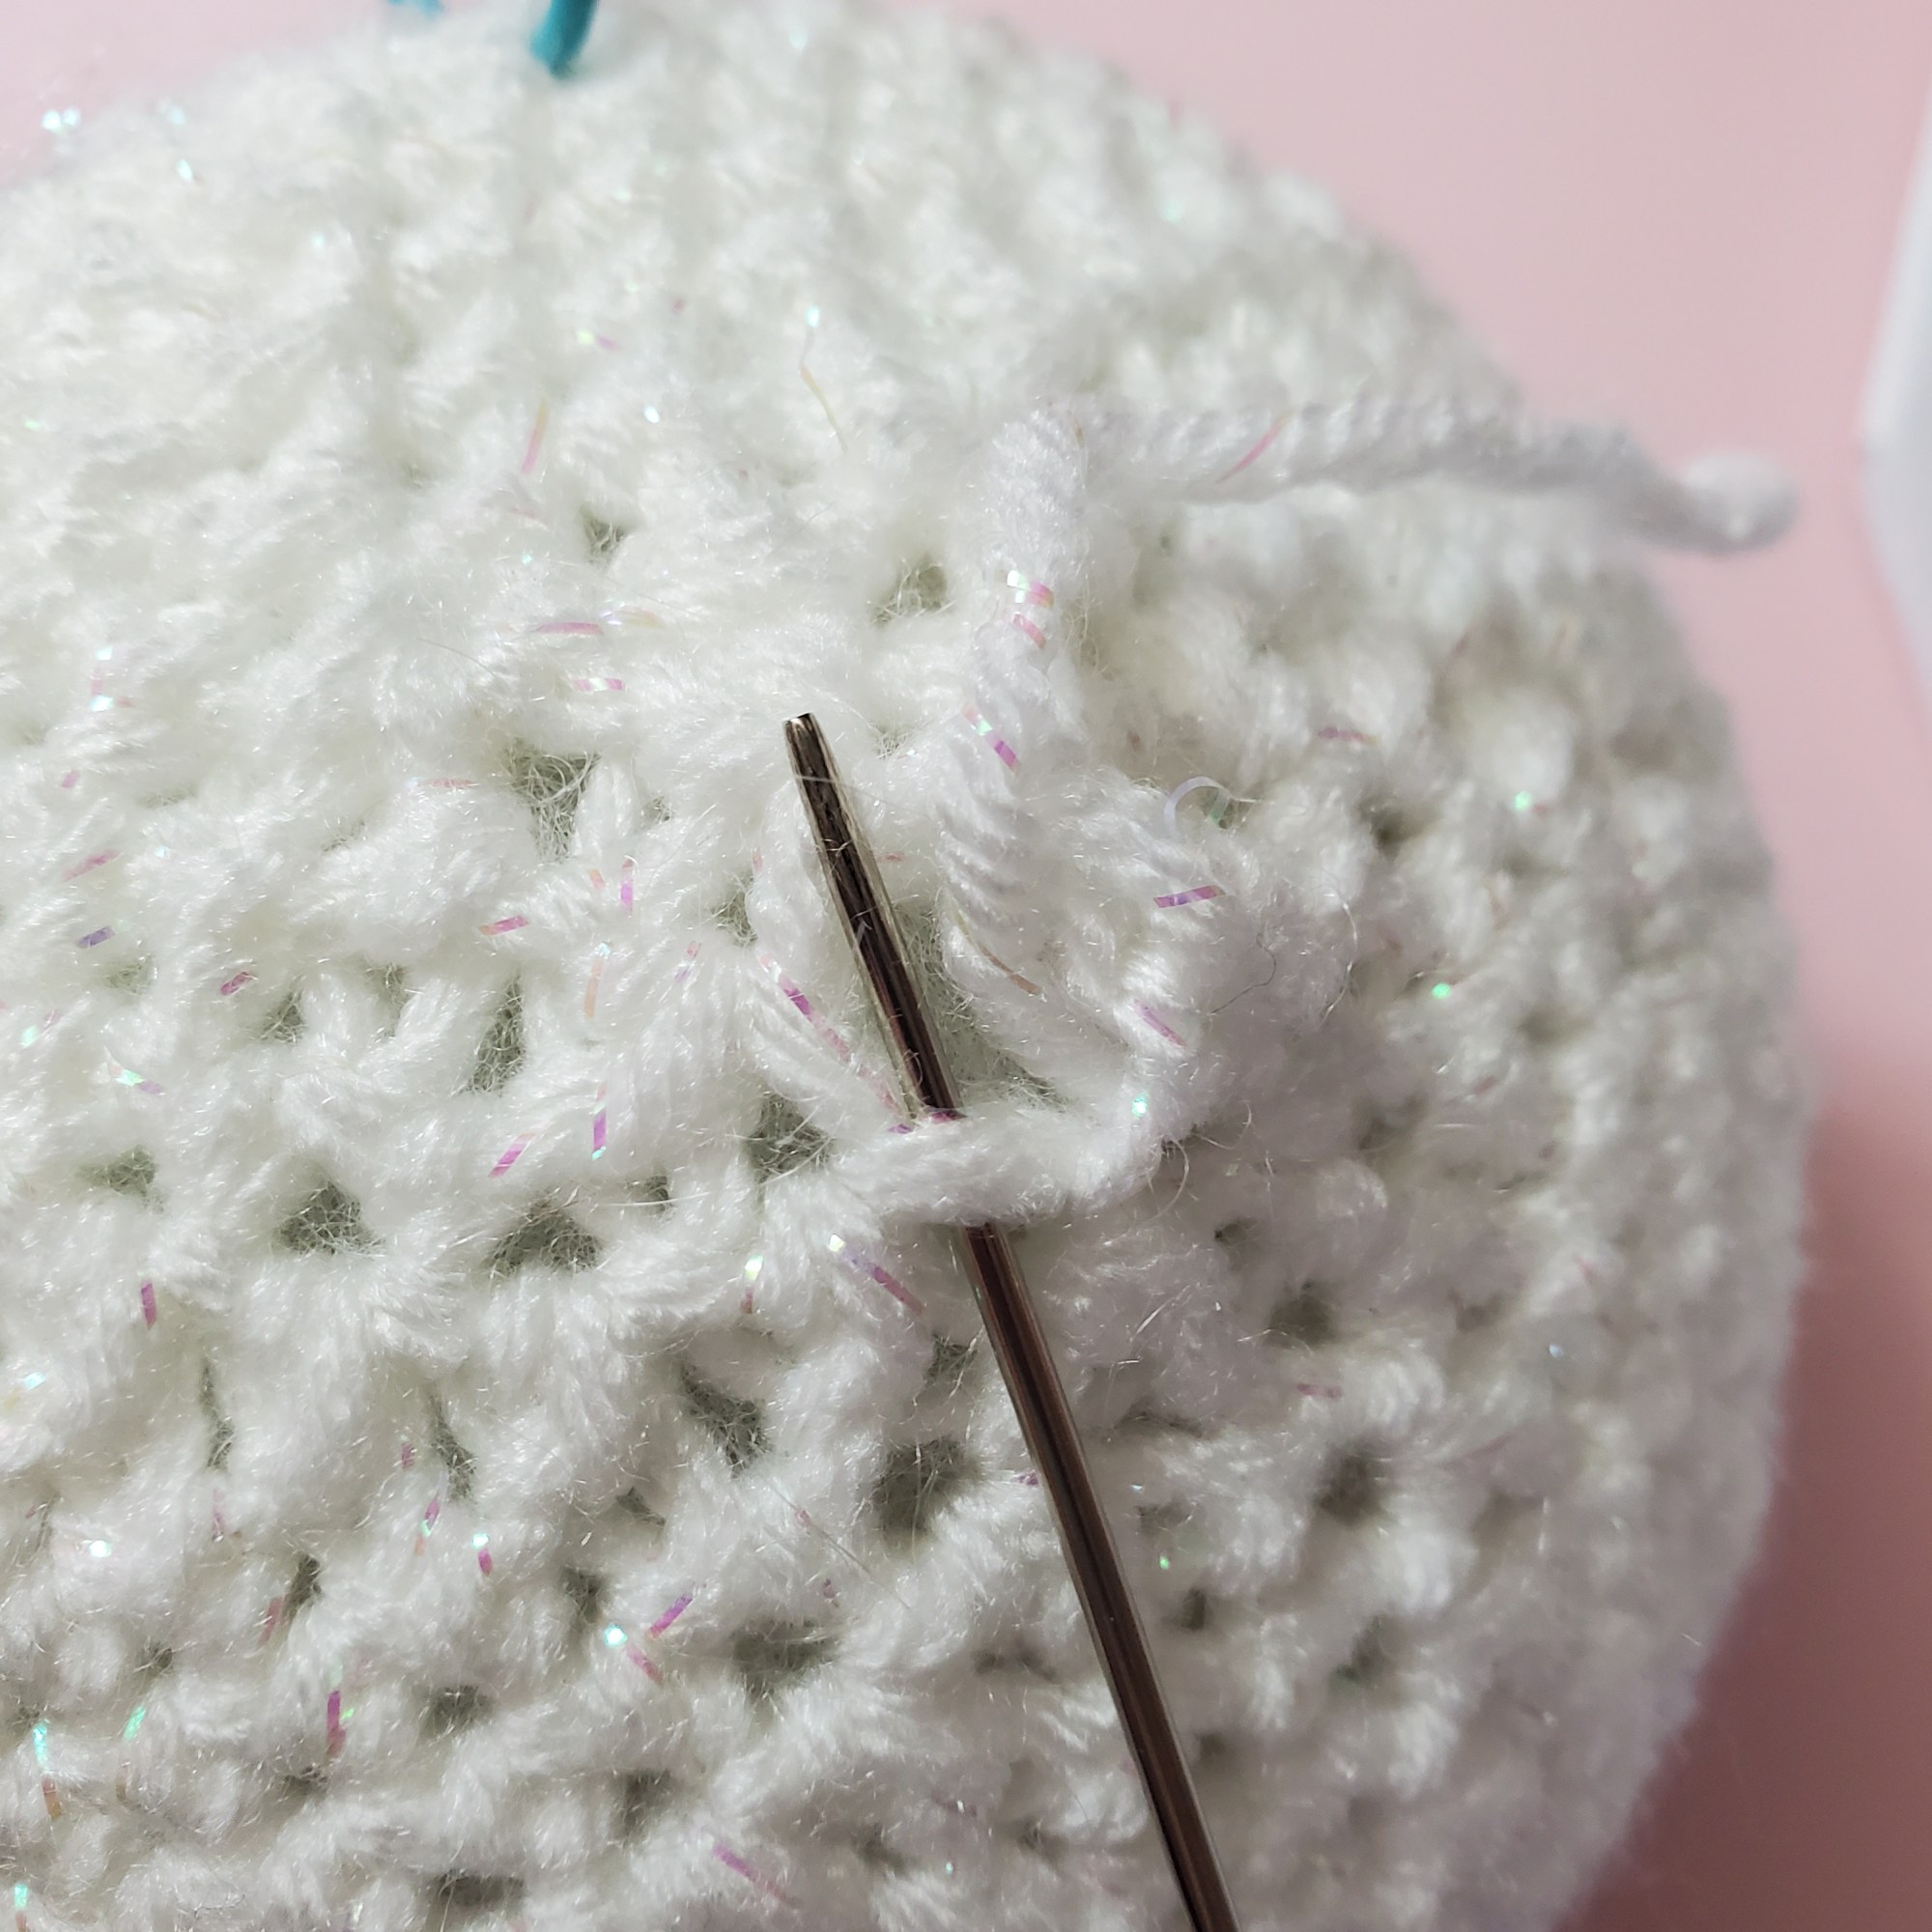
Cut yarn and finish off, leaving a long end for sewing. Thread the tail of
yarn into a yarn needle. Weave yarn through the front loops of round 26.
Pull tight. Tie off and run yarn through the body of the whale. Pull tight
and cut yarn so that it is hidden inside the whale body.
Here is the visuals of the process:


Beginner Detailed Instructions
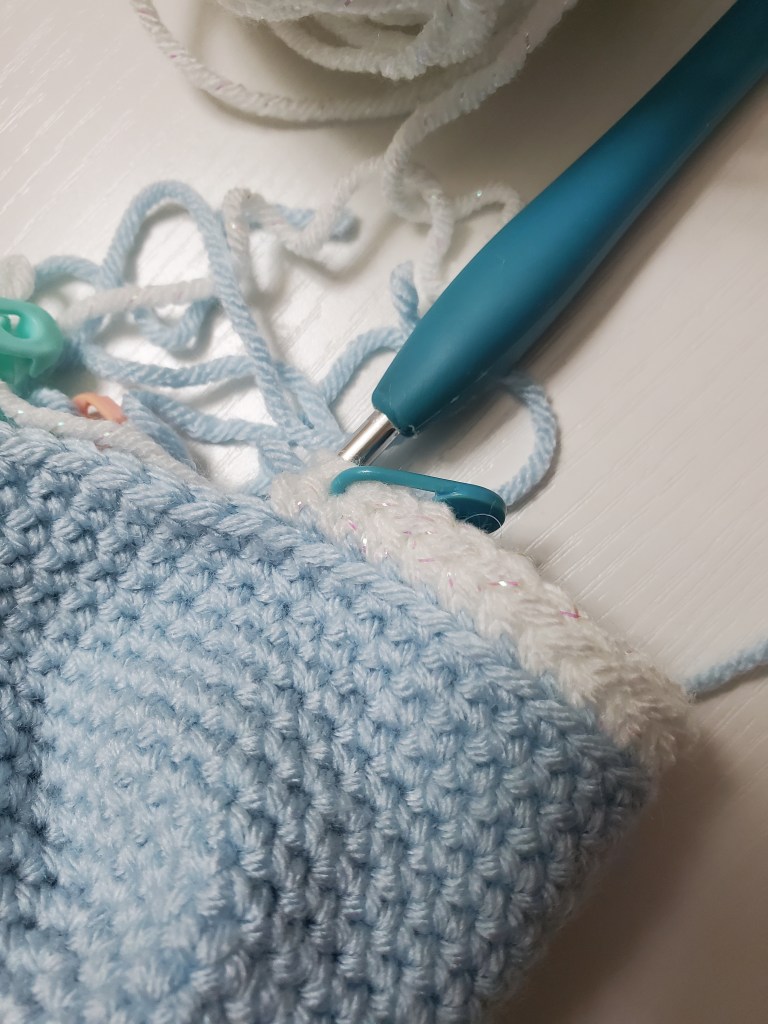
The first step in Lesson 4 is that you will need to change colors. The color change happens in the last stitch of the previous rnd. Which means if you crocheted the last stitch in rnd 18. Pull it back out. Crochet it halfway through.
Change to Color B:
Before you complete your last sc in round 18, pull Color B through as the
last loop that completes the stitch. Cut Color A. You will work over both
loose ends of Color A and B for the first few stitches of Rnd 19.
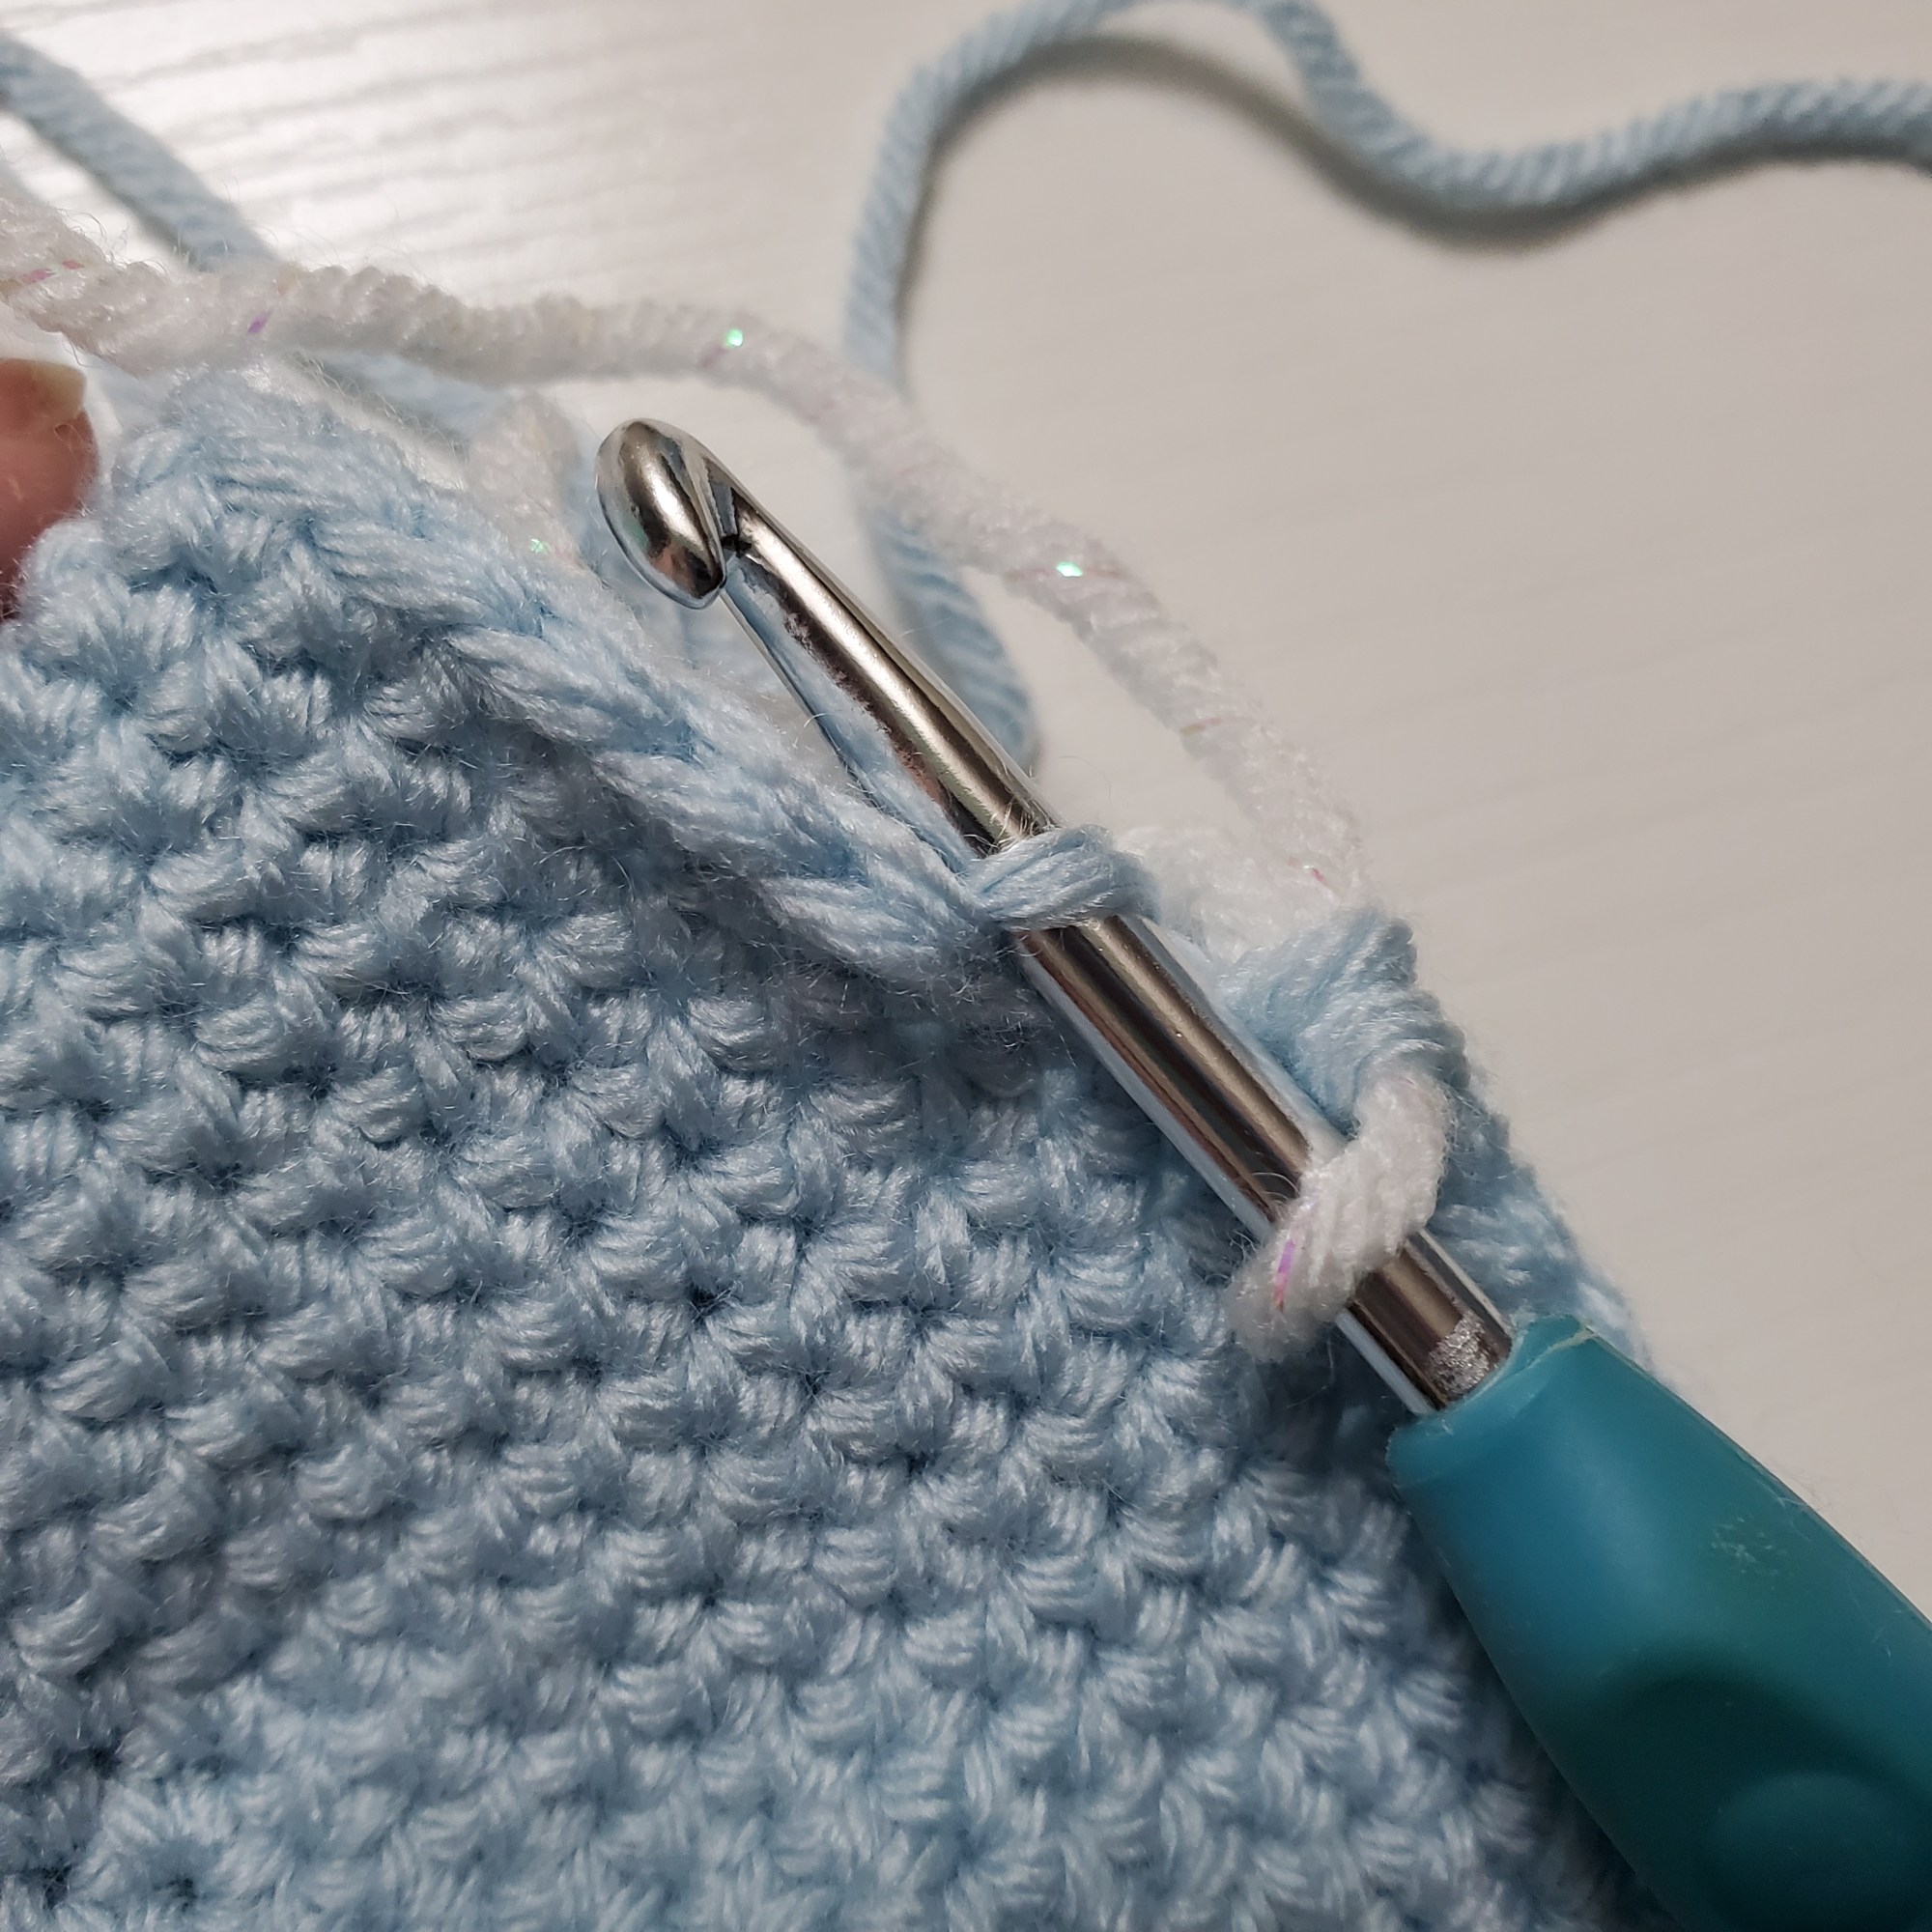
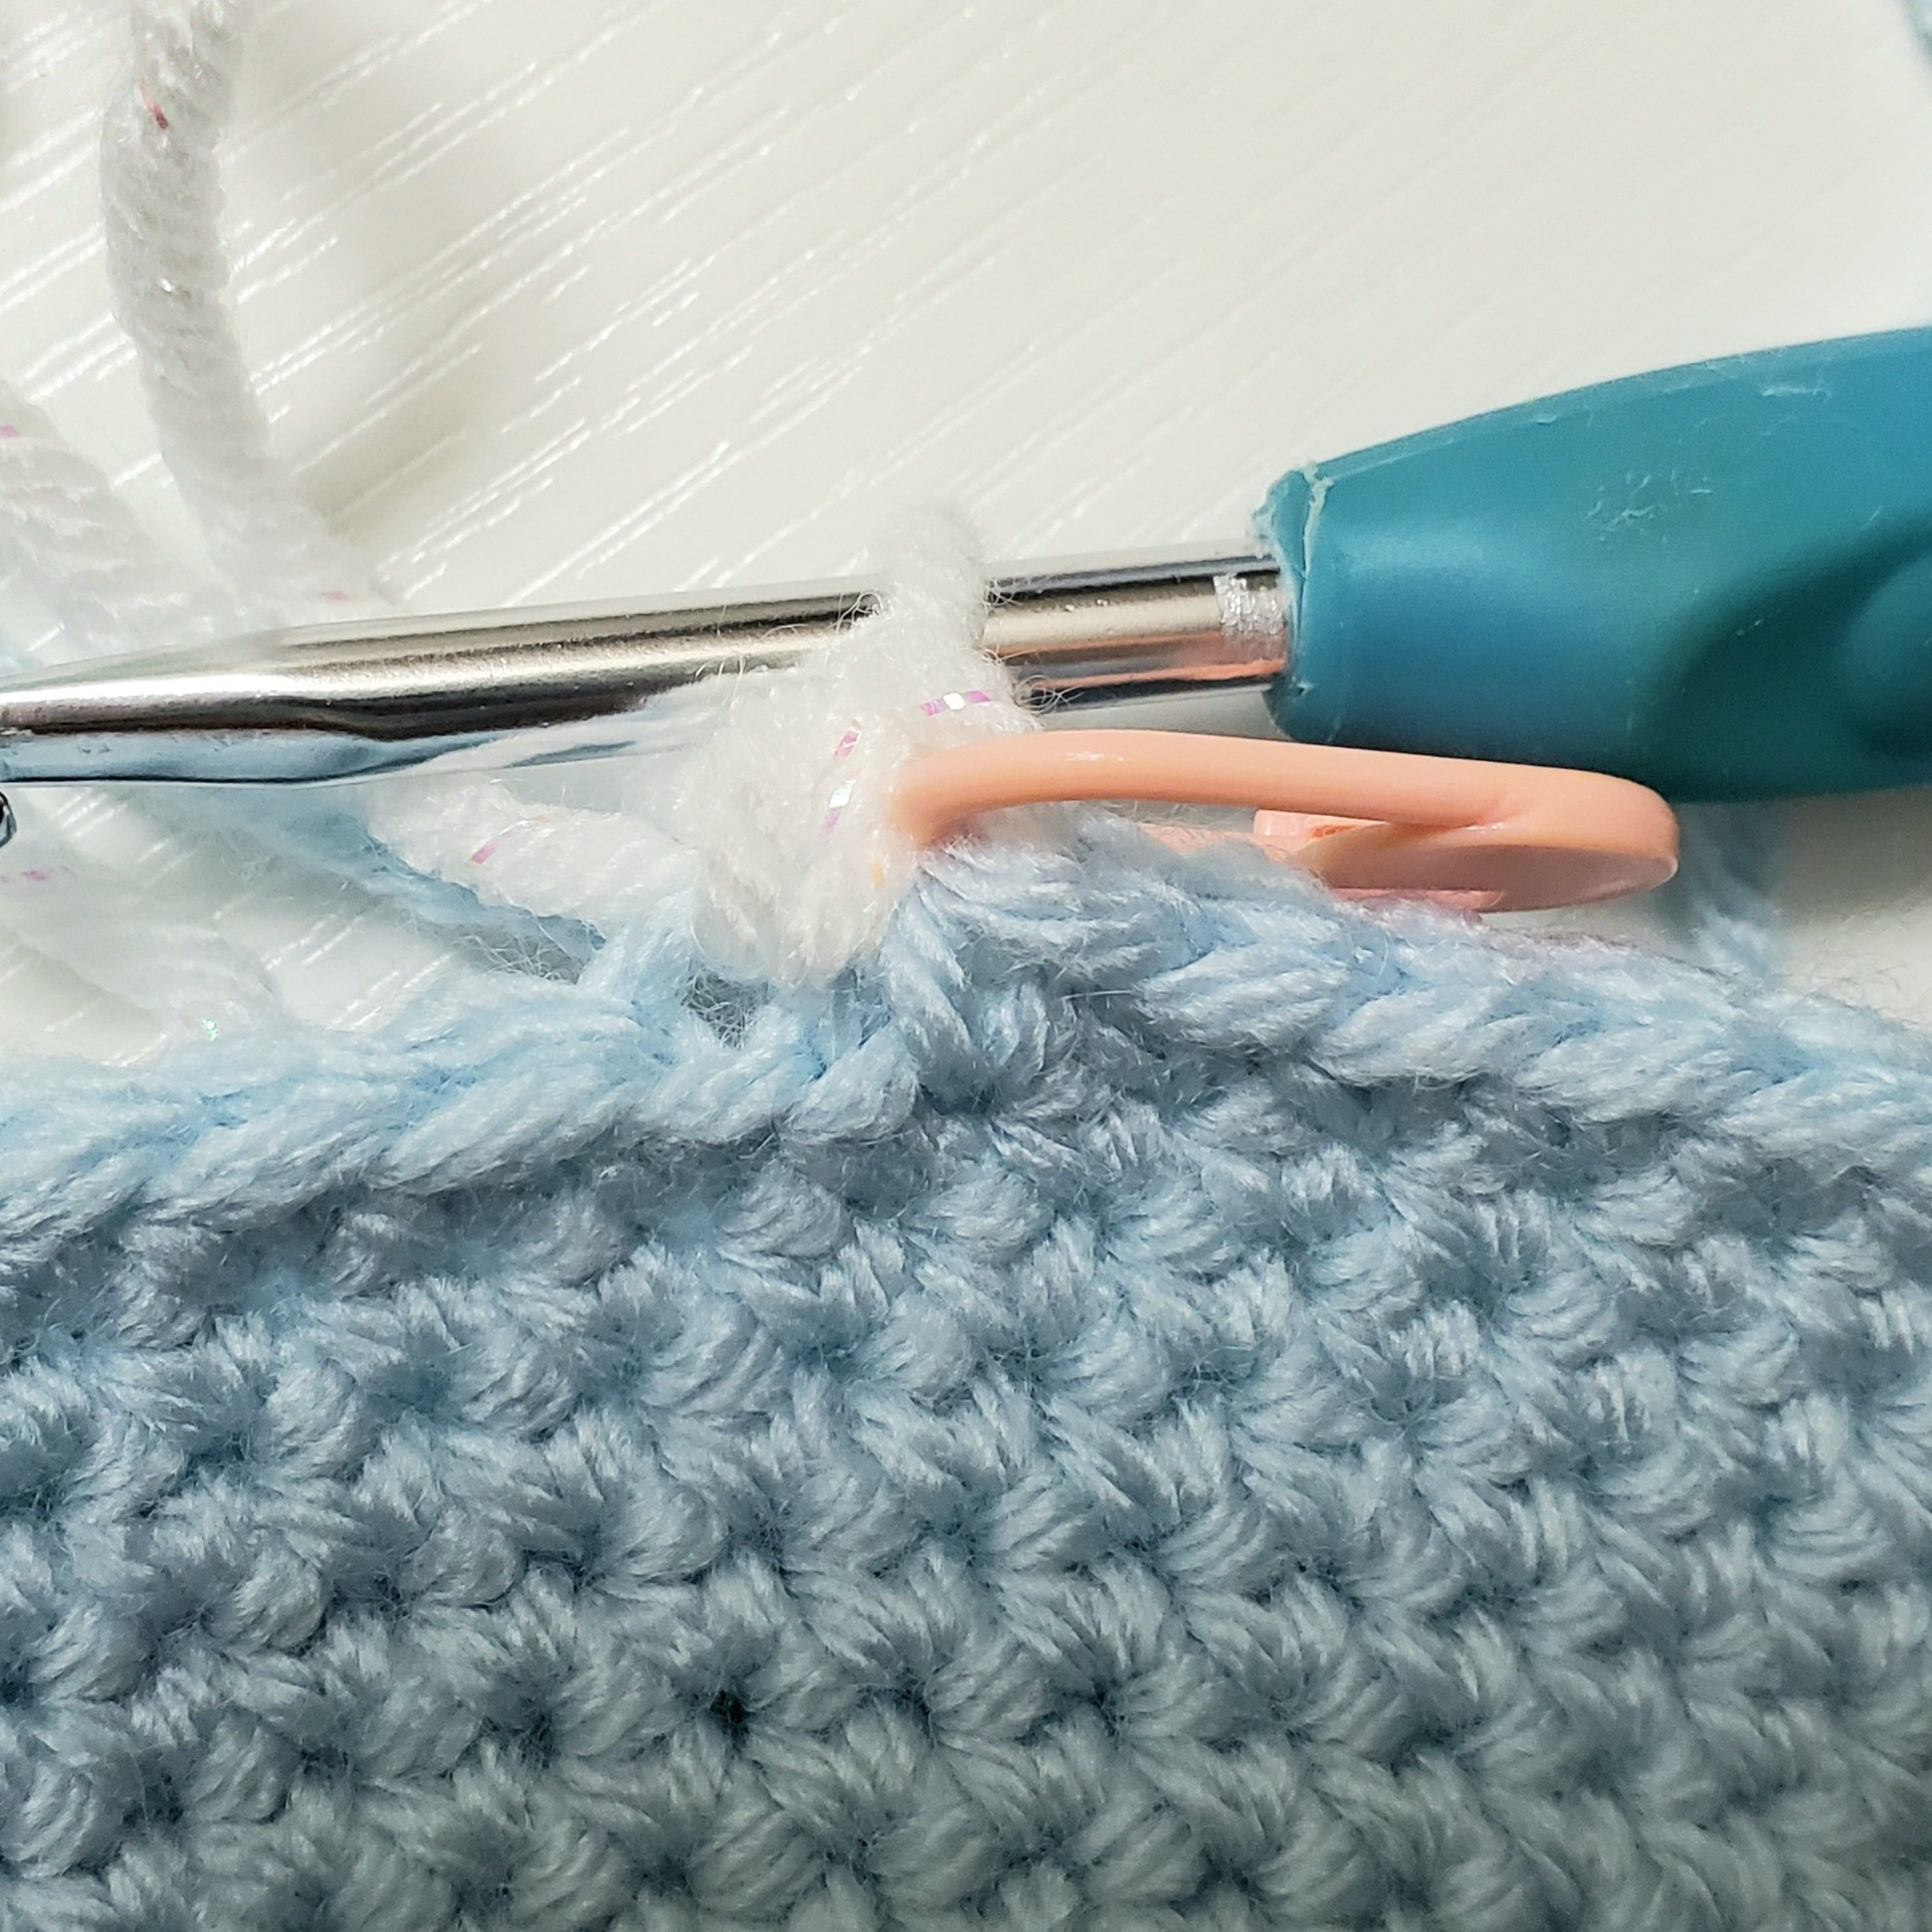
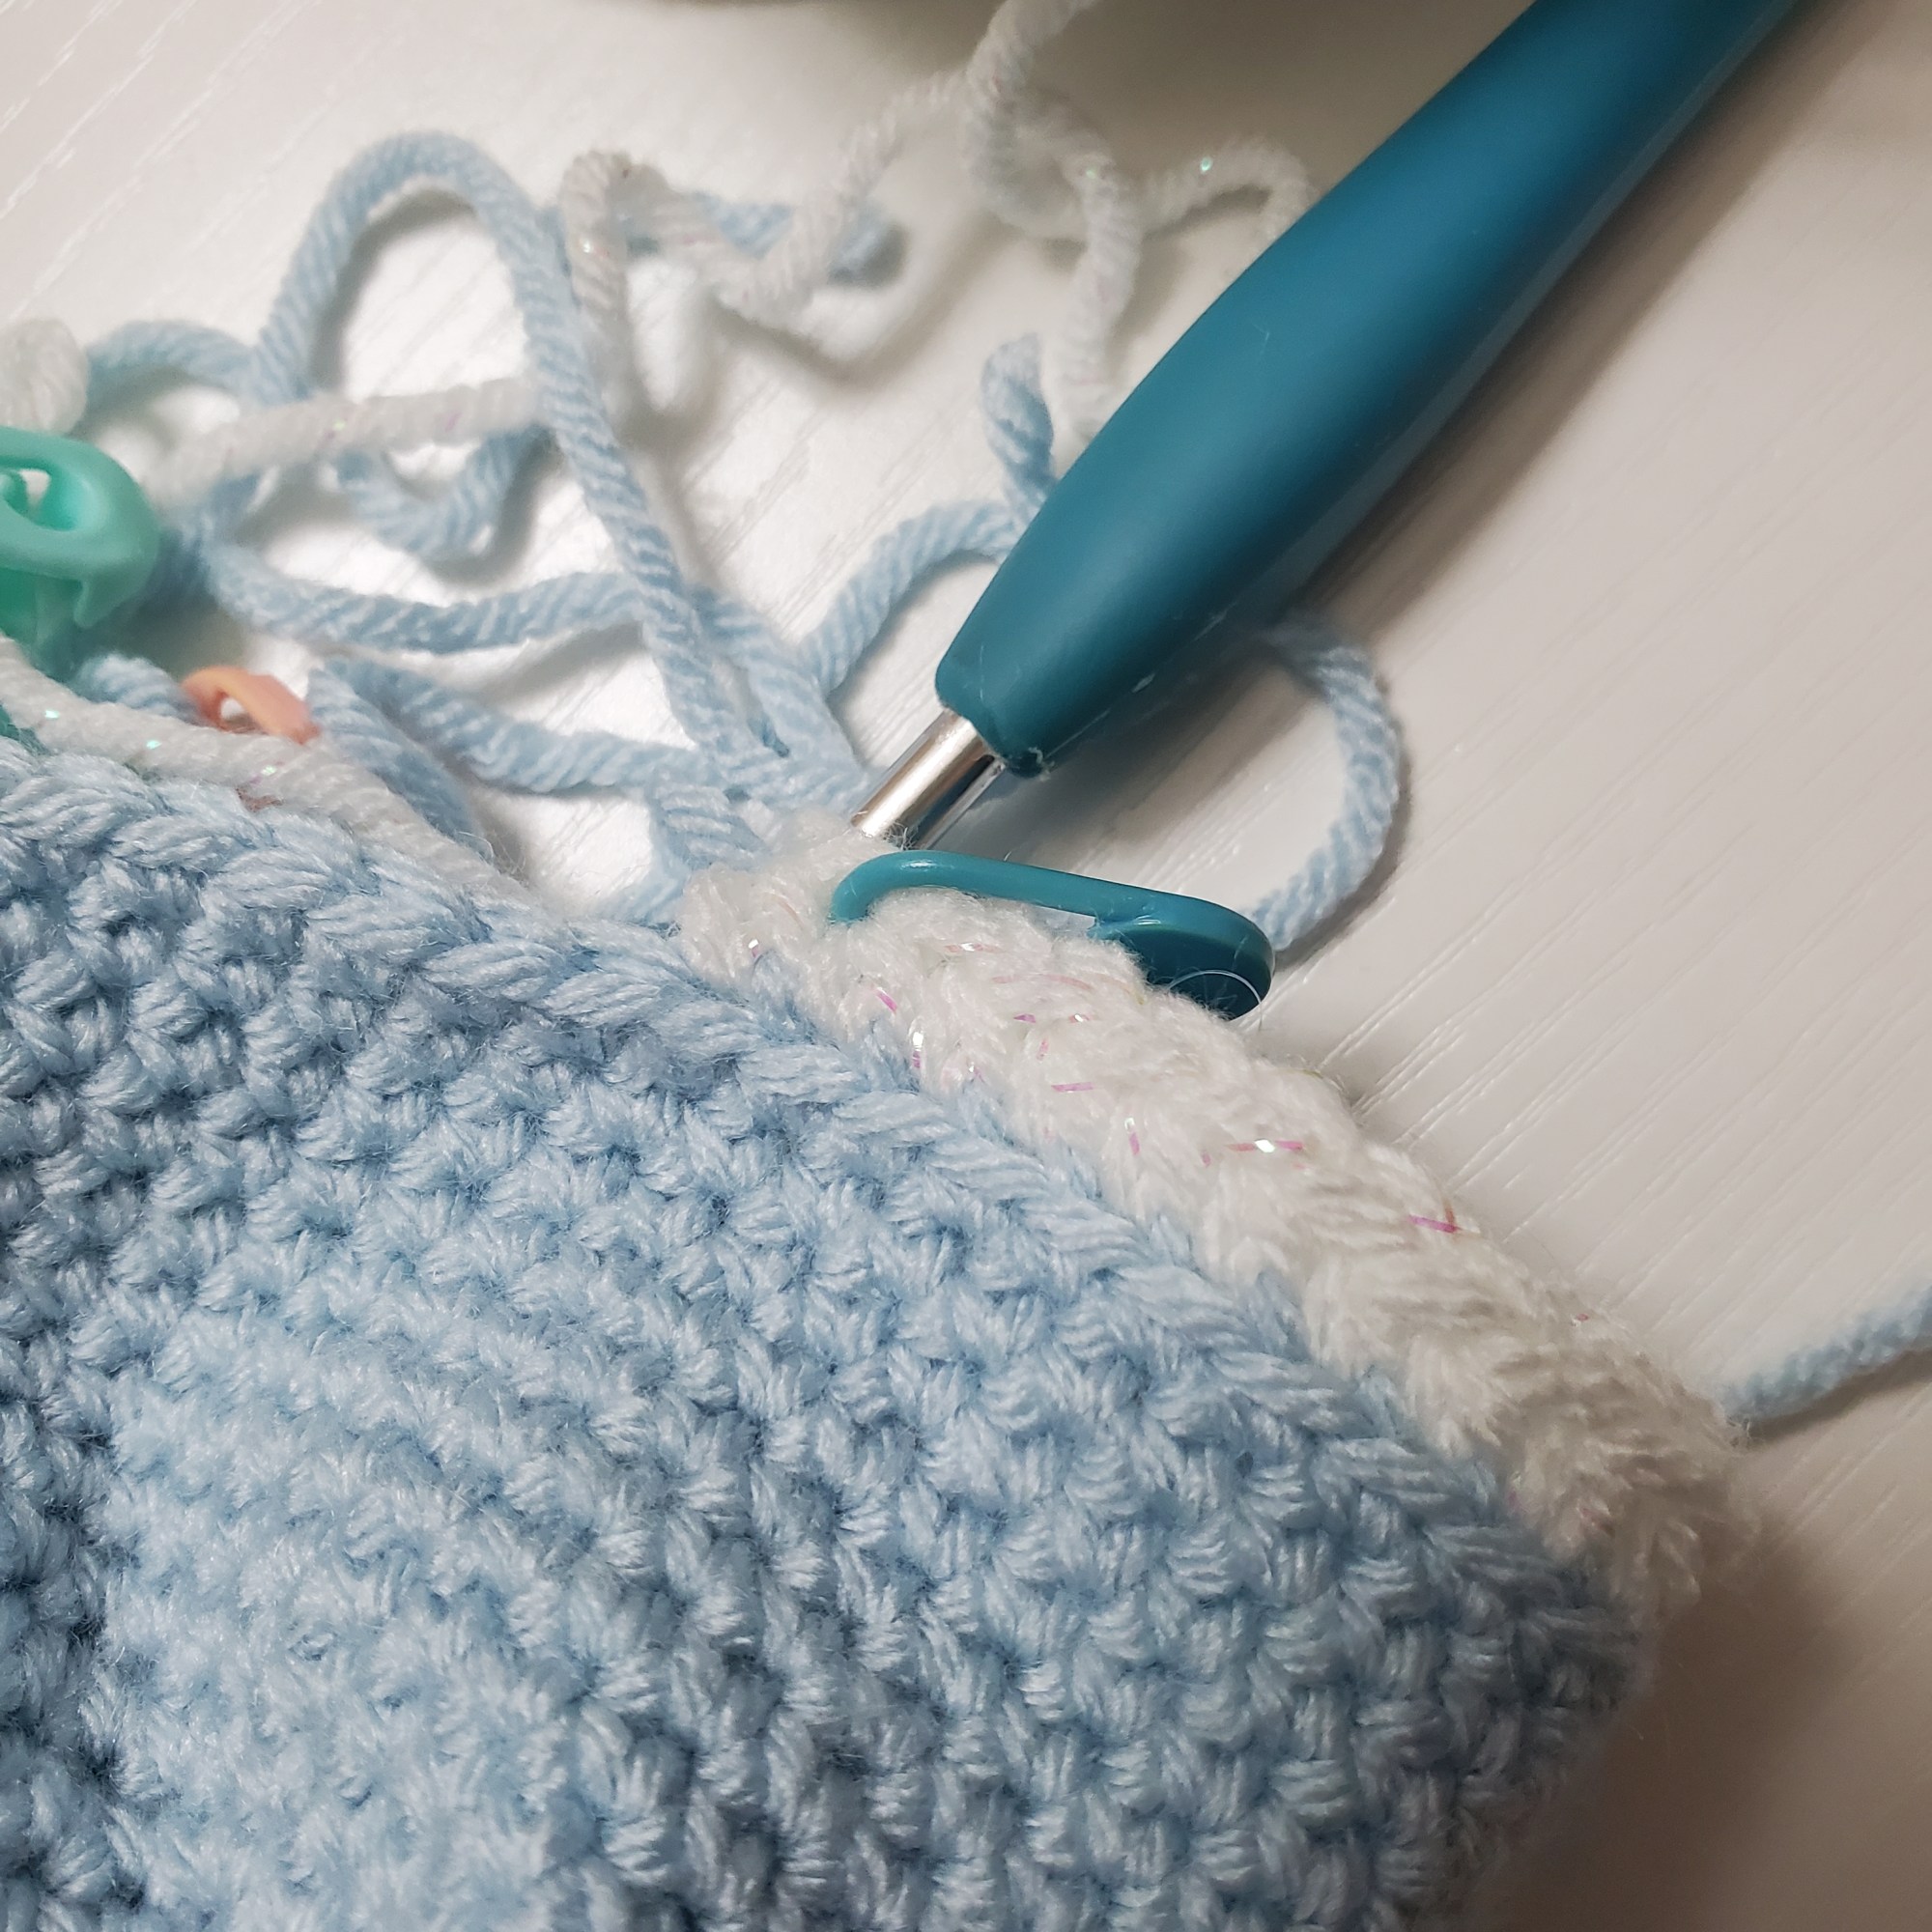
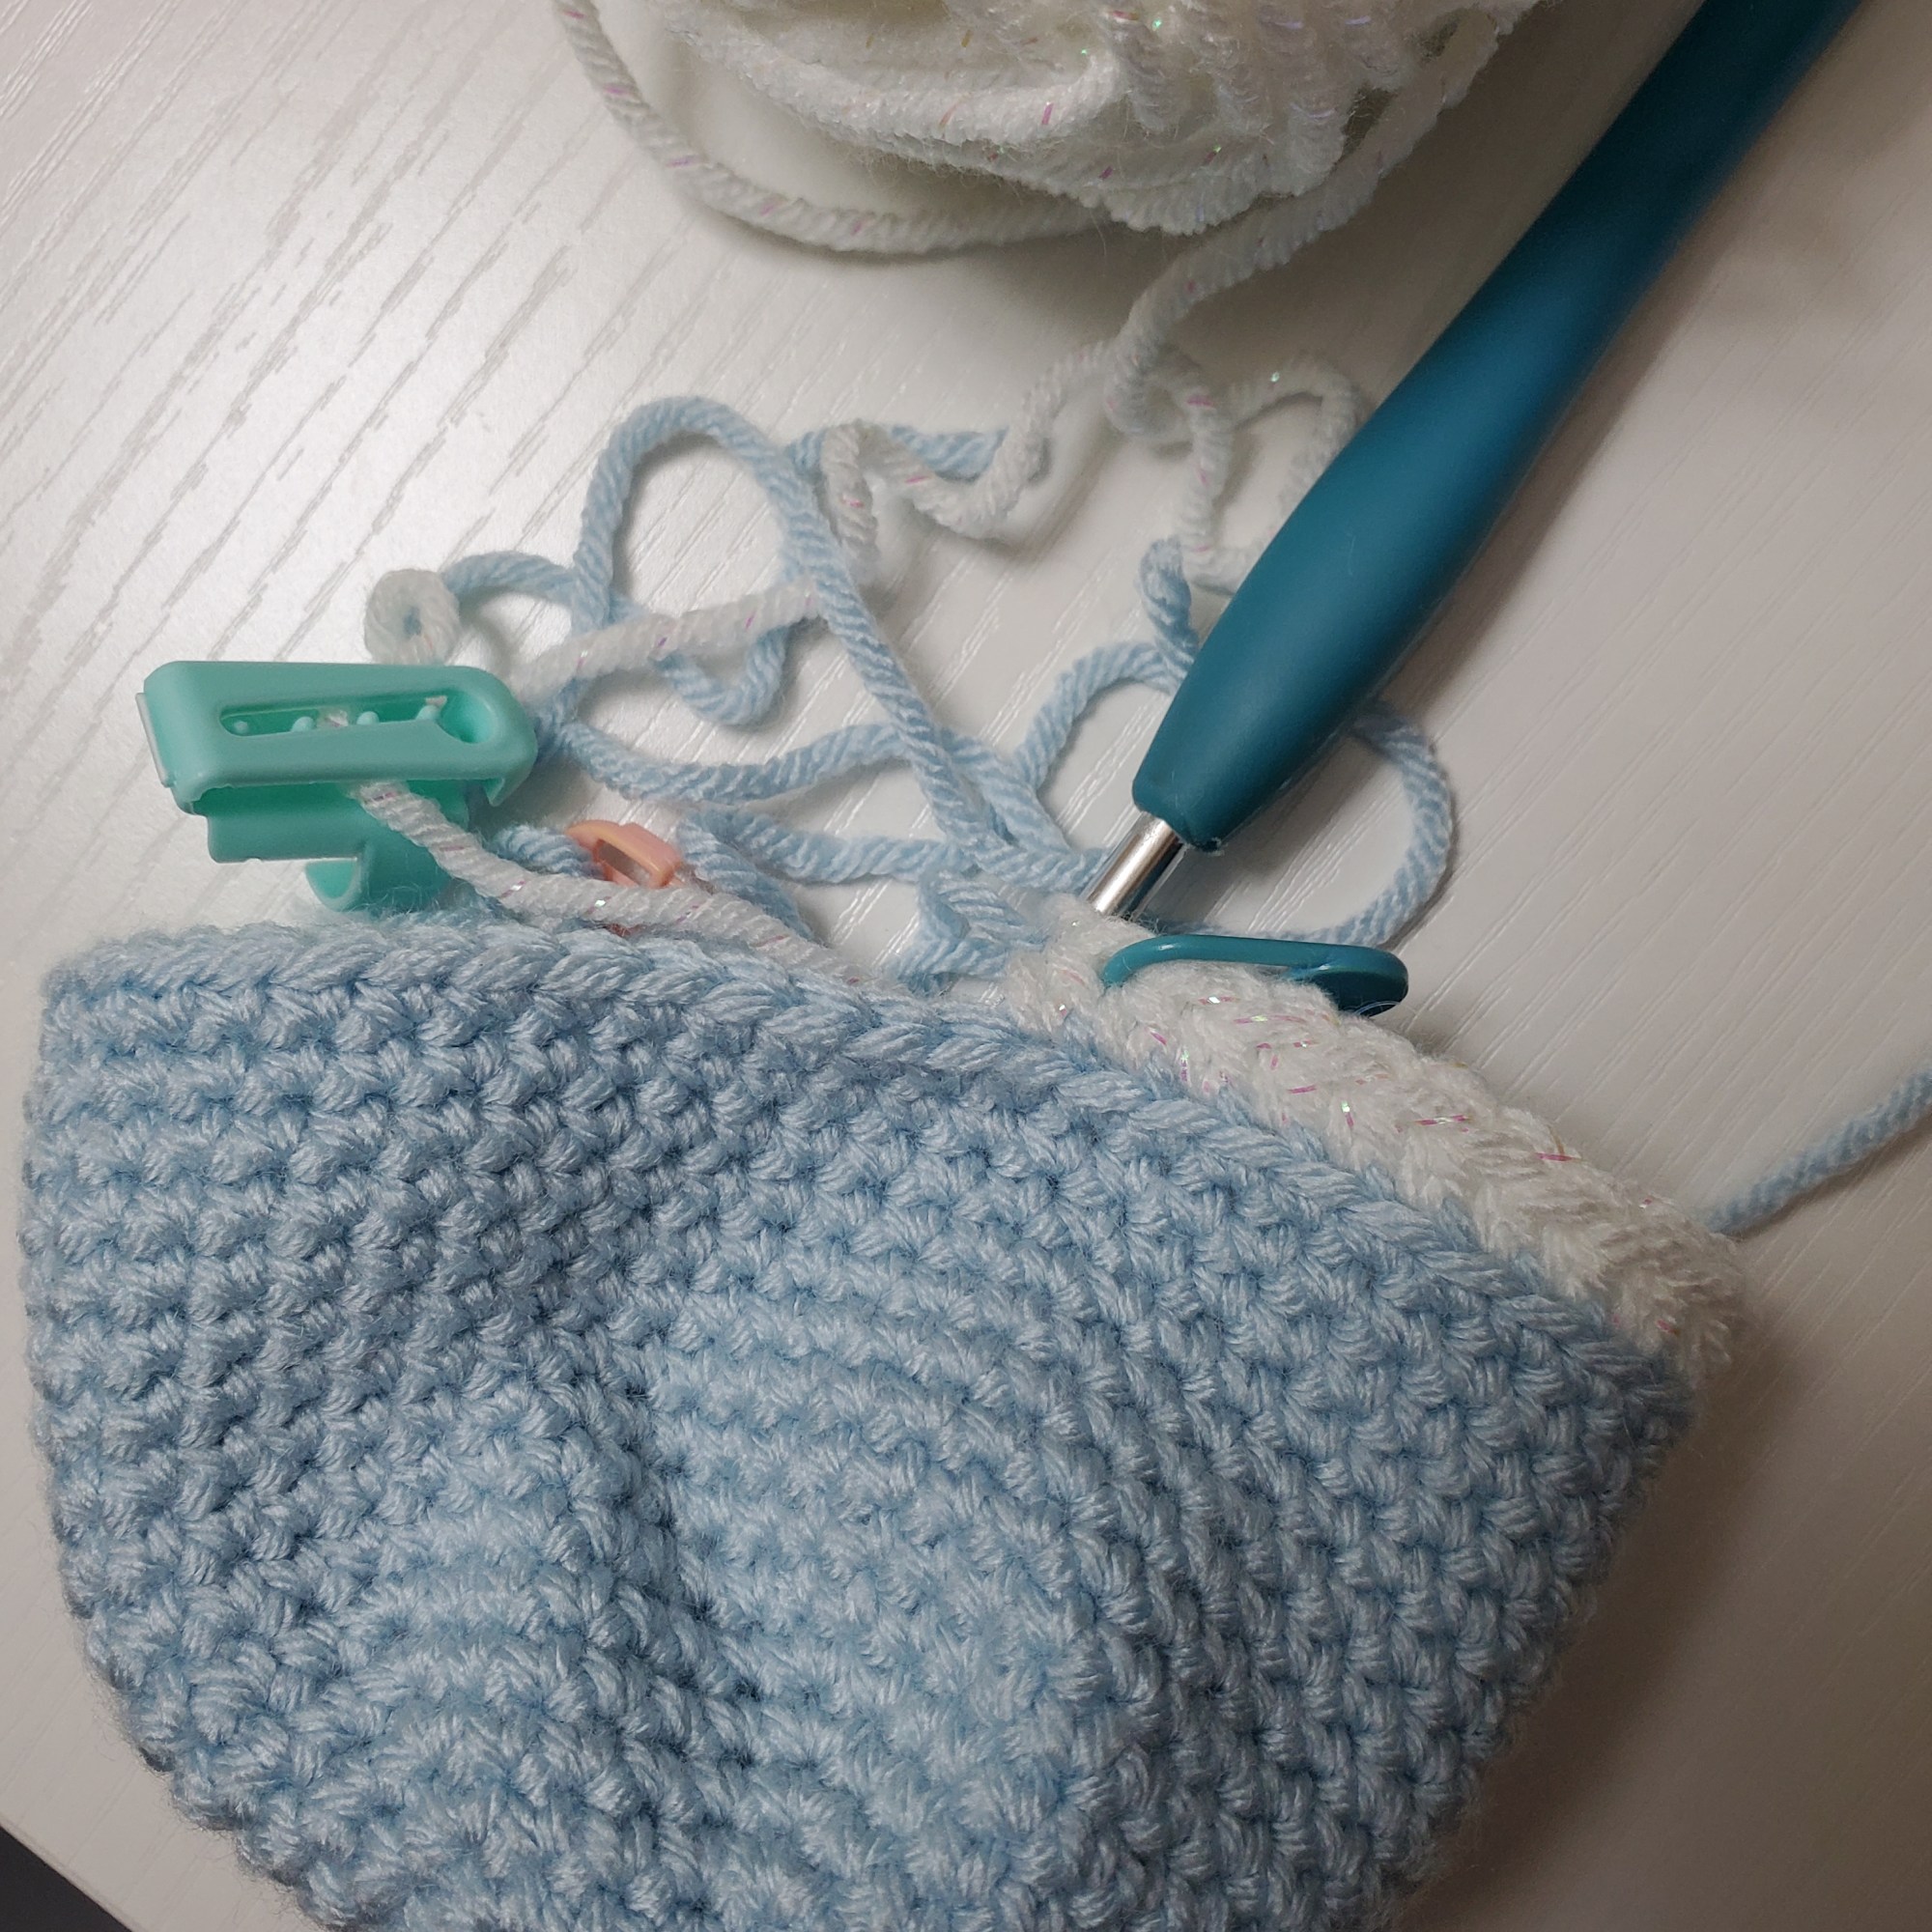
Your color change should look like this:
Here’s a video of how to change colors:
Your next rounds are these:
Rnd 19: BLO: 12sc, 24hdc, 12sc [48] ***Place a stitch marker between
hdc 12 and 13. This will help with eye placement.
Rnd 21: (5sc, inv dec) around [36]
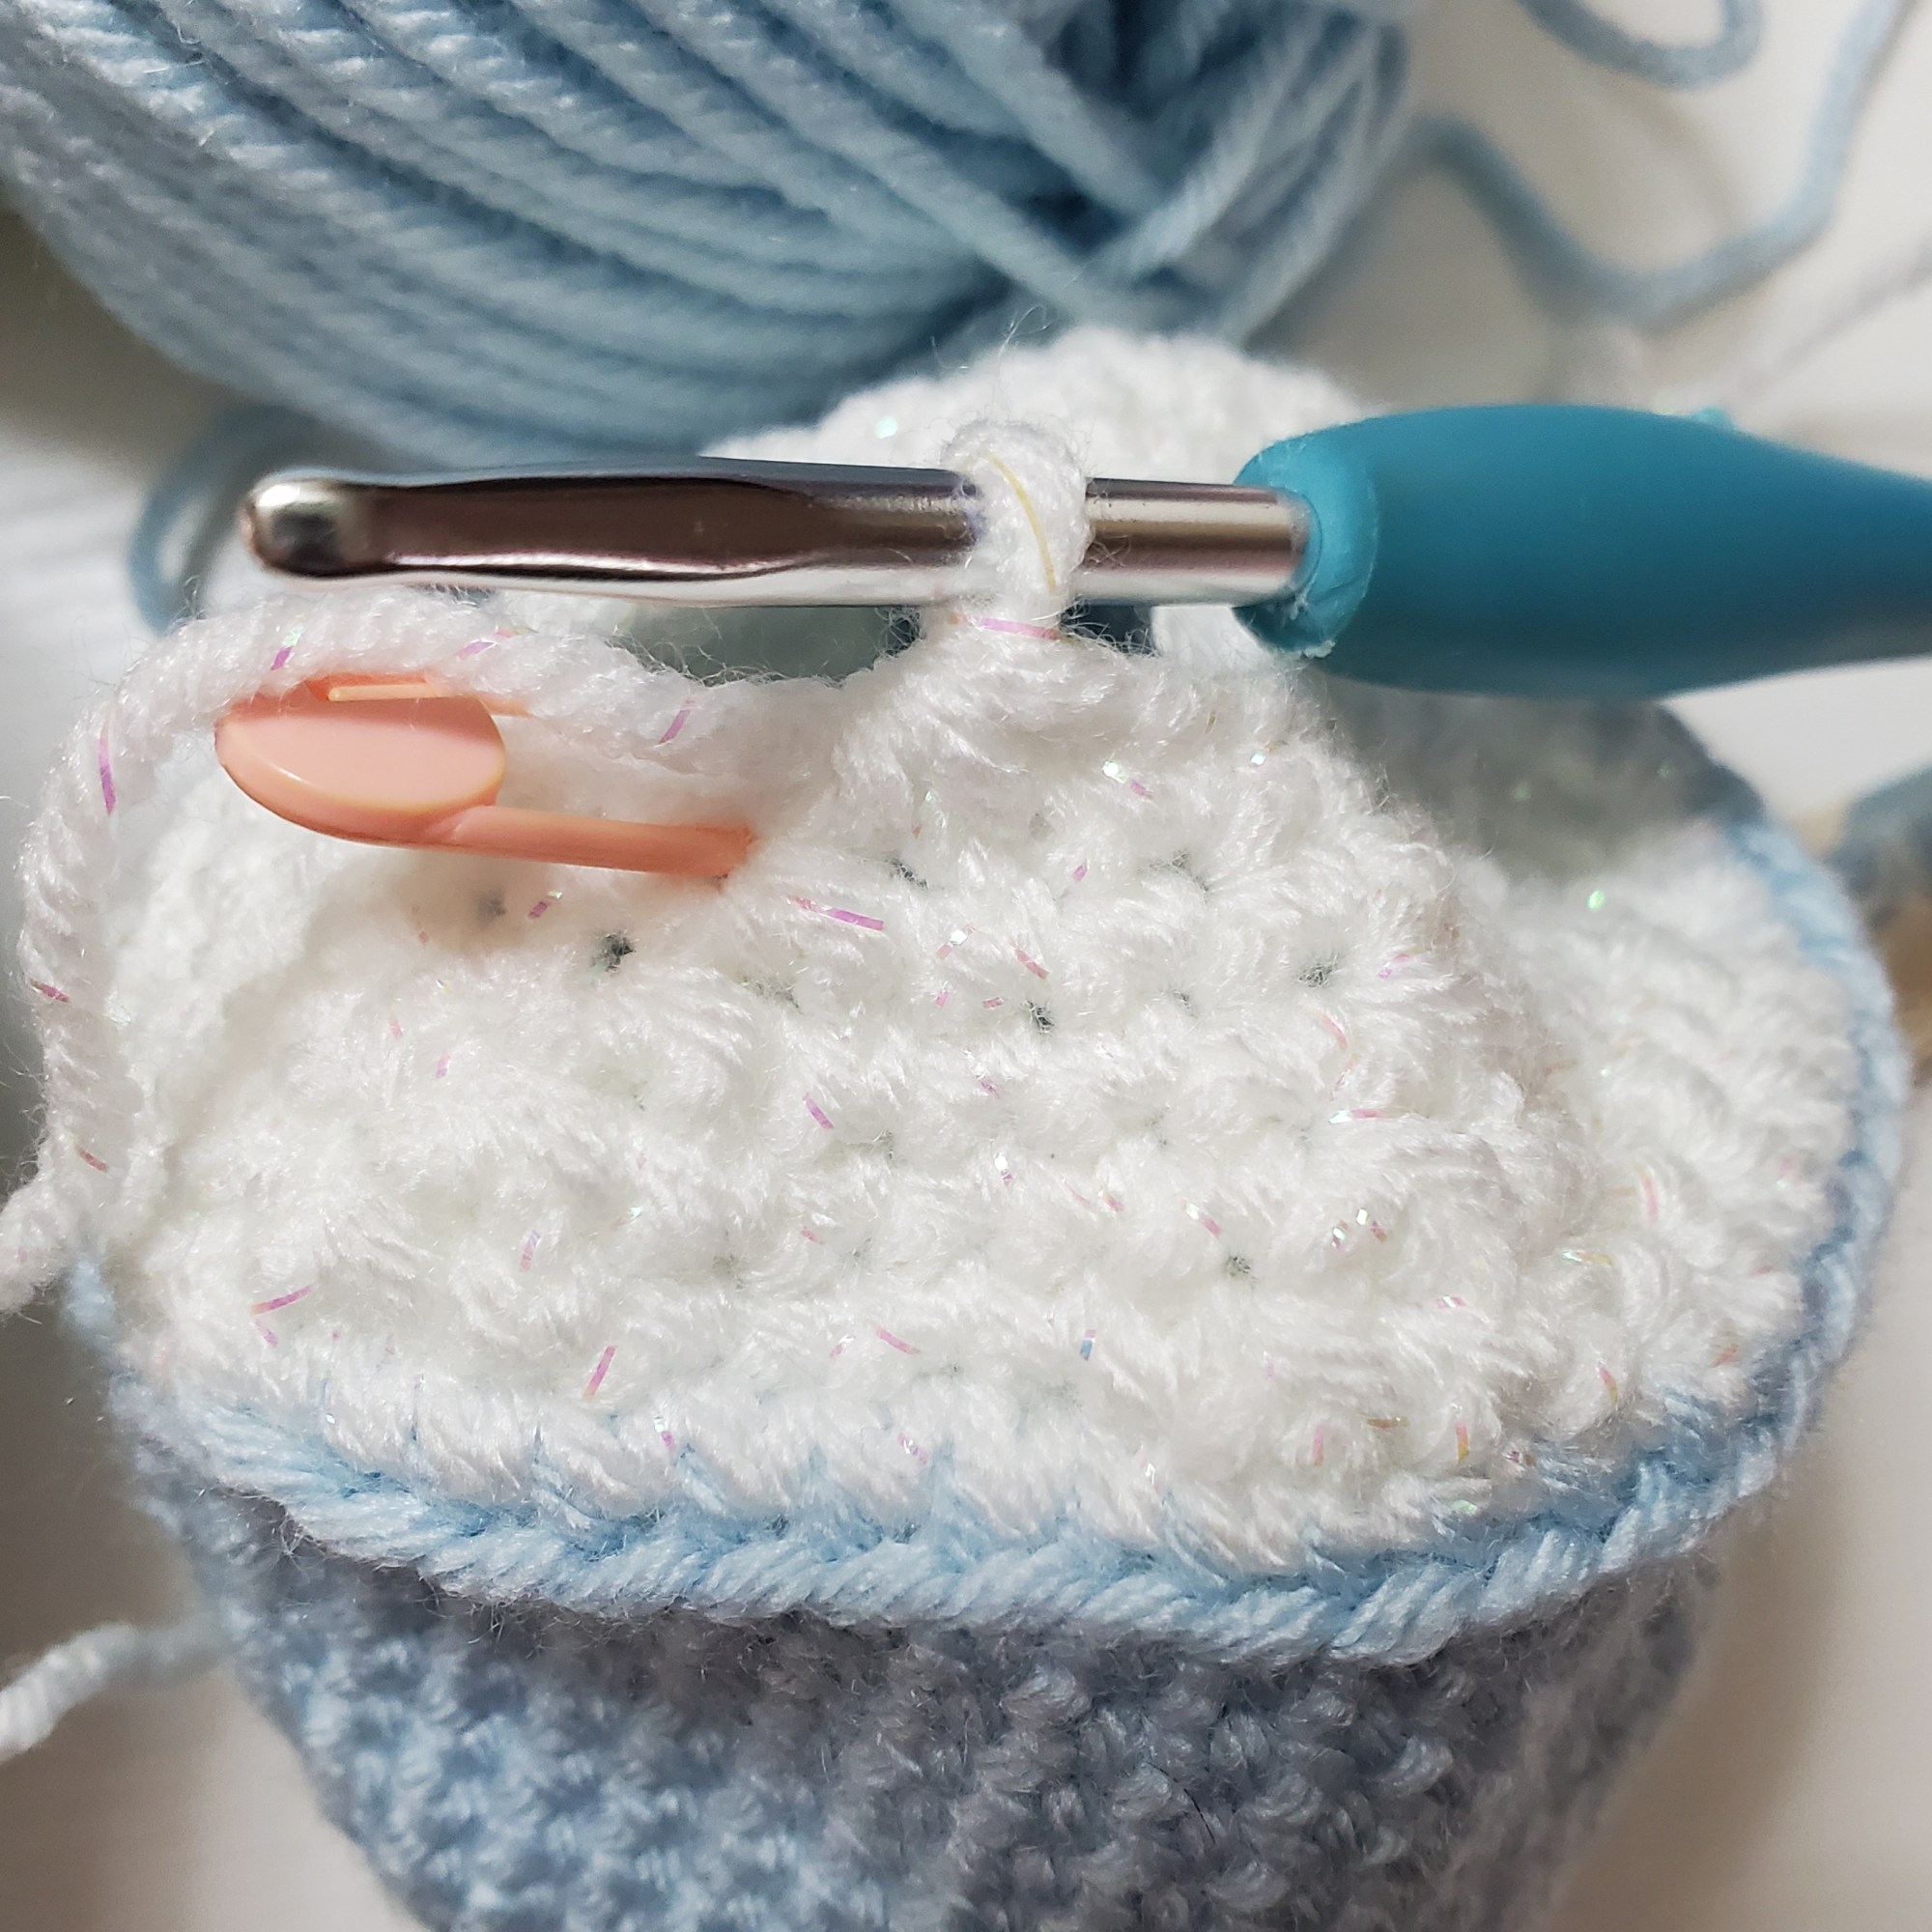
BLO means back loop only. Instead of working through both loops in Rnd 19 of of the previous stitch. Your stitch will now only go through the back loop. It should look like this:

Rnds 20 and 21 are worked through both loops of the previous round. A pattern must state in that line if it is back loop only. If it does not, then it means you work it the standard way.
Rnd 19 is the “teeth” rnd. I have made this a different color, so a third color on the whale before. Halfway through rnd 19 you will work a new stitch, hdc (half double crochet). This stitch is a little bigger than the single crochet stitch. Here is a video to teach you how to make this stitch:
Rnd 19 also tells you to place a stitch marker to aid in the placement of eyes after rnd 21. Let me show you what this looks like:
Finish through Rnd 21 of your crochet now.
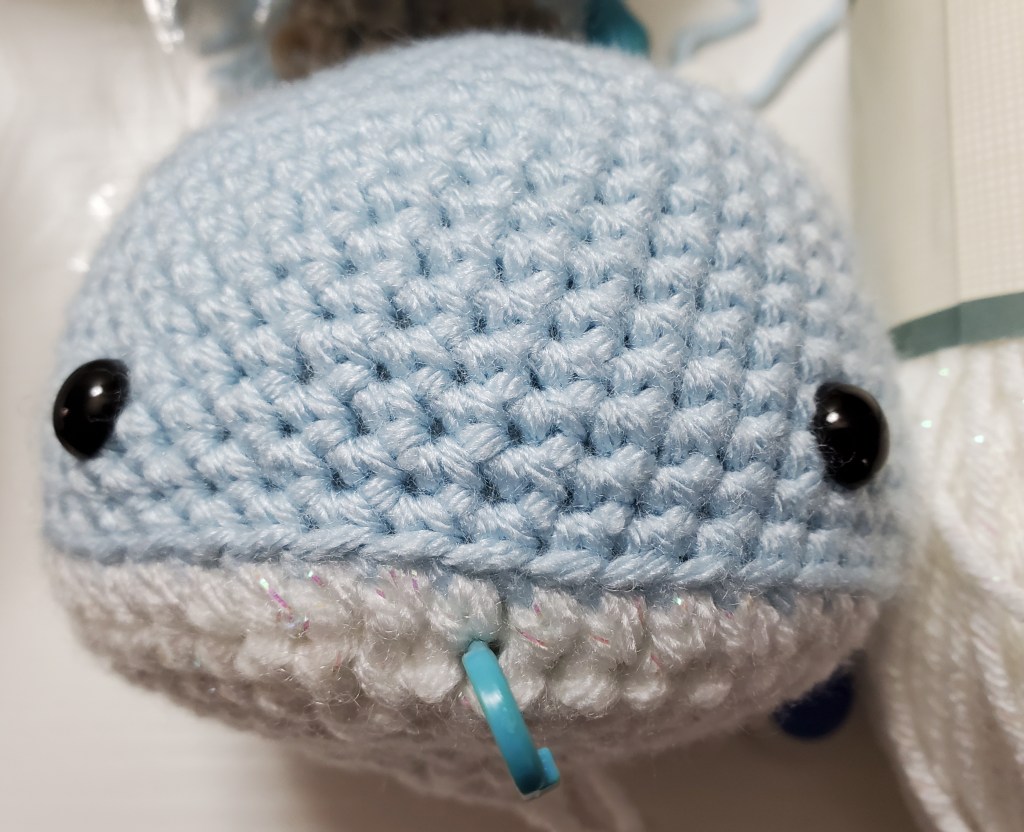
Insert safety eyes. Use the stitch marker that you placed in Rnd 19 to
find the center of the front of the whale. Go up approximately 3 or four
rows, so that you are working between Rnds 15 and 16. Count 6 stitches
from the center and place one eye. Count 6 stitches in the other
direction from the center and place the other eye. Use your judgment
and the pictures provided to find the best placement.
I have given you a specific stitches to count in this step. But depending on what size your eyes are, you may feel that they need more or less stitches in between. Just test them out and don’t put the backs on until you are sure the eyes are where you want them to be.
They should look something like this:
Begin to stuff at this Rnd as well. You will continue to stuff the whale as
you work the next rounds to make sure you fill the entire body. I tend to
stuff my work tightly as fiberfill has a tendency to settle. Correct stuffing
is one of the most important parts to achieving a great outcome in
plushie crochet. Use a stuffing tool to reach hard places and to compact
the stuffing to make sure it fills all areas. Shape your whale as you work
the stuffing in. It is better to use smaller amounts of stuffing and keep
turning your whale in a circle as you stuff. This will ensure that all sides
are equally filled and that a round appearance is achieved.
Be careful that you do not catch the fiberfill in your stitches. It will be almost impossible to pull out later. If you do catch some, just undo that stitch and try again.
Also use your fiberfill stuffing tool. You can use a chop stick or an actual stuffing tool that comes with the fiberfill. You want to make sure your stuffing is even and firm when you are done.
In the next rounds, we are going to create the whale’s belly. This means we need to make our stitch count smaller as we go. To do that, you will use the invisible decrease stitch.
See this video to help:
Now you can work the following rounds:
Rnd 22: (4sc, inv dec) around [30]
Rnd 23: (3sc, inv dec) around [24]
Rnd 24: (2sc, inv dec) around [18]
Rnd 25: (sc, inv dec) around [12]
Rnd 26: inv dec around [6]
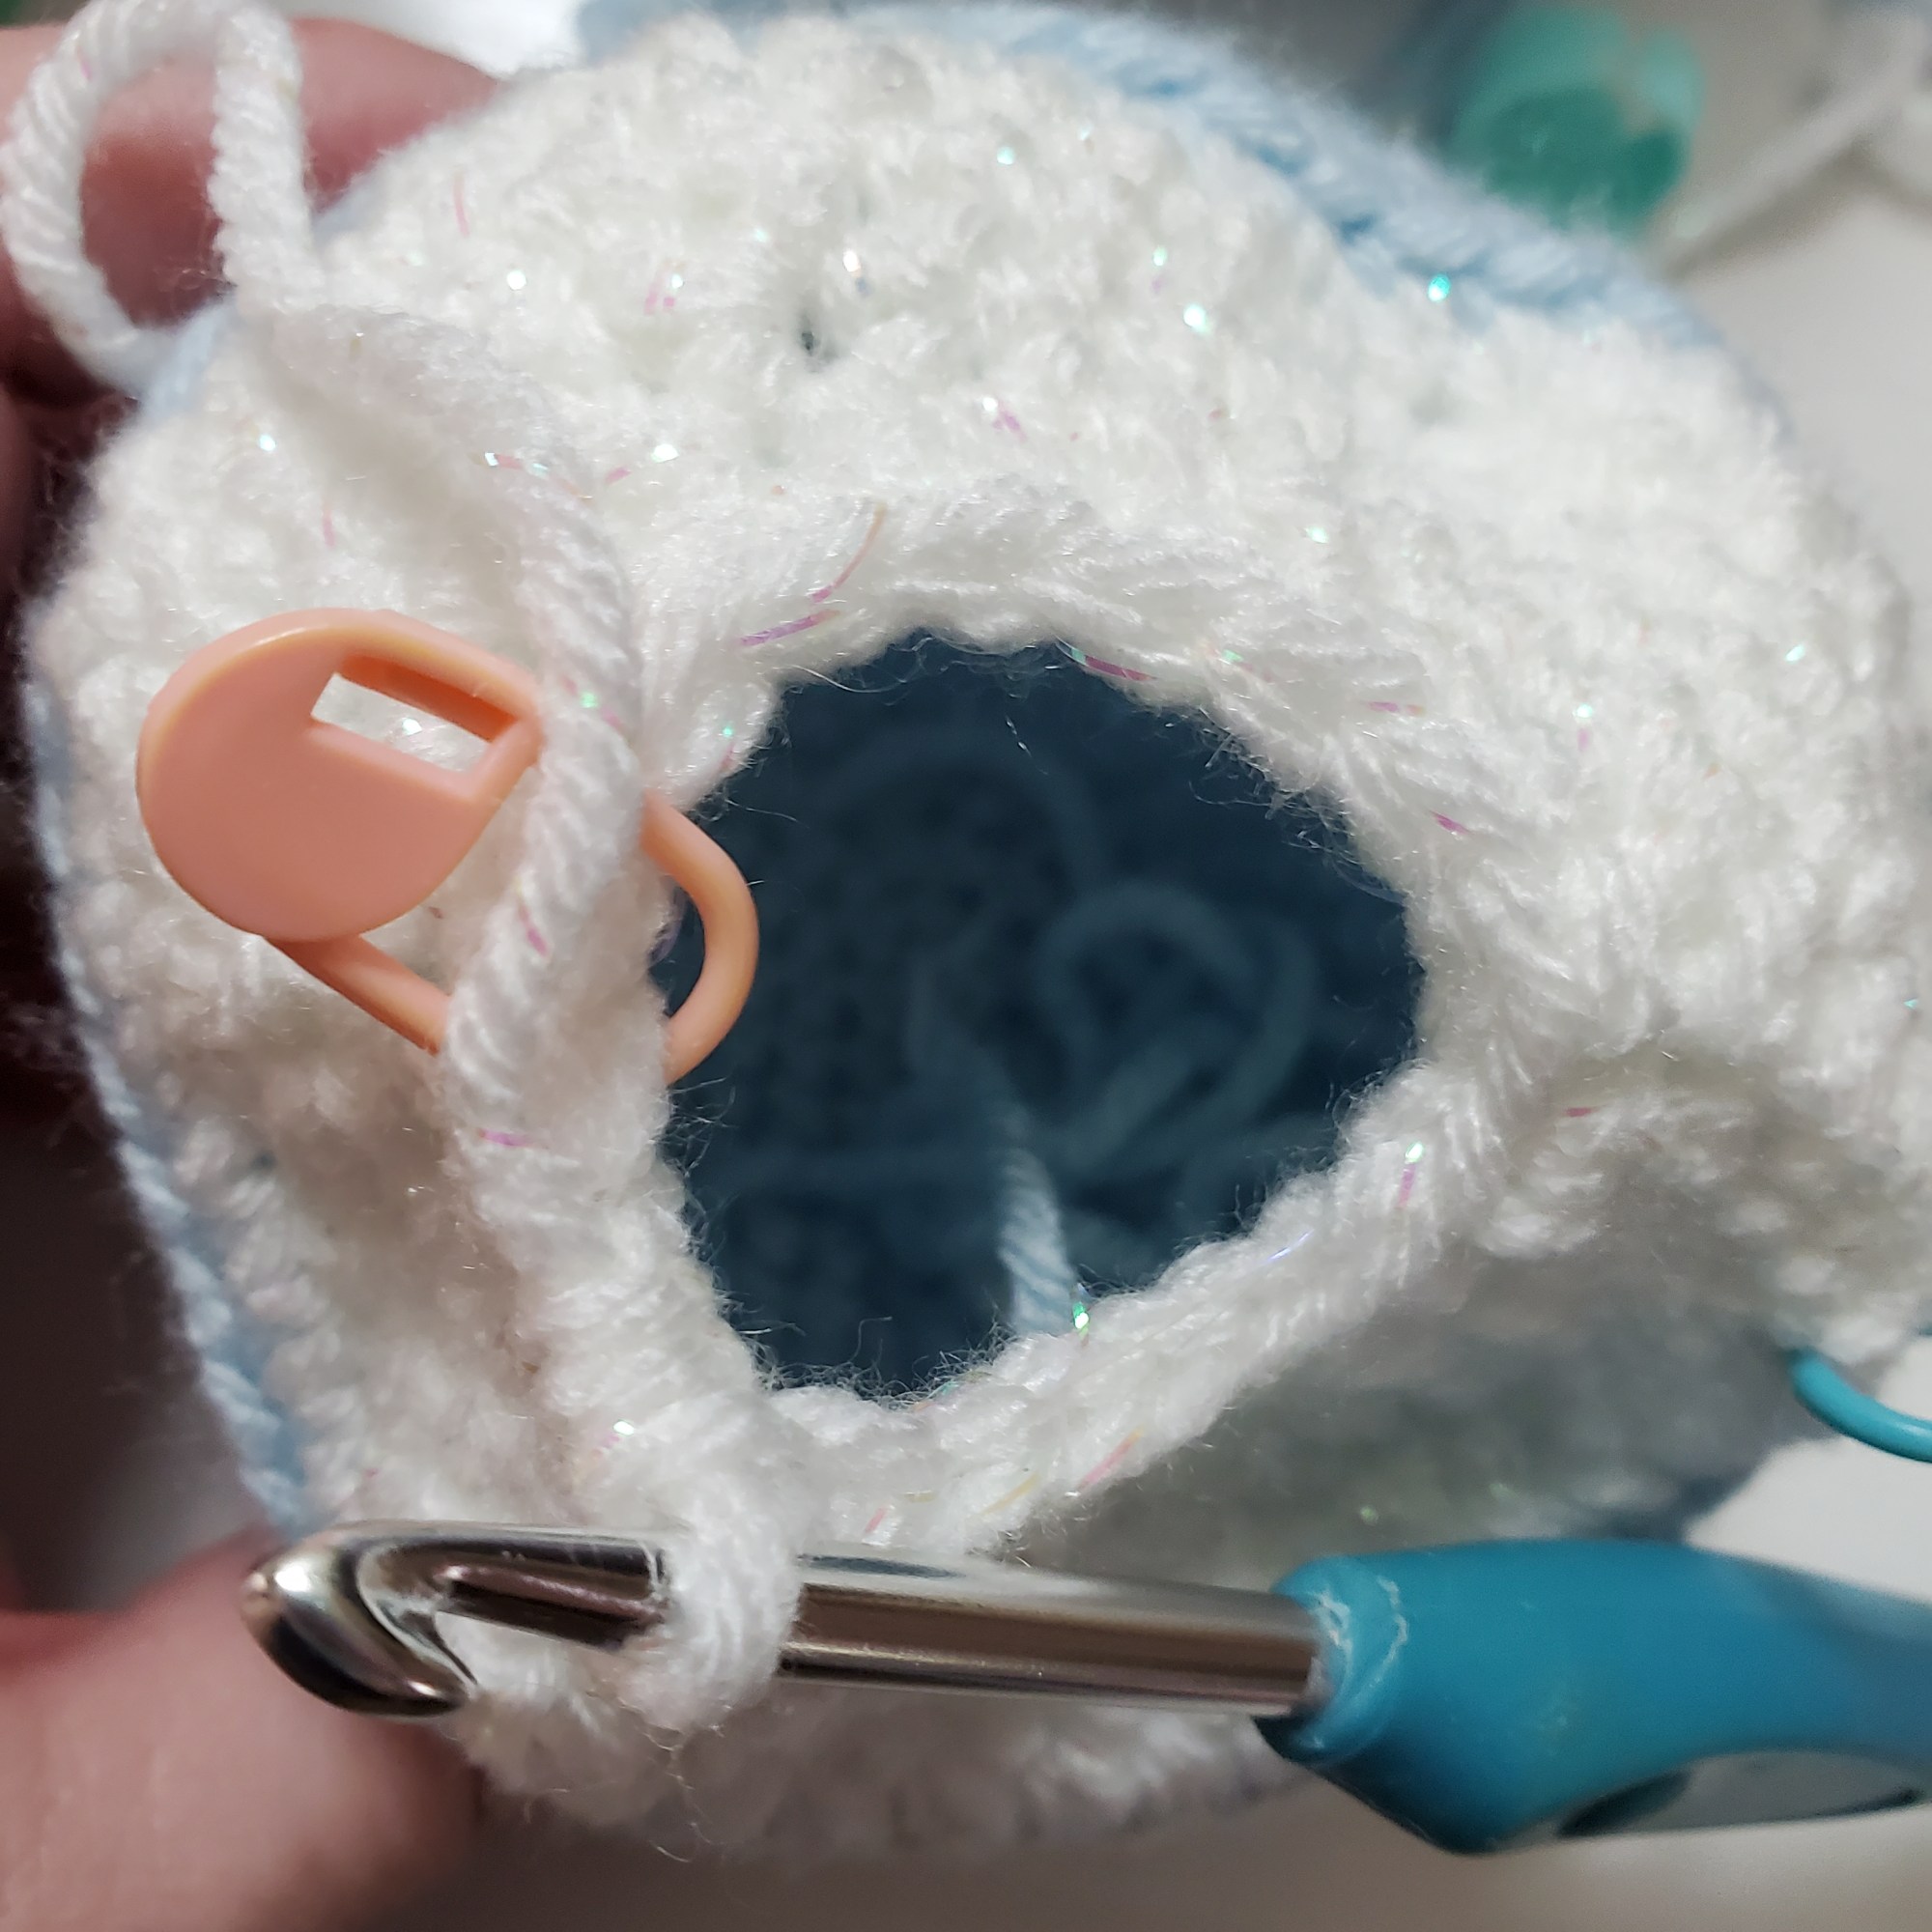
They should look like this:

Now you are going to close up the hole in the bottom of the whale.
Cut yarn and finish off, leaving a long end for sewing. Thread the tail of
yarn into a yarn needle. Weave yarn through the front loops of round 26.
Pull tight. Tie off and run yarn through the body of the whale. Pull tight
and cut yarn so that it is hidden inside the whale body.

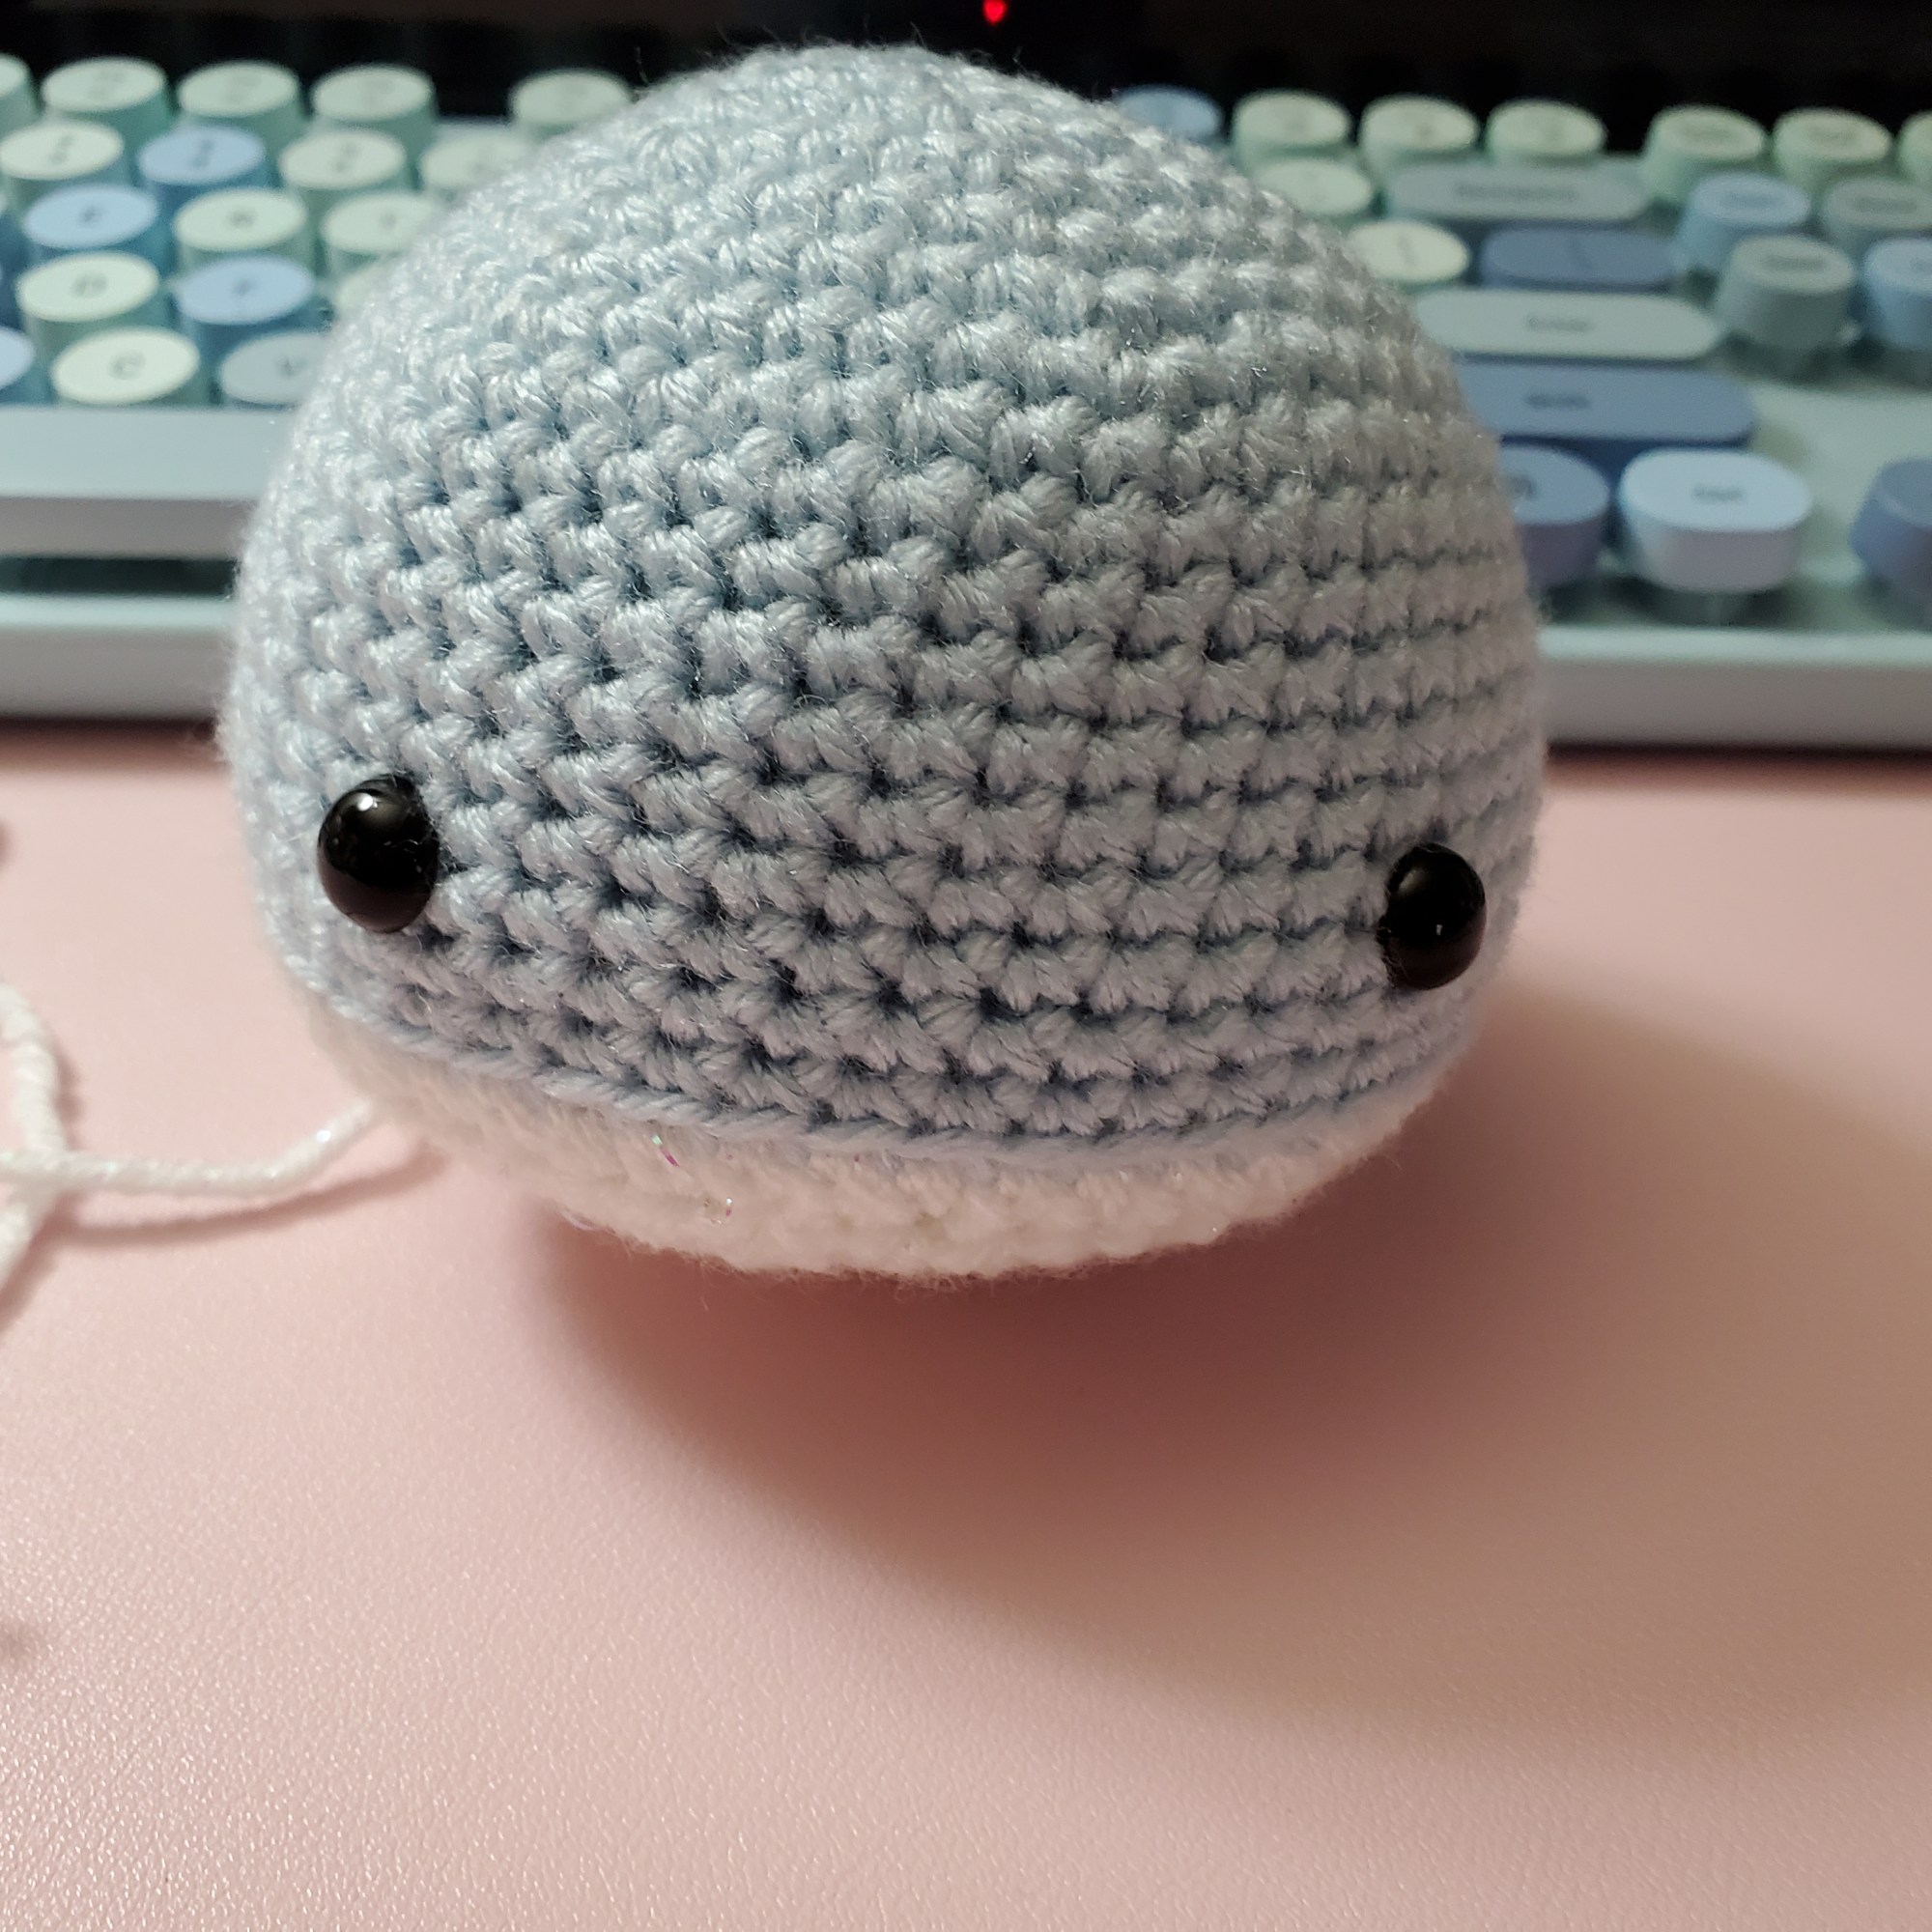
Now turn your whale over! You should have something that look like this little guy:
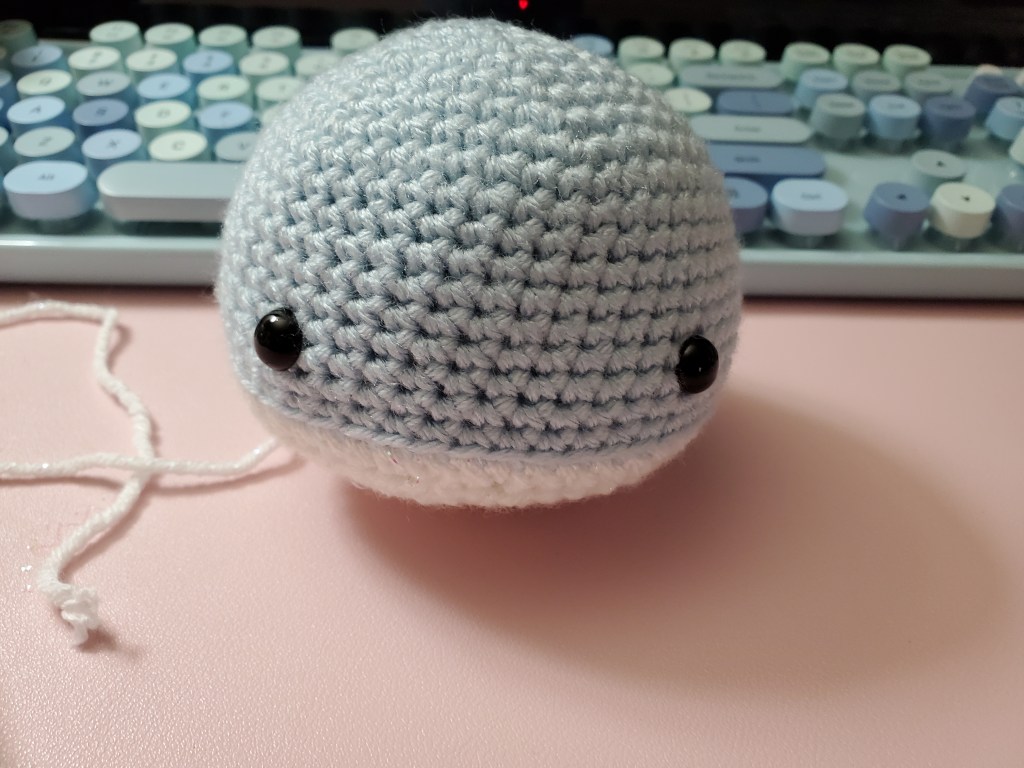
That’s it for this week! Next week, we will be crocheting on the fins and tail. That is a little tricky so get ready!
Homework
For this week, your homework is to work the pattern up until the end of this lesson. This will allow you to practice the invisible decrease, color change, half double crochet and stuffing. You’ve learned a lot of new skills so far. Be proud of yourself. It is okay if you are struggling. Just keep going and keep trying. You can do this!
As always feel free to ask any questions!
I would also love to see your progress so far. Post pics of your whales with #mellmakeswhales and tag me: @mellmakes or @army_mellissa. You can find me on Twitter and Instagram!
As always, Happy Crocheting!
