
Today, we are going to put the fins and tail on your whale! For beginners this is going to be a little tricky, but I have a lot of photos to show you.
Since we are in week 5 of this project, there will not be any homework beginners except to finish the fins and tail. I am also only dividing this lesson into two parts. For advanced crocheters, you will only need to go to the pattern. Beginners, go to the detailed instructions.
Pattern | Detailed Instructions
Pattern
Fins and Tail:
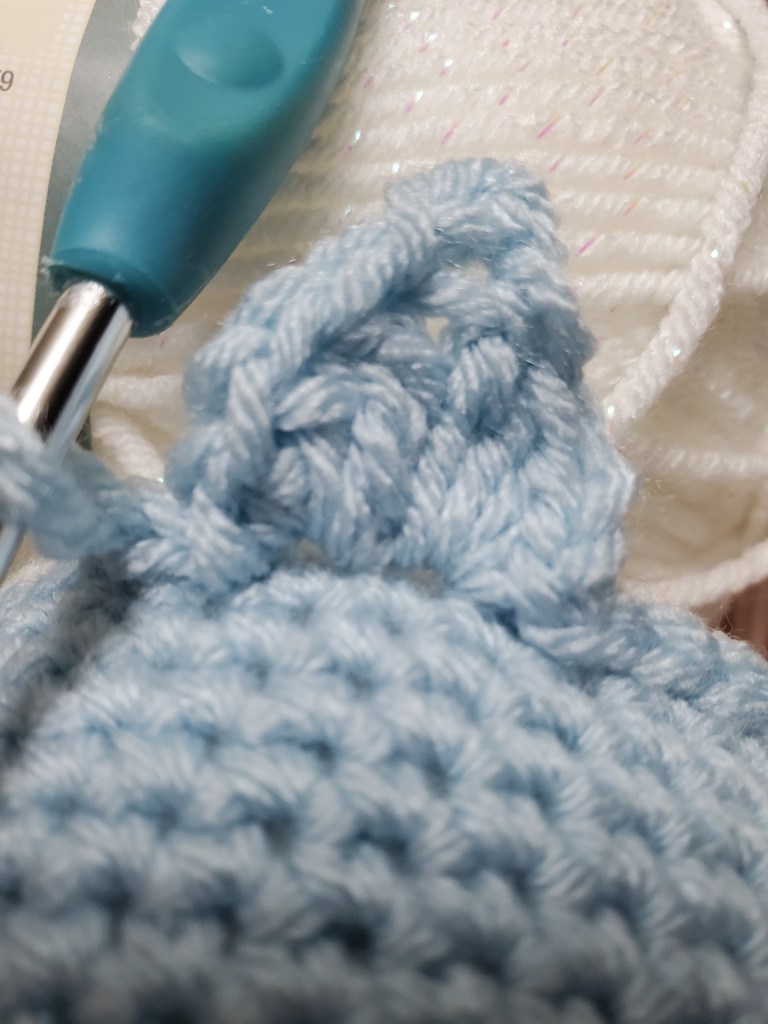
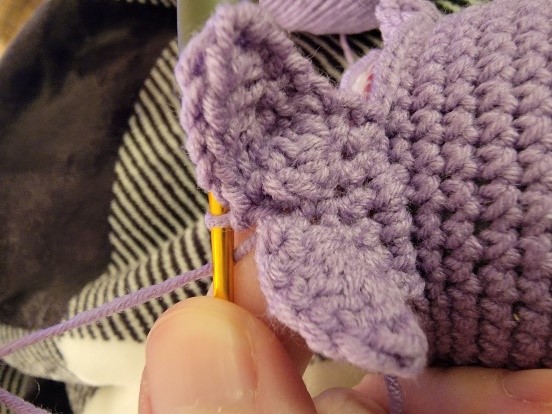
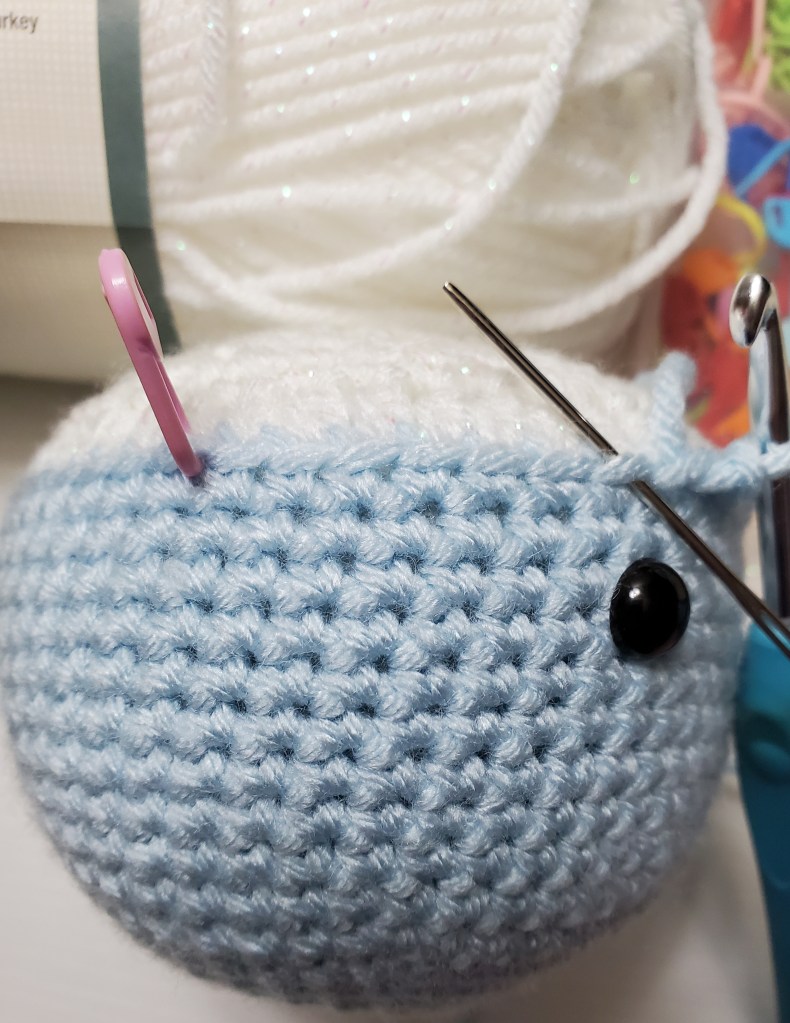
Start in the back of the whale with the head pointing toward you. Attach
your yarn with a sl st to the stitch indicated in the photo. See photo gallery below.
Sl st around until you are 8 stitches from the first eye. See photo.
The sewing needle is where you start counting your stitches (that is
stitch one).
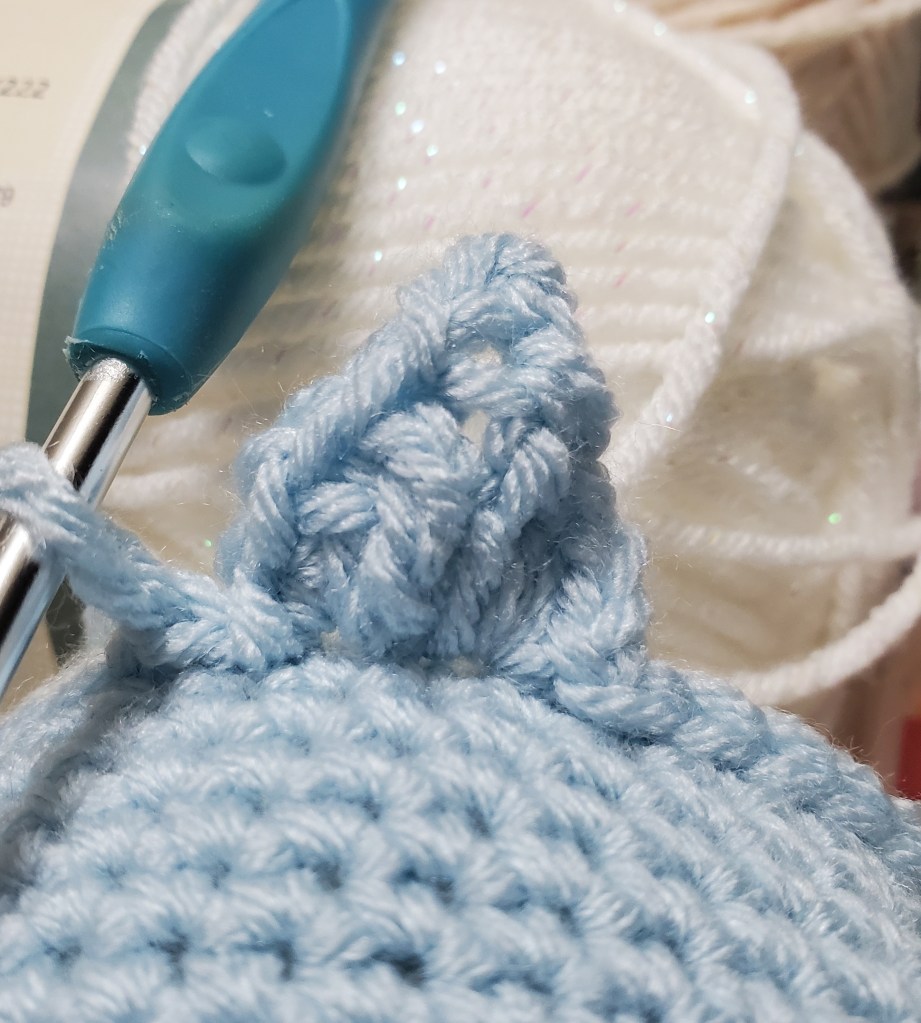
Fin 1
In that stitch, (sl st, sc, hdc, dc, tr, picot)
In the next stitch, (tr, dc, hdc, sc, sl st) [First fin is complete]
Continue to sl st to next eye.
Fin 2
In 7th stitch from eye (sl st, sc, hdc, dc, tr, picot)
In next stitch, (tr, dc, hdc, sc, sl st) [Second fin is complete]
Continue to sl st until you reach the first sl st. Join with sl st.
Tail
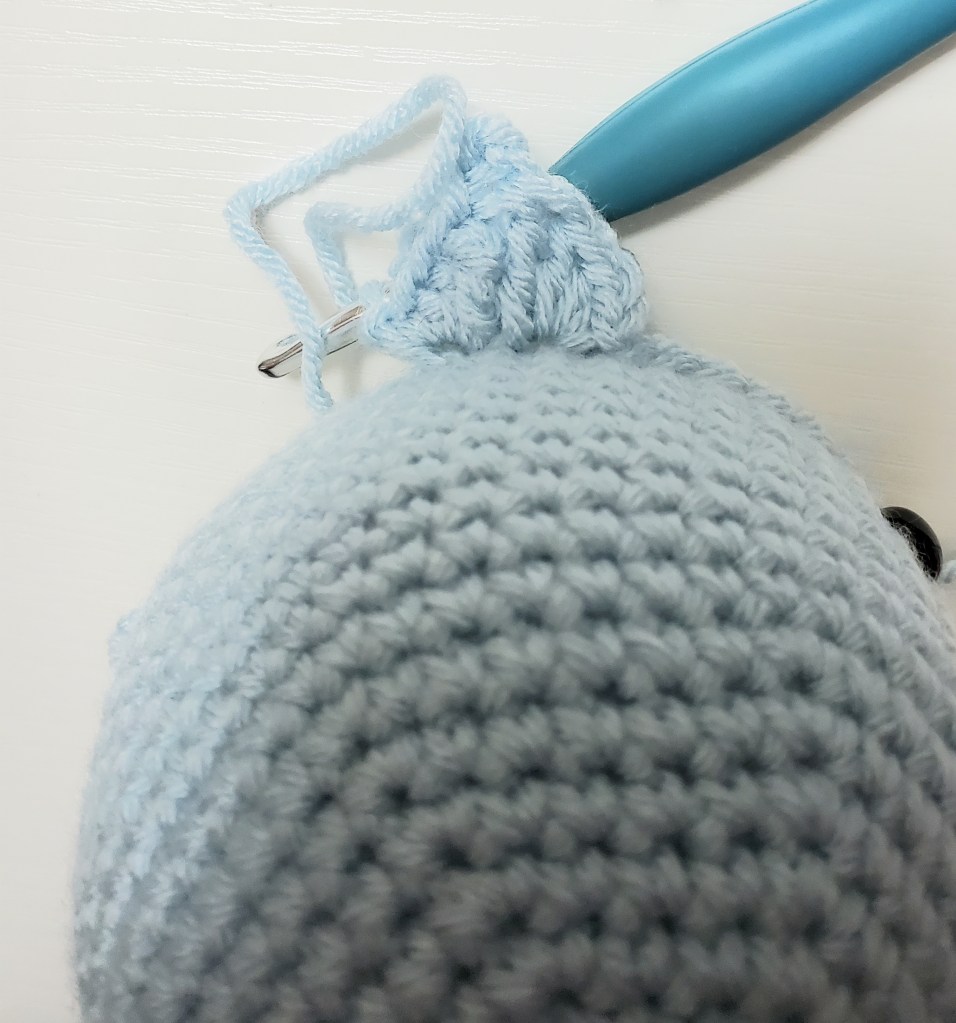
Ch 1 [You will begin to work in rows here.]
Row 1: You will begin working in rows here. Working around the previous row of slip
stitches, sc around next 6 slip stitches. Ch 1, turn.
Row 2: 6 sc, ch1, turn.
Row 3: 6sc, ch3 turn. (Ch 3 will count as first dc)
Row 4: 2 dc in same stitch as ch3, 3dc in next st, 2 sl st, 3dc in next st, 3 dc in last st, ch3, turn
Row 5: 2dc in first st, 3 dc in next st, sl st in middle st, 3 dc in next to last st, 3dc in
last st
Finish off, weave in ends


Detailed Instructions
Fins and Tail:
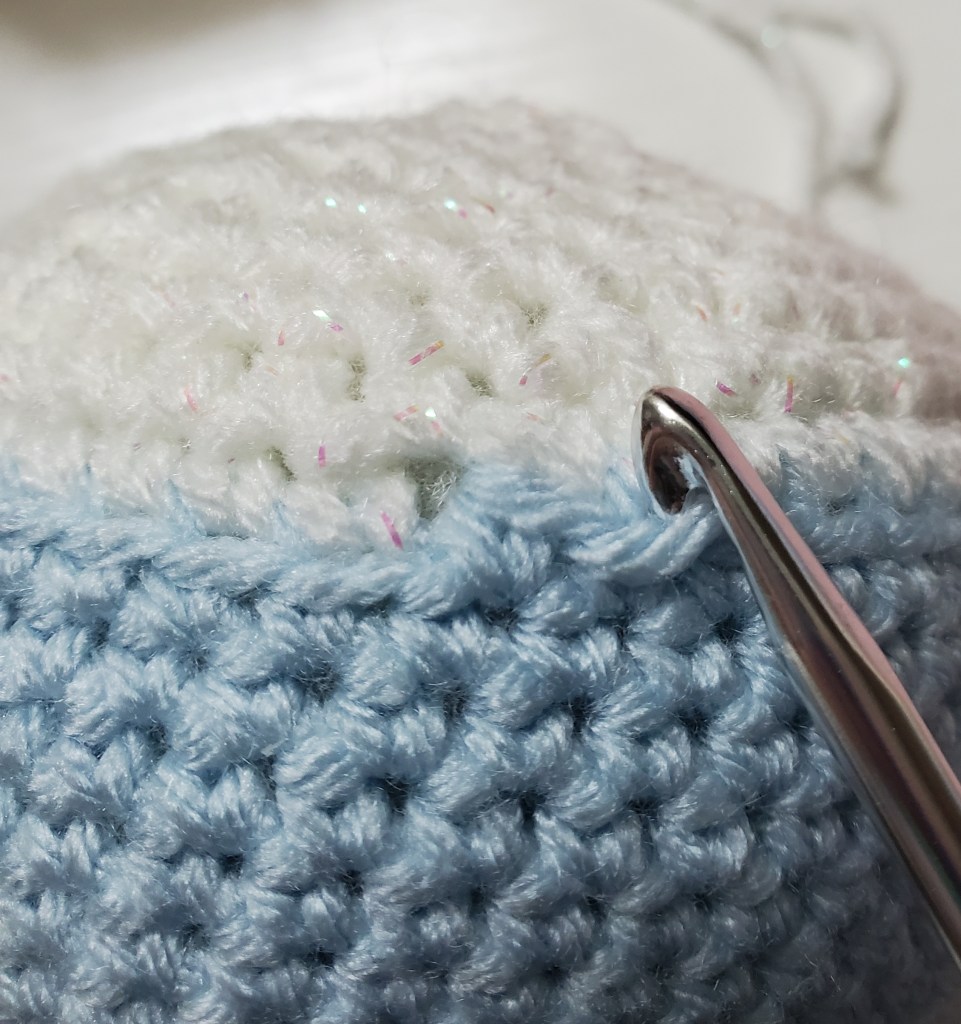
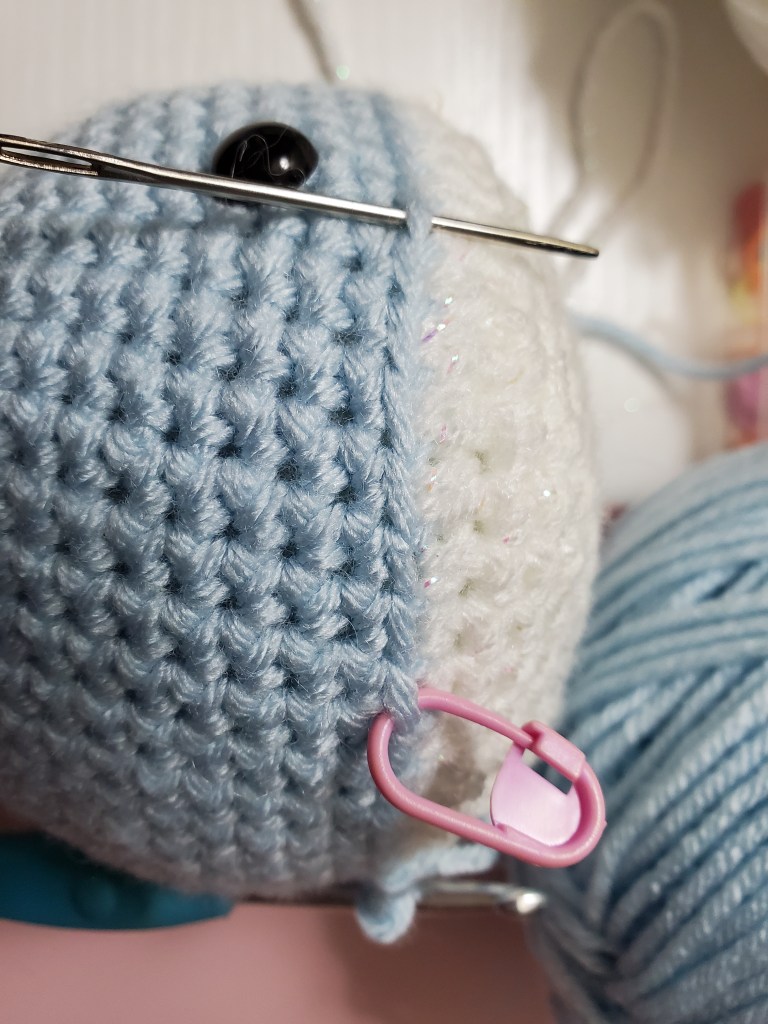
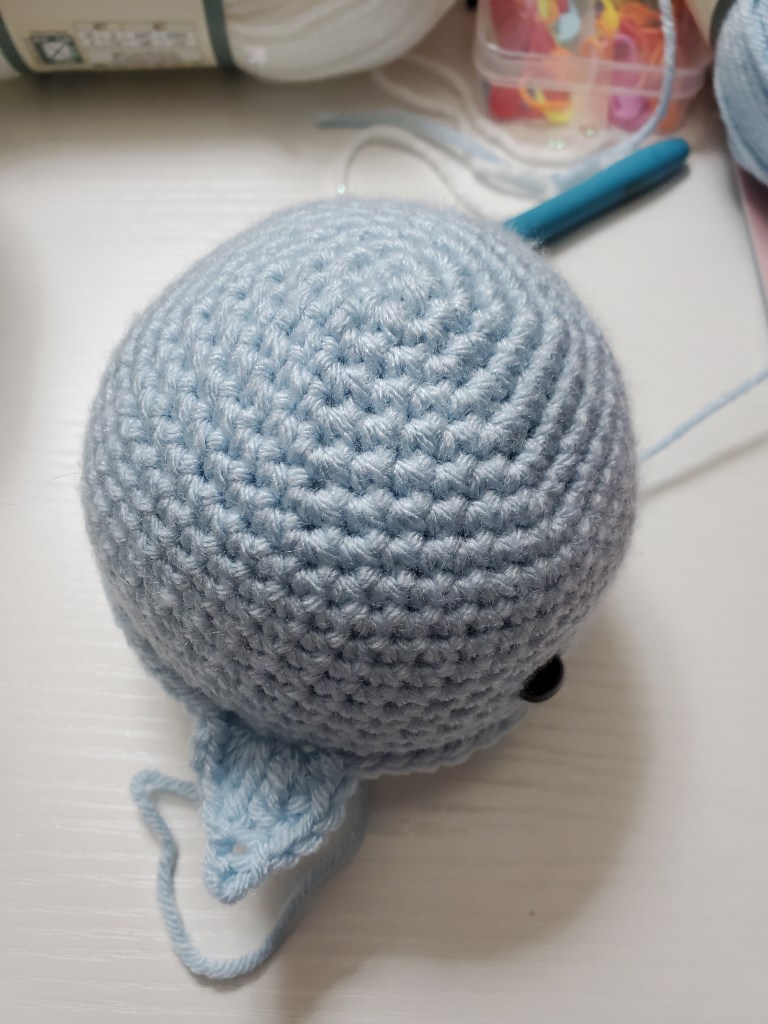
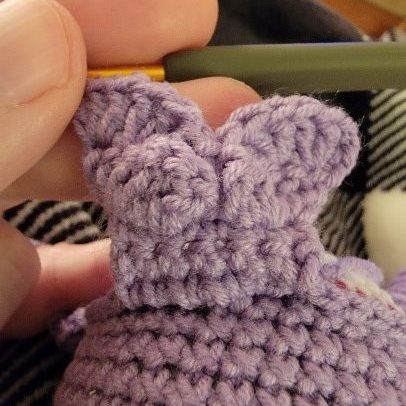
Start in the back of the whale with the head pointing toward you. Attach
your yarn with a sl st to the stitch indicated in the photo.

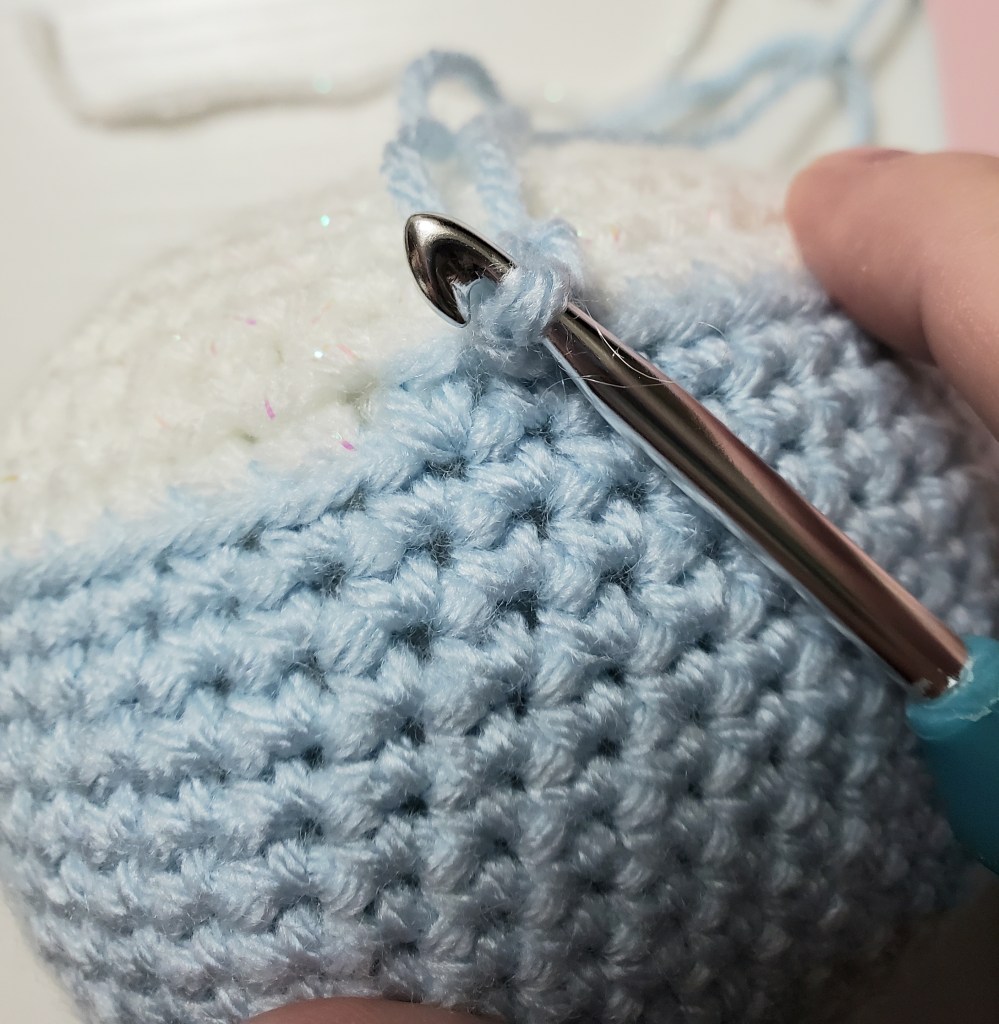
Sl st around until you are 8 stitches from the first eye. See photo.
The sewing needle is where you start counting your stitches (that is
stitch one).
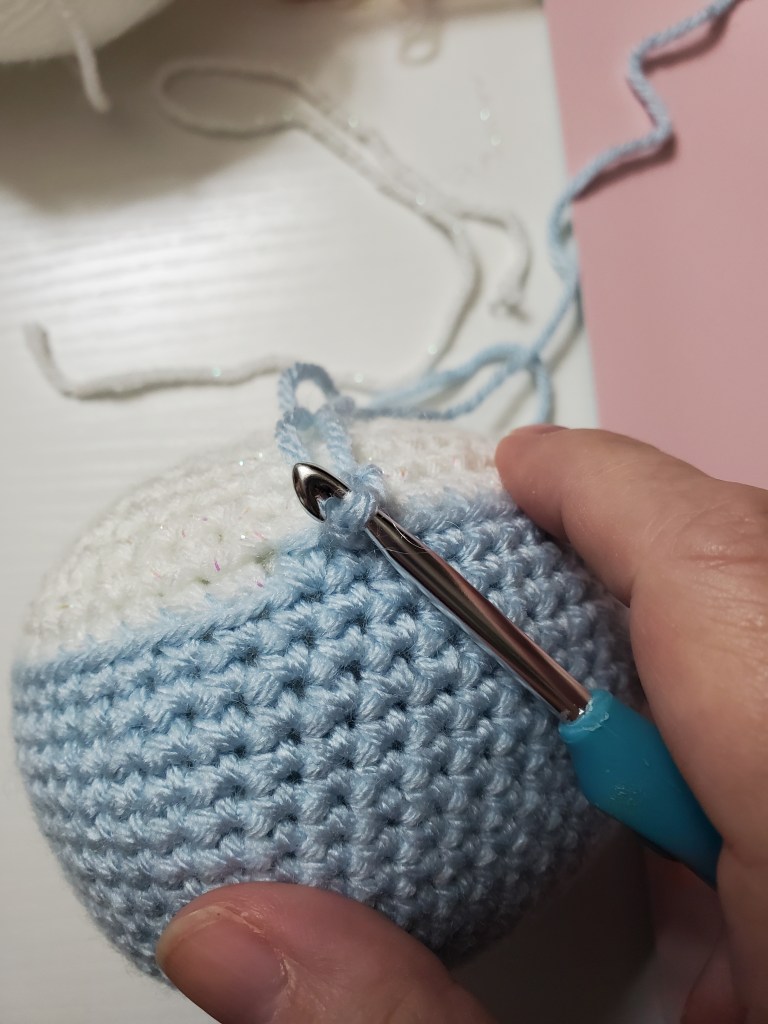
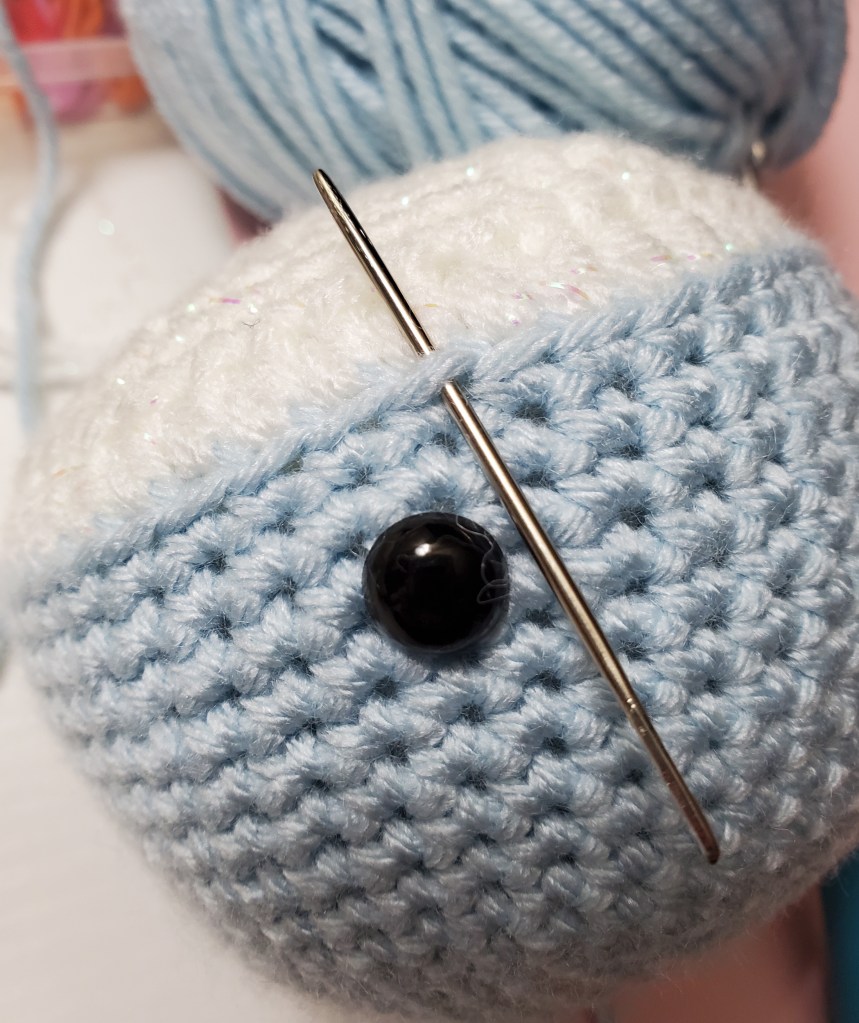
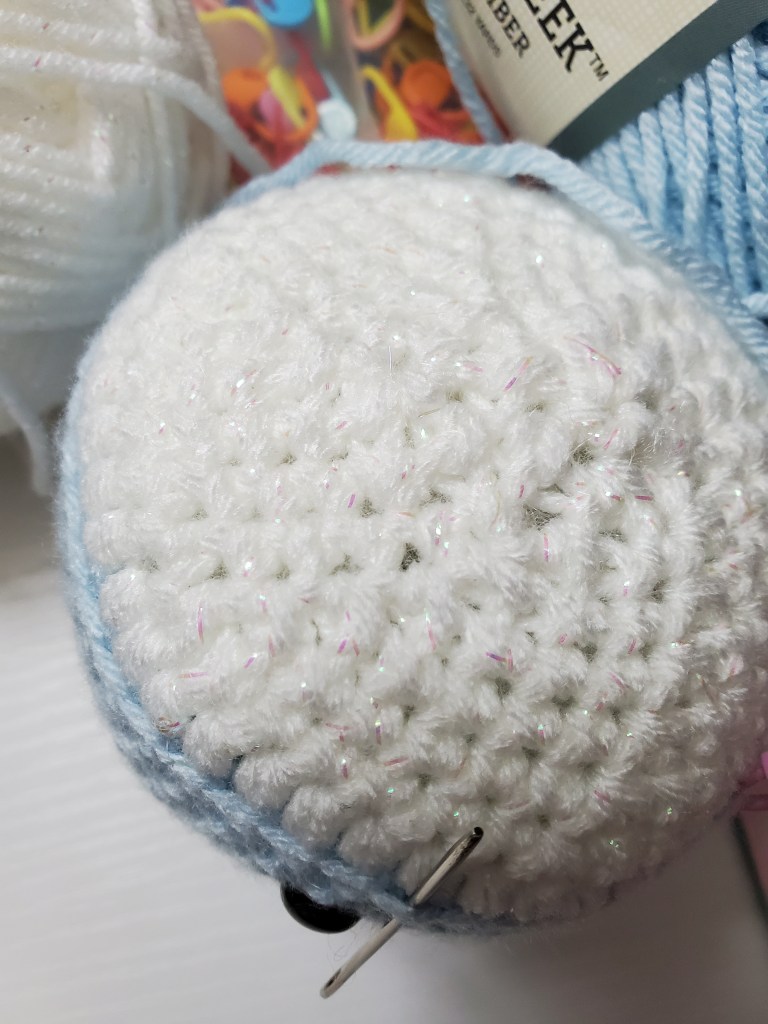
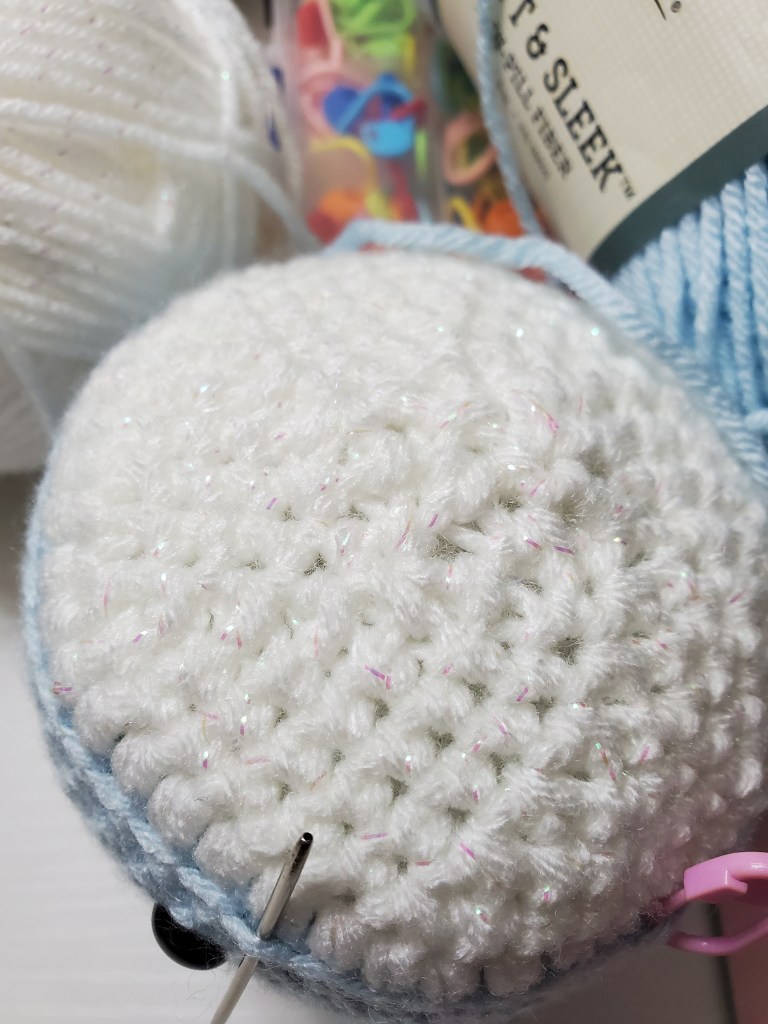
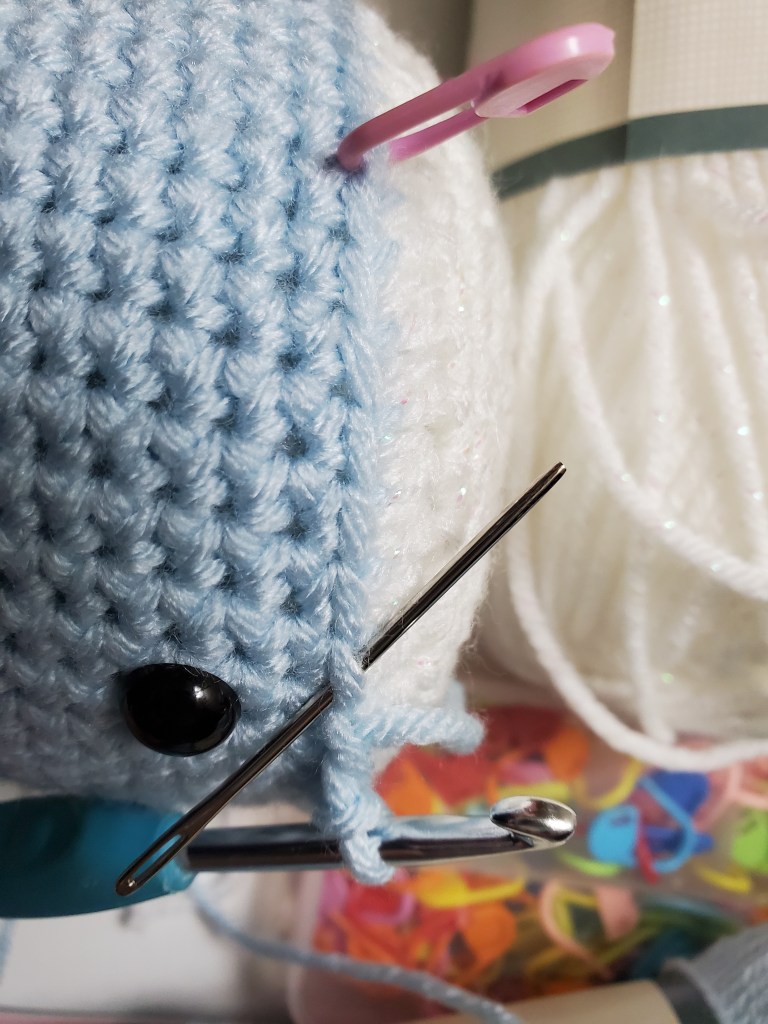
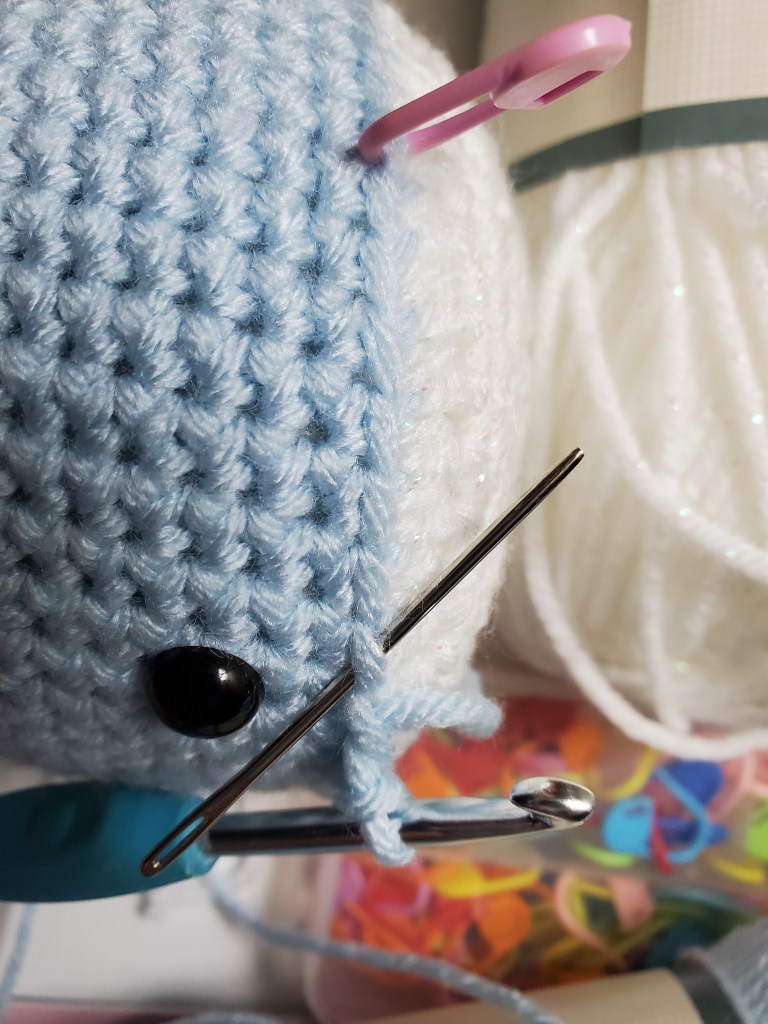
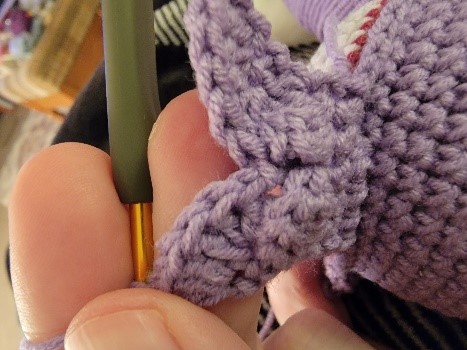
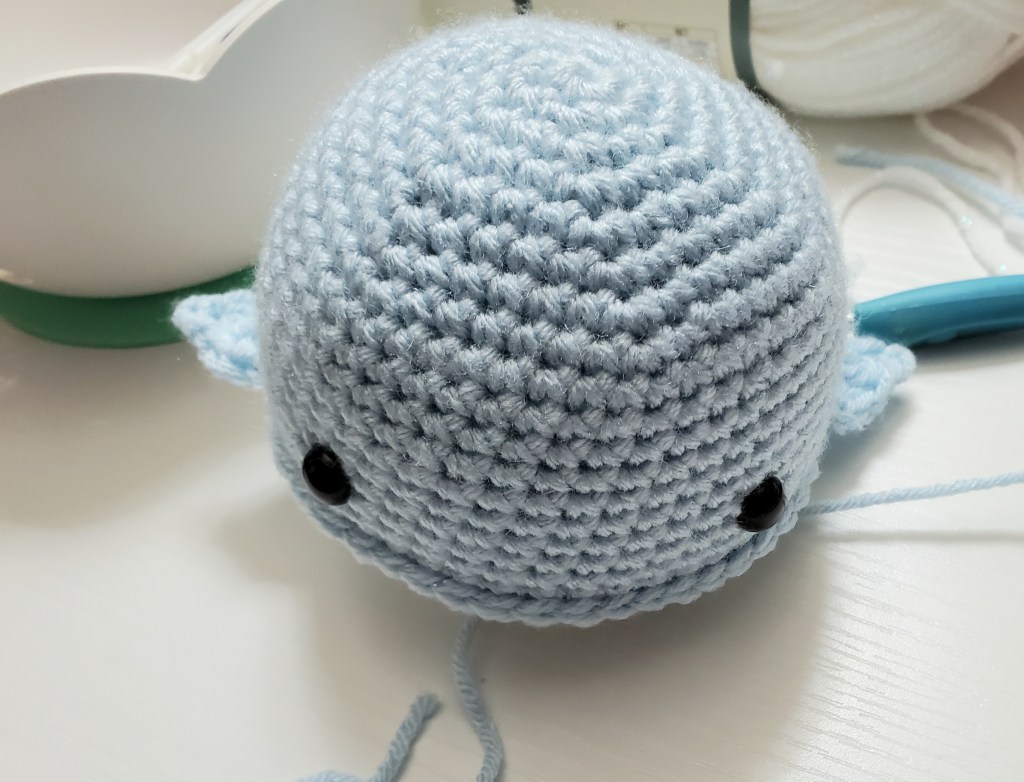
Let’s go ahead and mark our second fin too. The important thing to remember is that the fins should be opposite each other when looking down from the top of your whale. If you need to, move the stitches to where they will be placed correctly. It is more important that the fins look even and are placed correctly than the stitch counts that I am giving you.
The second fin will start 7 stitches from the opposite eye.
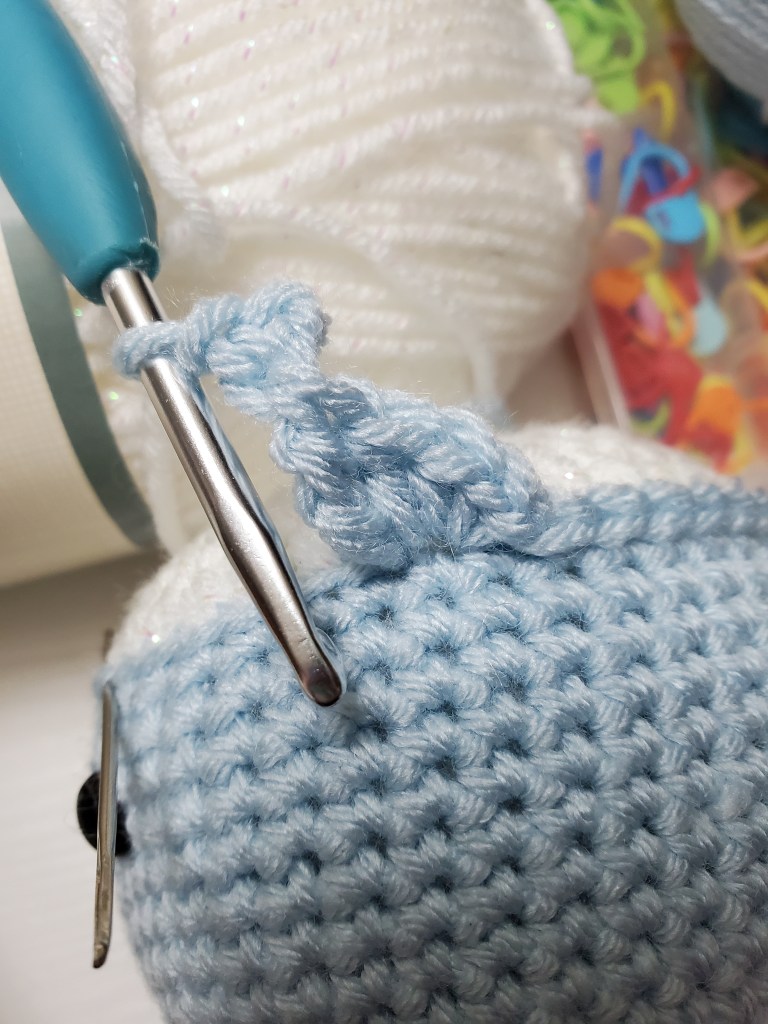
Fin 1
In that stitch, (sl st, sc, hdc, dc, tr, picot)
In the next stitch, (tr, dc, hdc, sc, sl st) [First fin is complete]

Continue to sl st to next eye.
Fin 2
In 7th stitch from eye (sl st, sc, hdc, dc, tr, picot)
In next stitch, (tr, dc, hdc, sc, sl st) [Second fin is complete]
Continue to sl st until you reach the first sl st. Join with sl st.

Tail
Ch 1 [You will begin to work in rows here.]
Row 1: You will begin working in rows here. Working around the previous row of slip
stitches, sc around next 6 slip stitches. Ch 1, turn.
Row 2: 6 sc, ch1, turn.
Row 3: 6sc, ch3 turn. (Ch 3 will count as first dc)
Row 4: 2 dc in same stitch as ch3, 3dc in next st, 2 sl st, 3dc in next st, 3 dc in last st, ch3, turn
Row 5: 2dc in first st, 3 dc in next st, sl st in middle st, 3 dc in next to last st, 3dc in
last st


Finish off, weave in ends
That’s it! You should now have a mostly finished whale!

Next time, we will add eyelashes and the bow!
