Wow! How are we already on Lesson 6? This series has gone by really quickly. Today, we will add the finishing touches to our whale! Remember that bow you crocheted at the beginning? You will now attach it to your whale’s head. This is the step where you can customize the base whale and really make it your own. Never be afraid to explore, play with color, and have fun with your projects!
Since this is our last lesson, I wanted to say thank you for joining me on this journey. I really cannot wait to see what you create with this pattern. Make sure you tag @mellmakes on Twitter and Instagram. You can also use the #mellmakes!
If you like these free crochet alongs, please consider donating a ball of yarn by using Kofi or purchase a pattern. I use the money I make from these two things to bring you these free projects!
Beginners, you have worked so hard to get to this moment! I’m proud of you. It doesn’t matter if your whale is wonky. It doesn’t matter if it is just a pile of yarn. If you tried, if you learned one stitch, even if you learned crochet isn’t for you…you won by attempting something new! Please don’t stop trying. Crochet is hard. It takes practice to master, but once it clicks projects become fast and easy. And since you have progressed so far, I’m not making a separate Beginner and Advanced section this week. Everyone works together! Great job!
As always, if you have questions, ask them! As them here, on Instagram, on Twitter, or in an email! I will try my best to answer!
Materials for this Week
Yarn needle
Straight pins
Black embroidery floss
scissors
Instructions
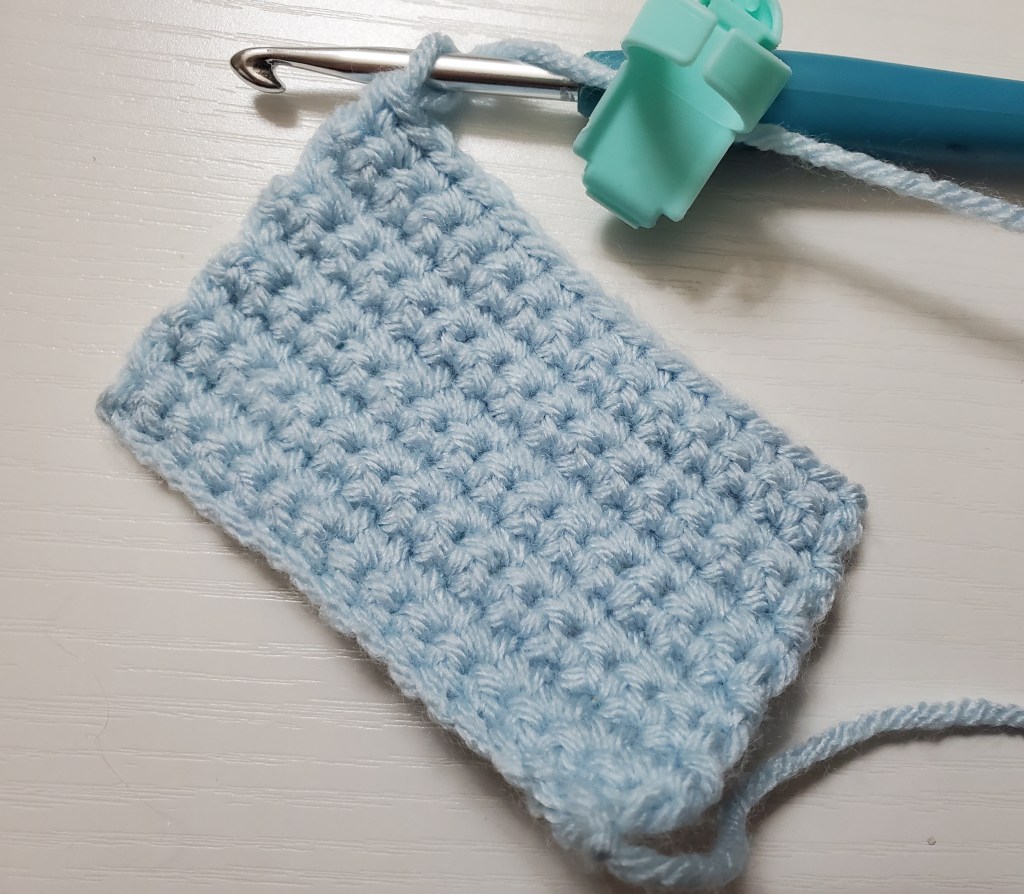
Grab the rectangle you made at the beginning of this series. It should look like this:
Thread the long tail from the beginning chain into your yarn needle.
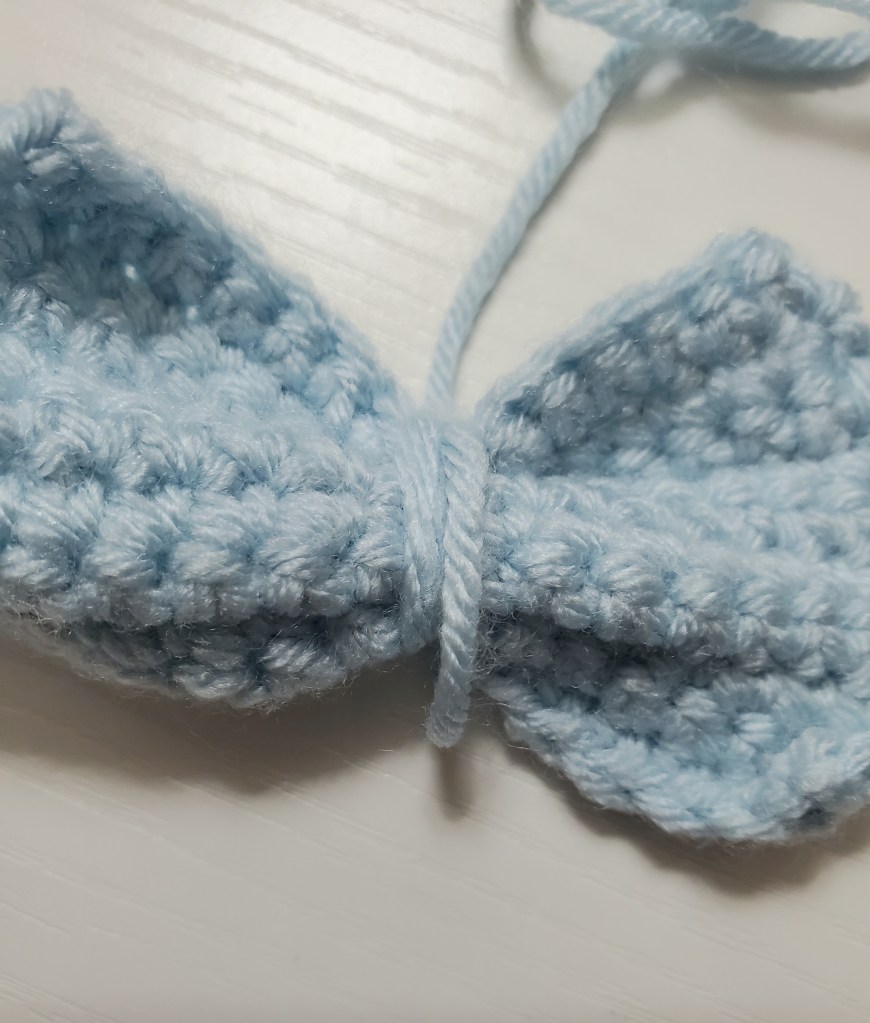
Weave the yarn from the end to the middle of the bow. Make sure you are hiding your yarn in your work. Then, tie a knot. You should have something that looks like this:
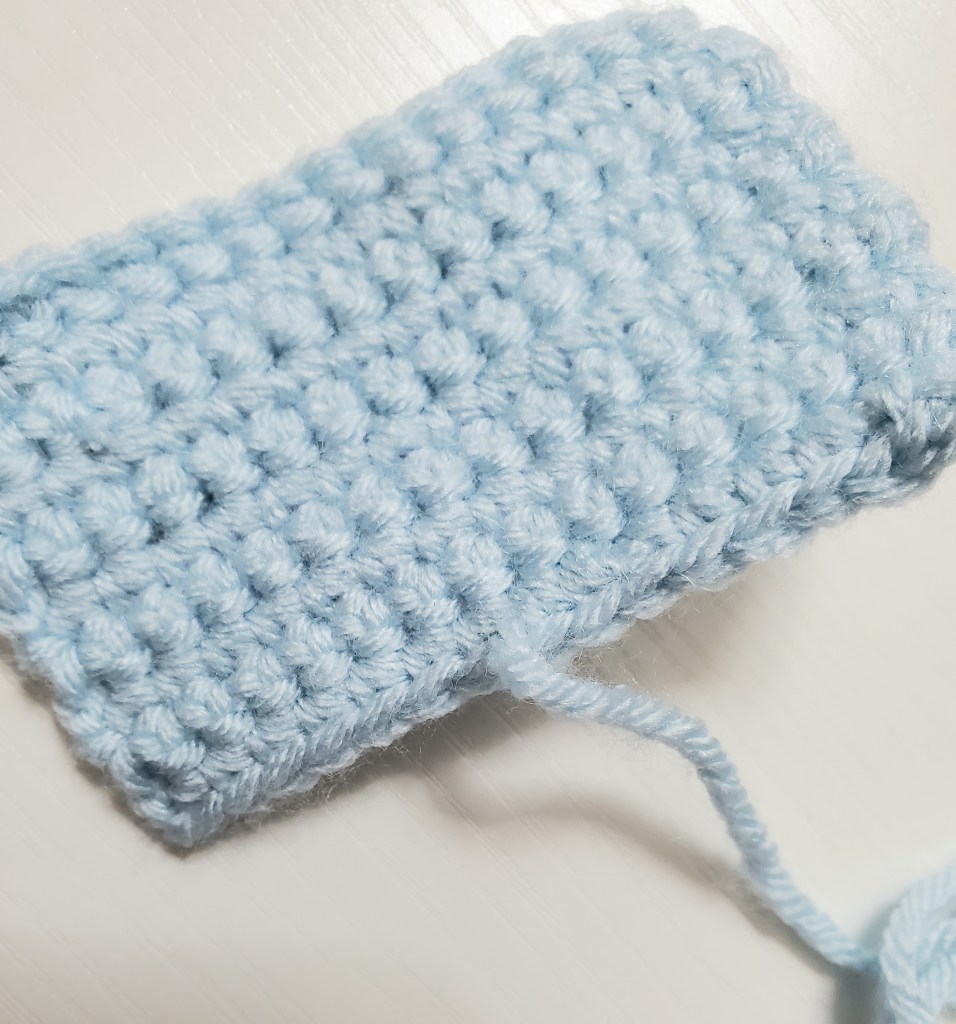

The knot will help hold your yarn in place while we complete the next step. Do NOT pull the yarn you have woven in too tight. Your rectangle should still be a flat rectangle.
Next, you are going to weave your yarn in and out through the rows until it comes out the top.

Pull your yarn through the rectangle and then pull tight.
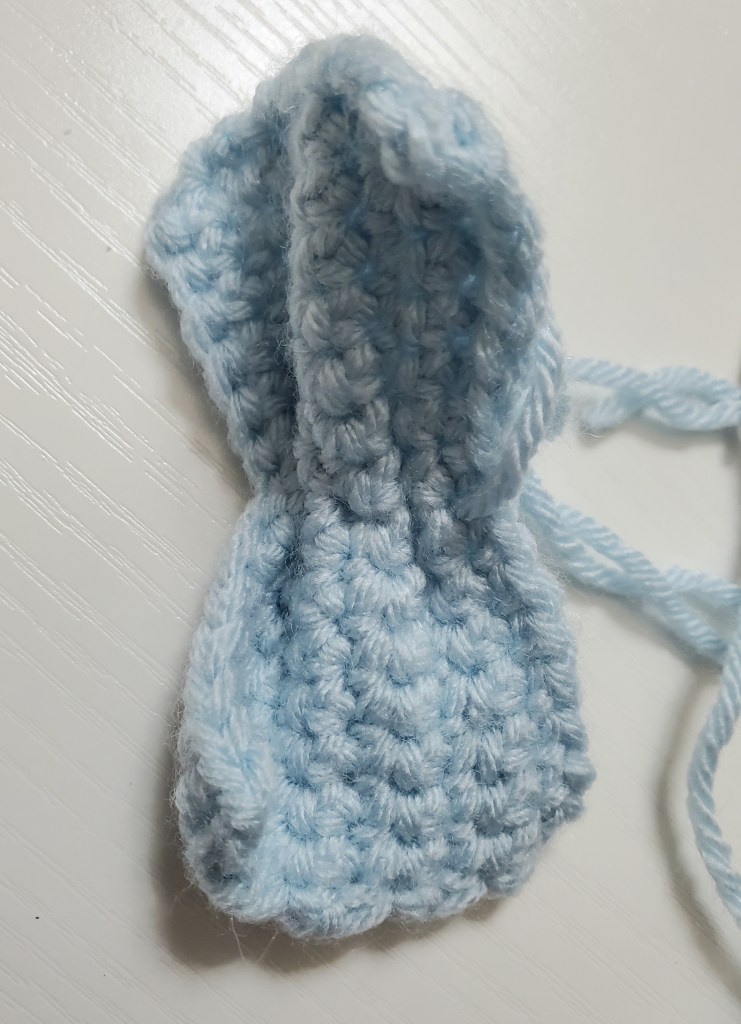
Then, encircle the bow several times to create the center of your bow.
Tie a knot in what will be the back of the bow to hold the center in place. It does not matter which side you use as your back. Just choose the one that looks best to you.
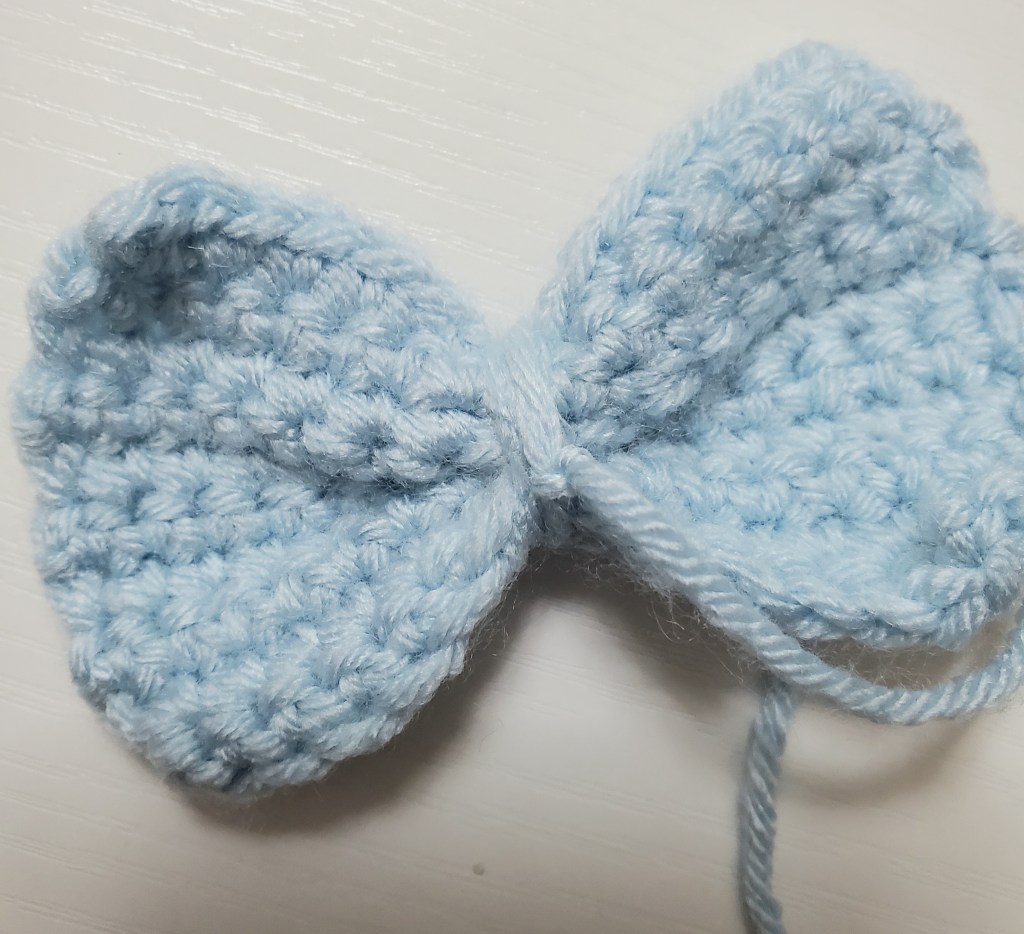
Cut the long tail to a length that can be hidden when placed on the whale body. Do NOT cut the other long tail. You will need that for sewing.
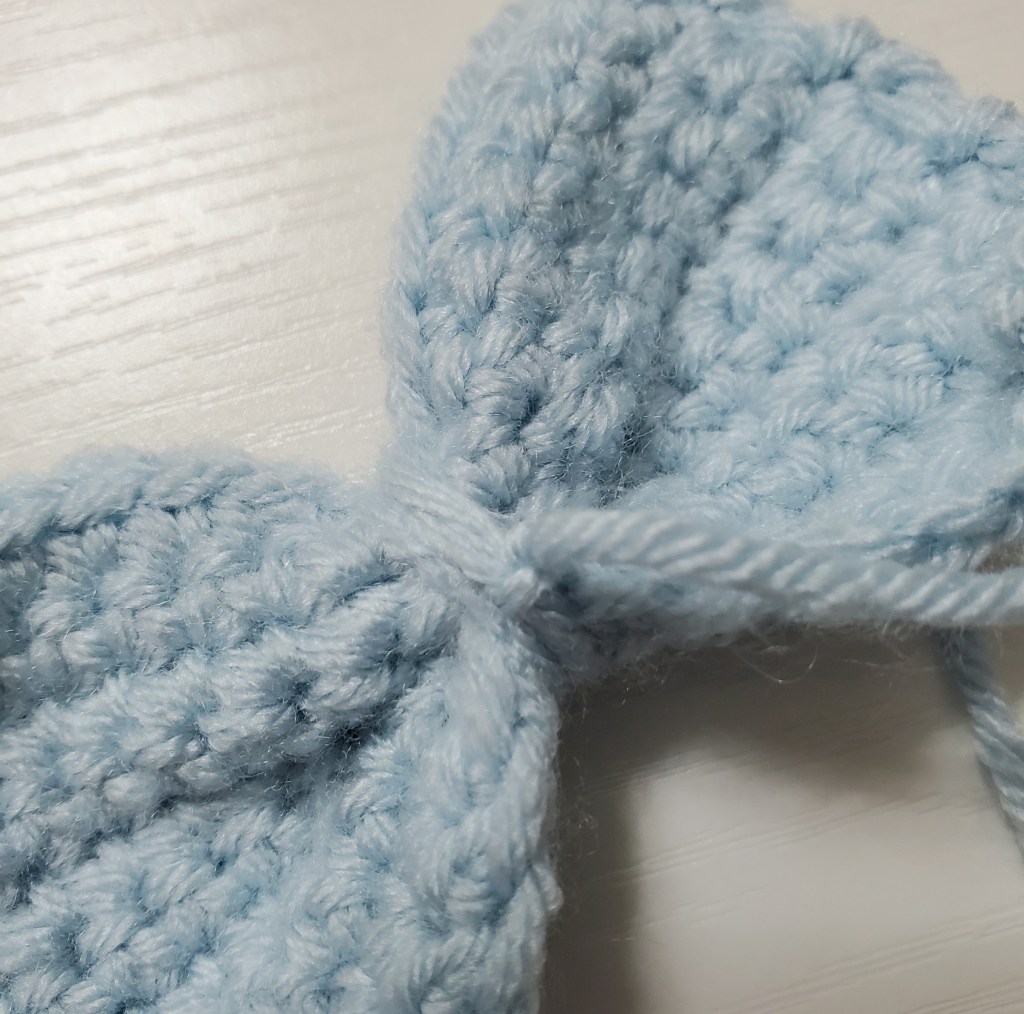
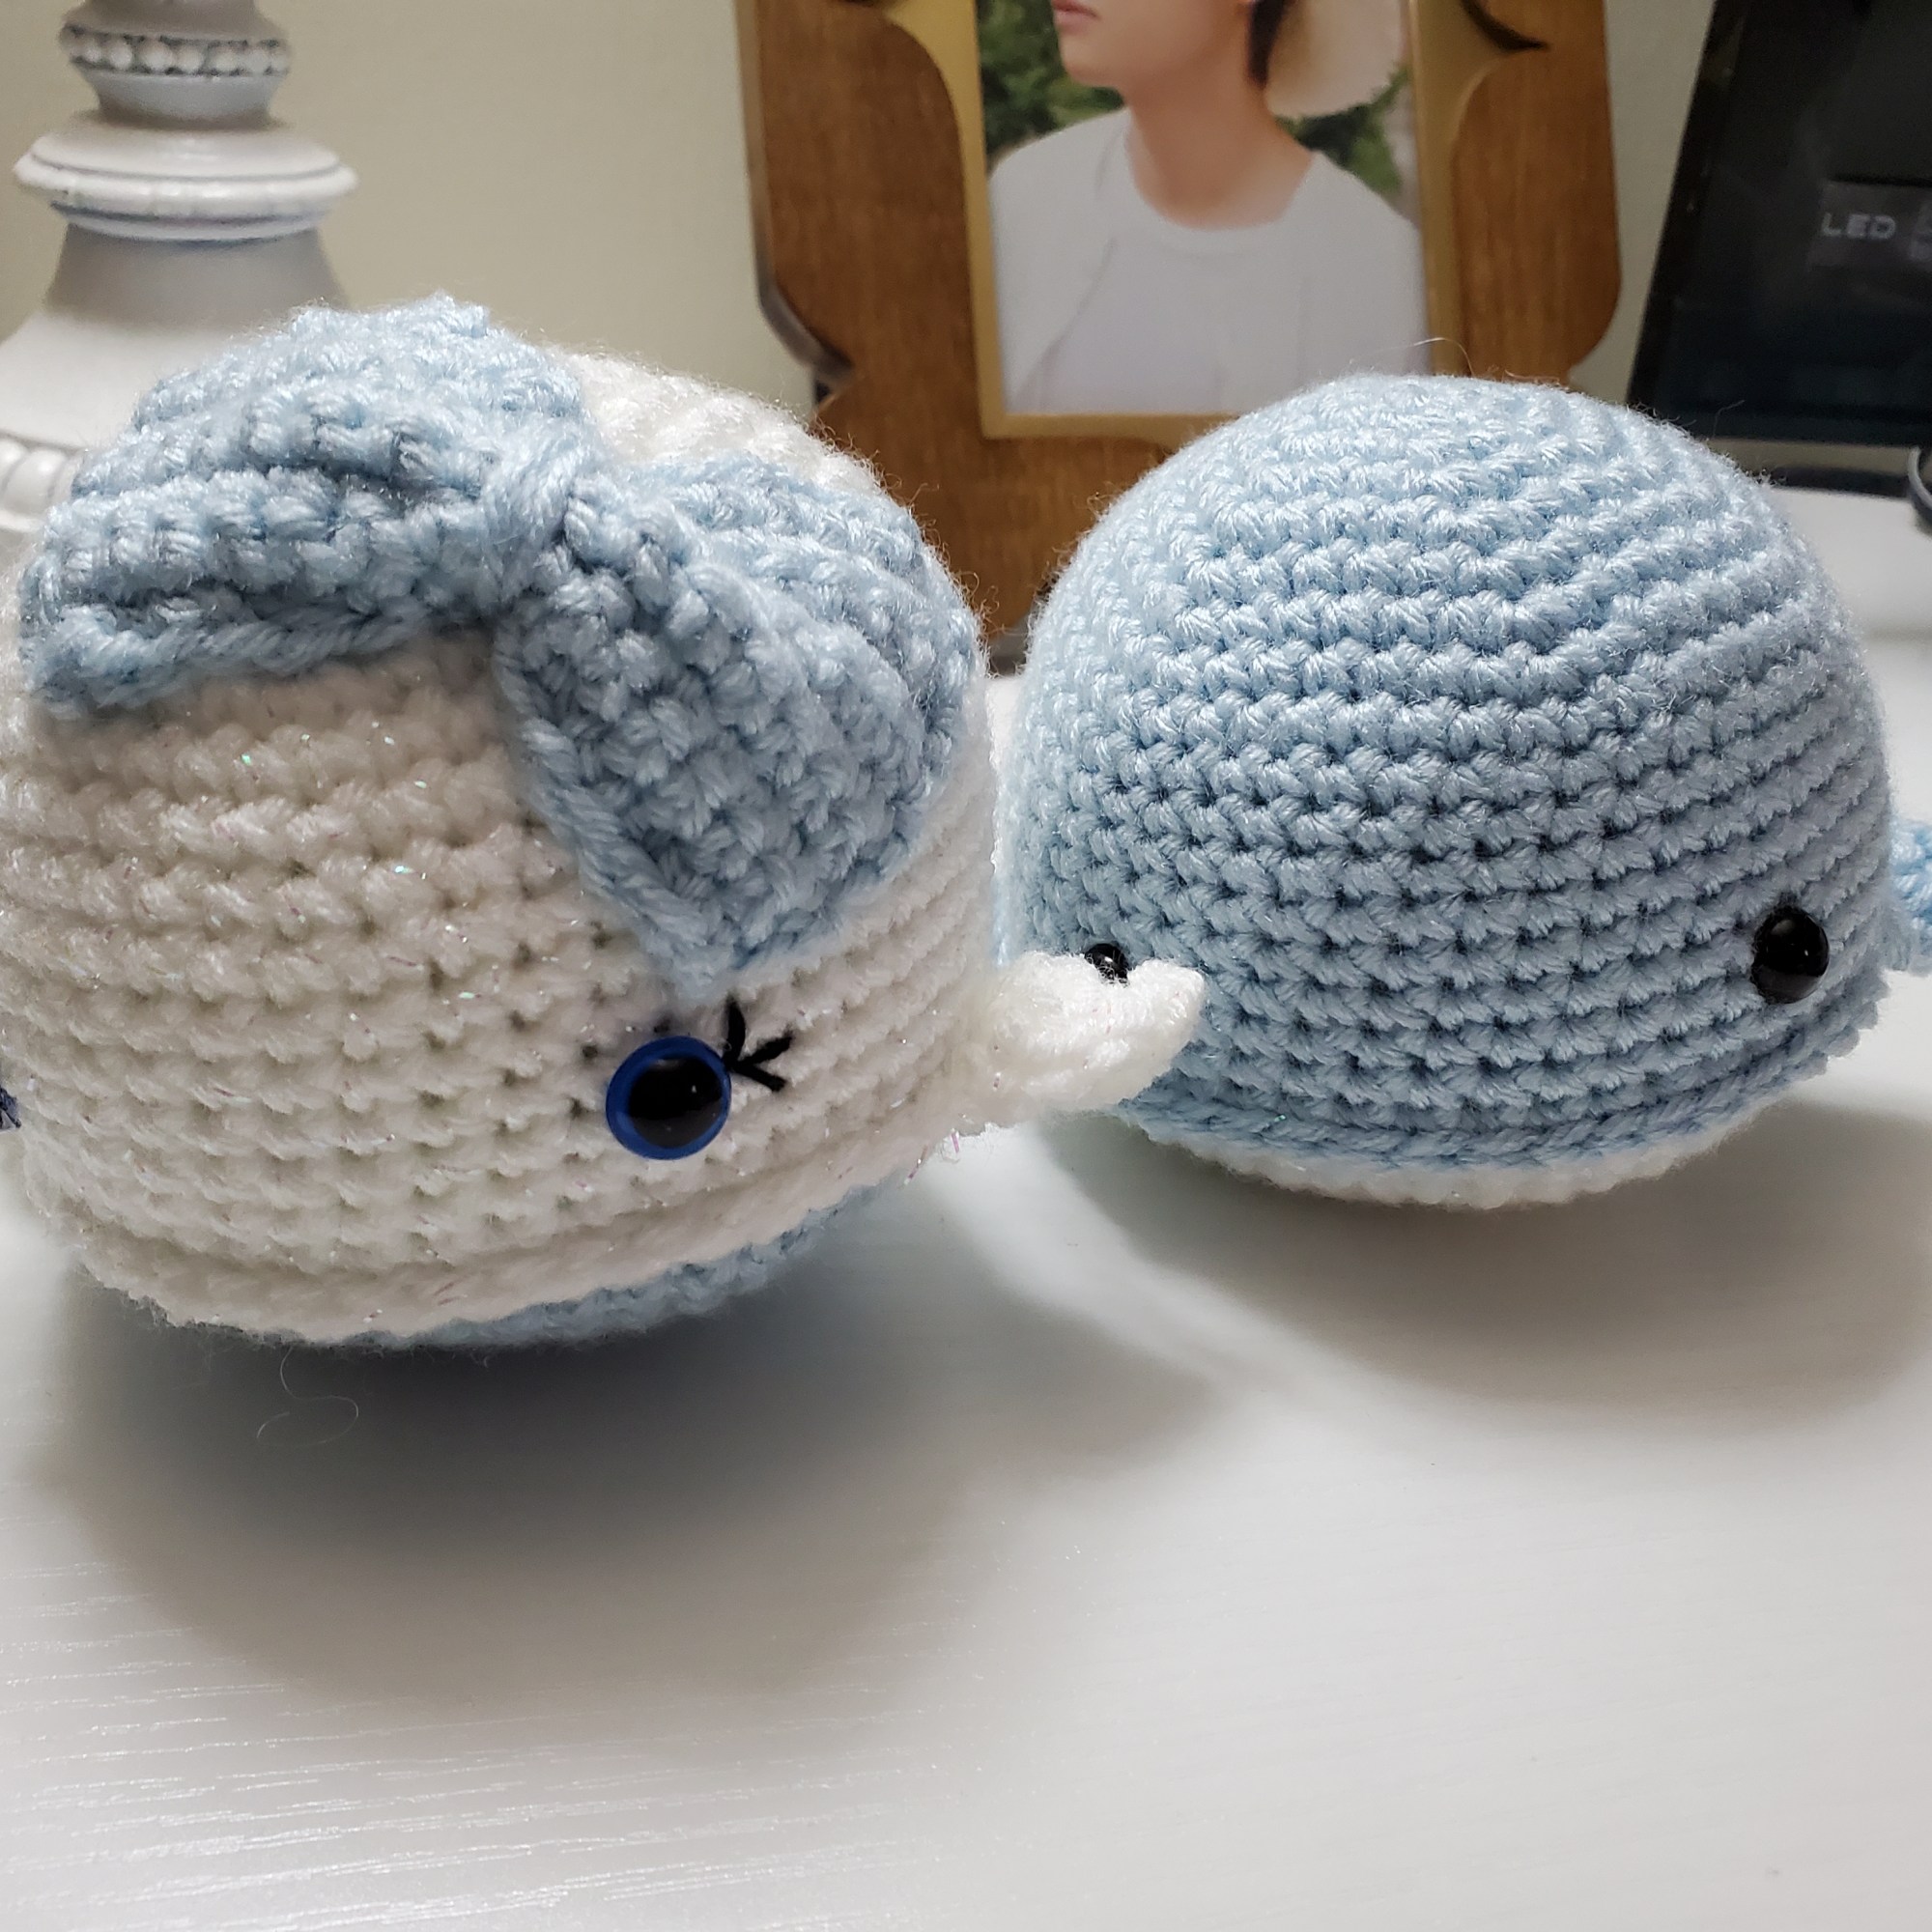
Now, use the photos below to attach the bow to your whale using straight pins.
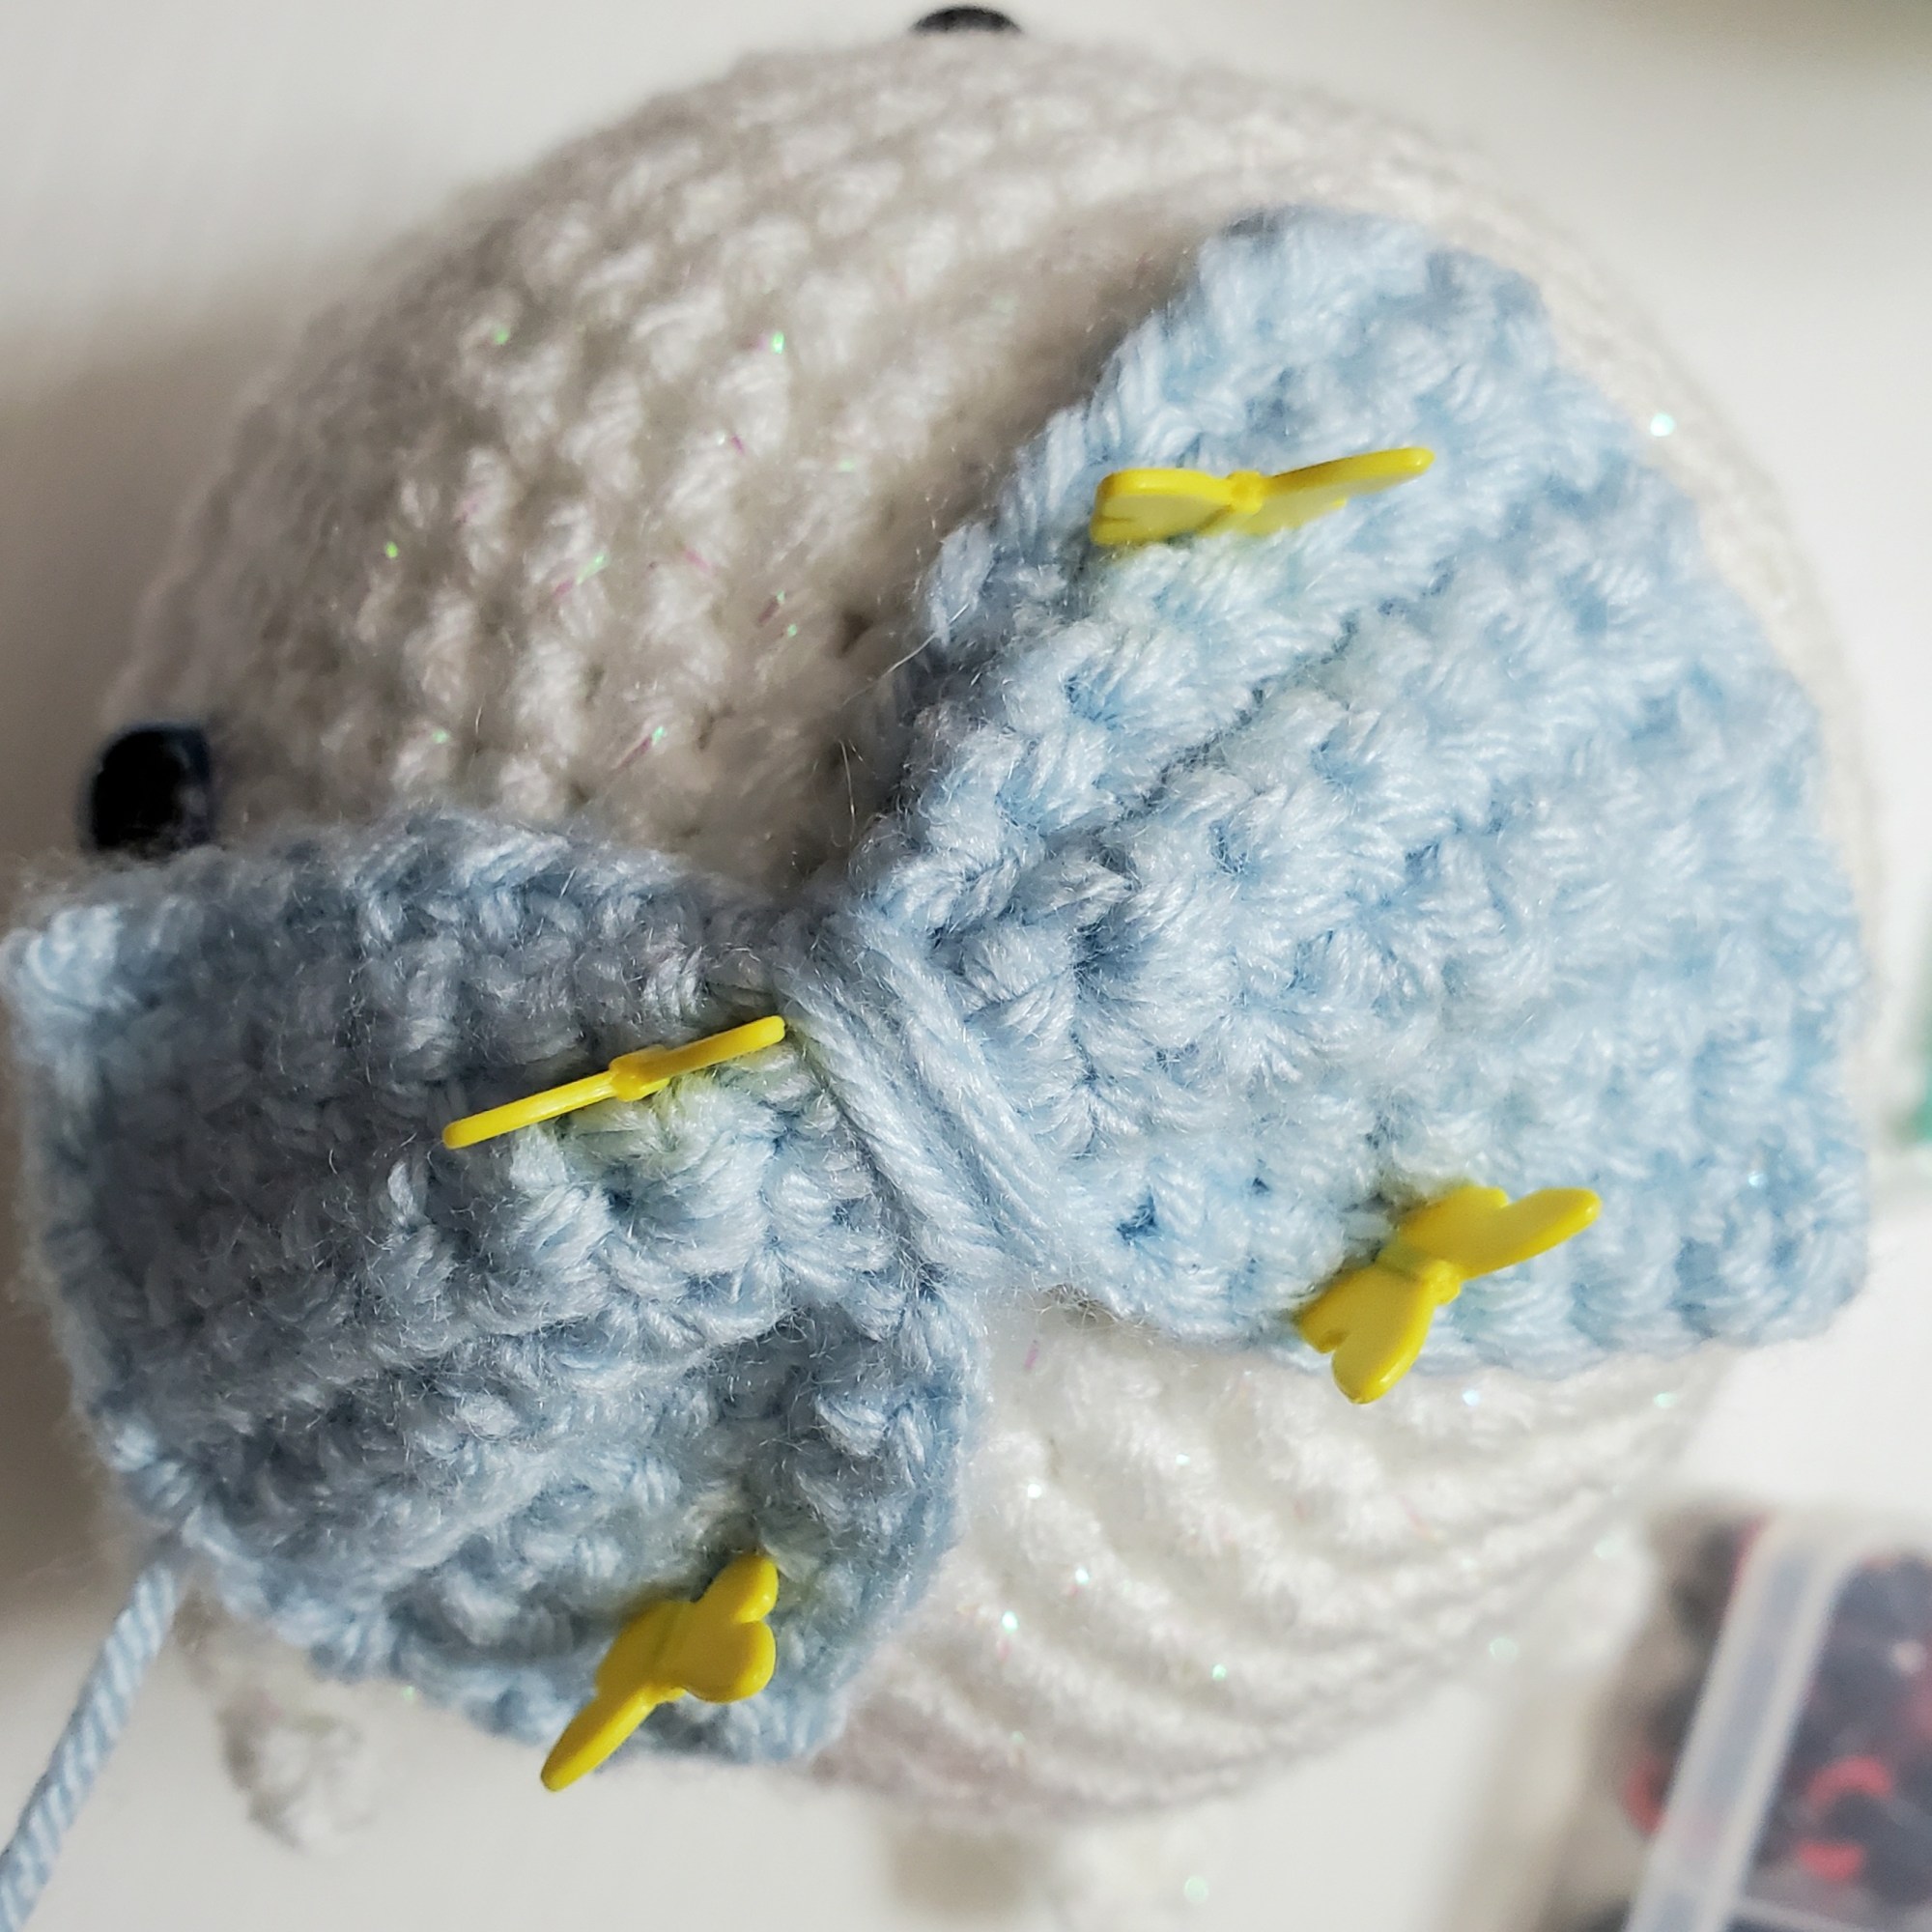
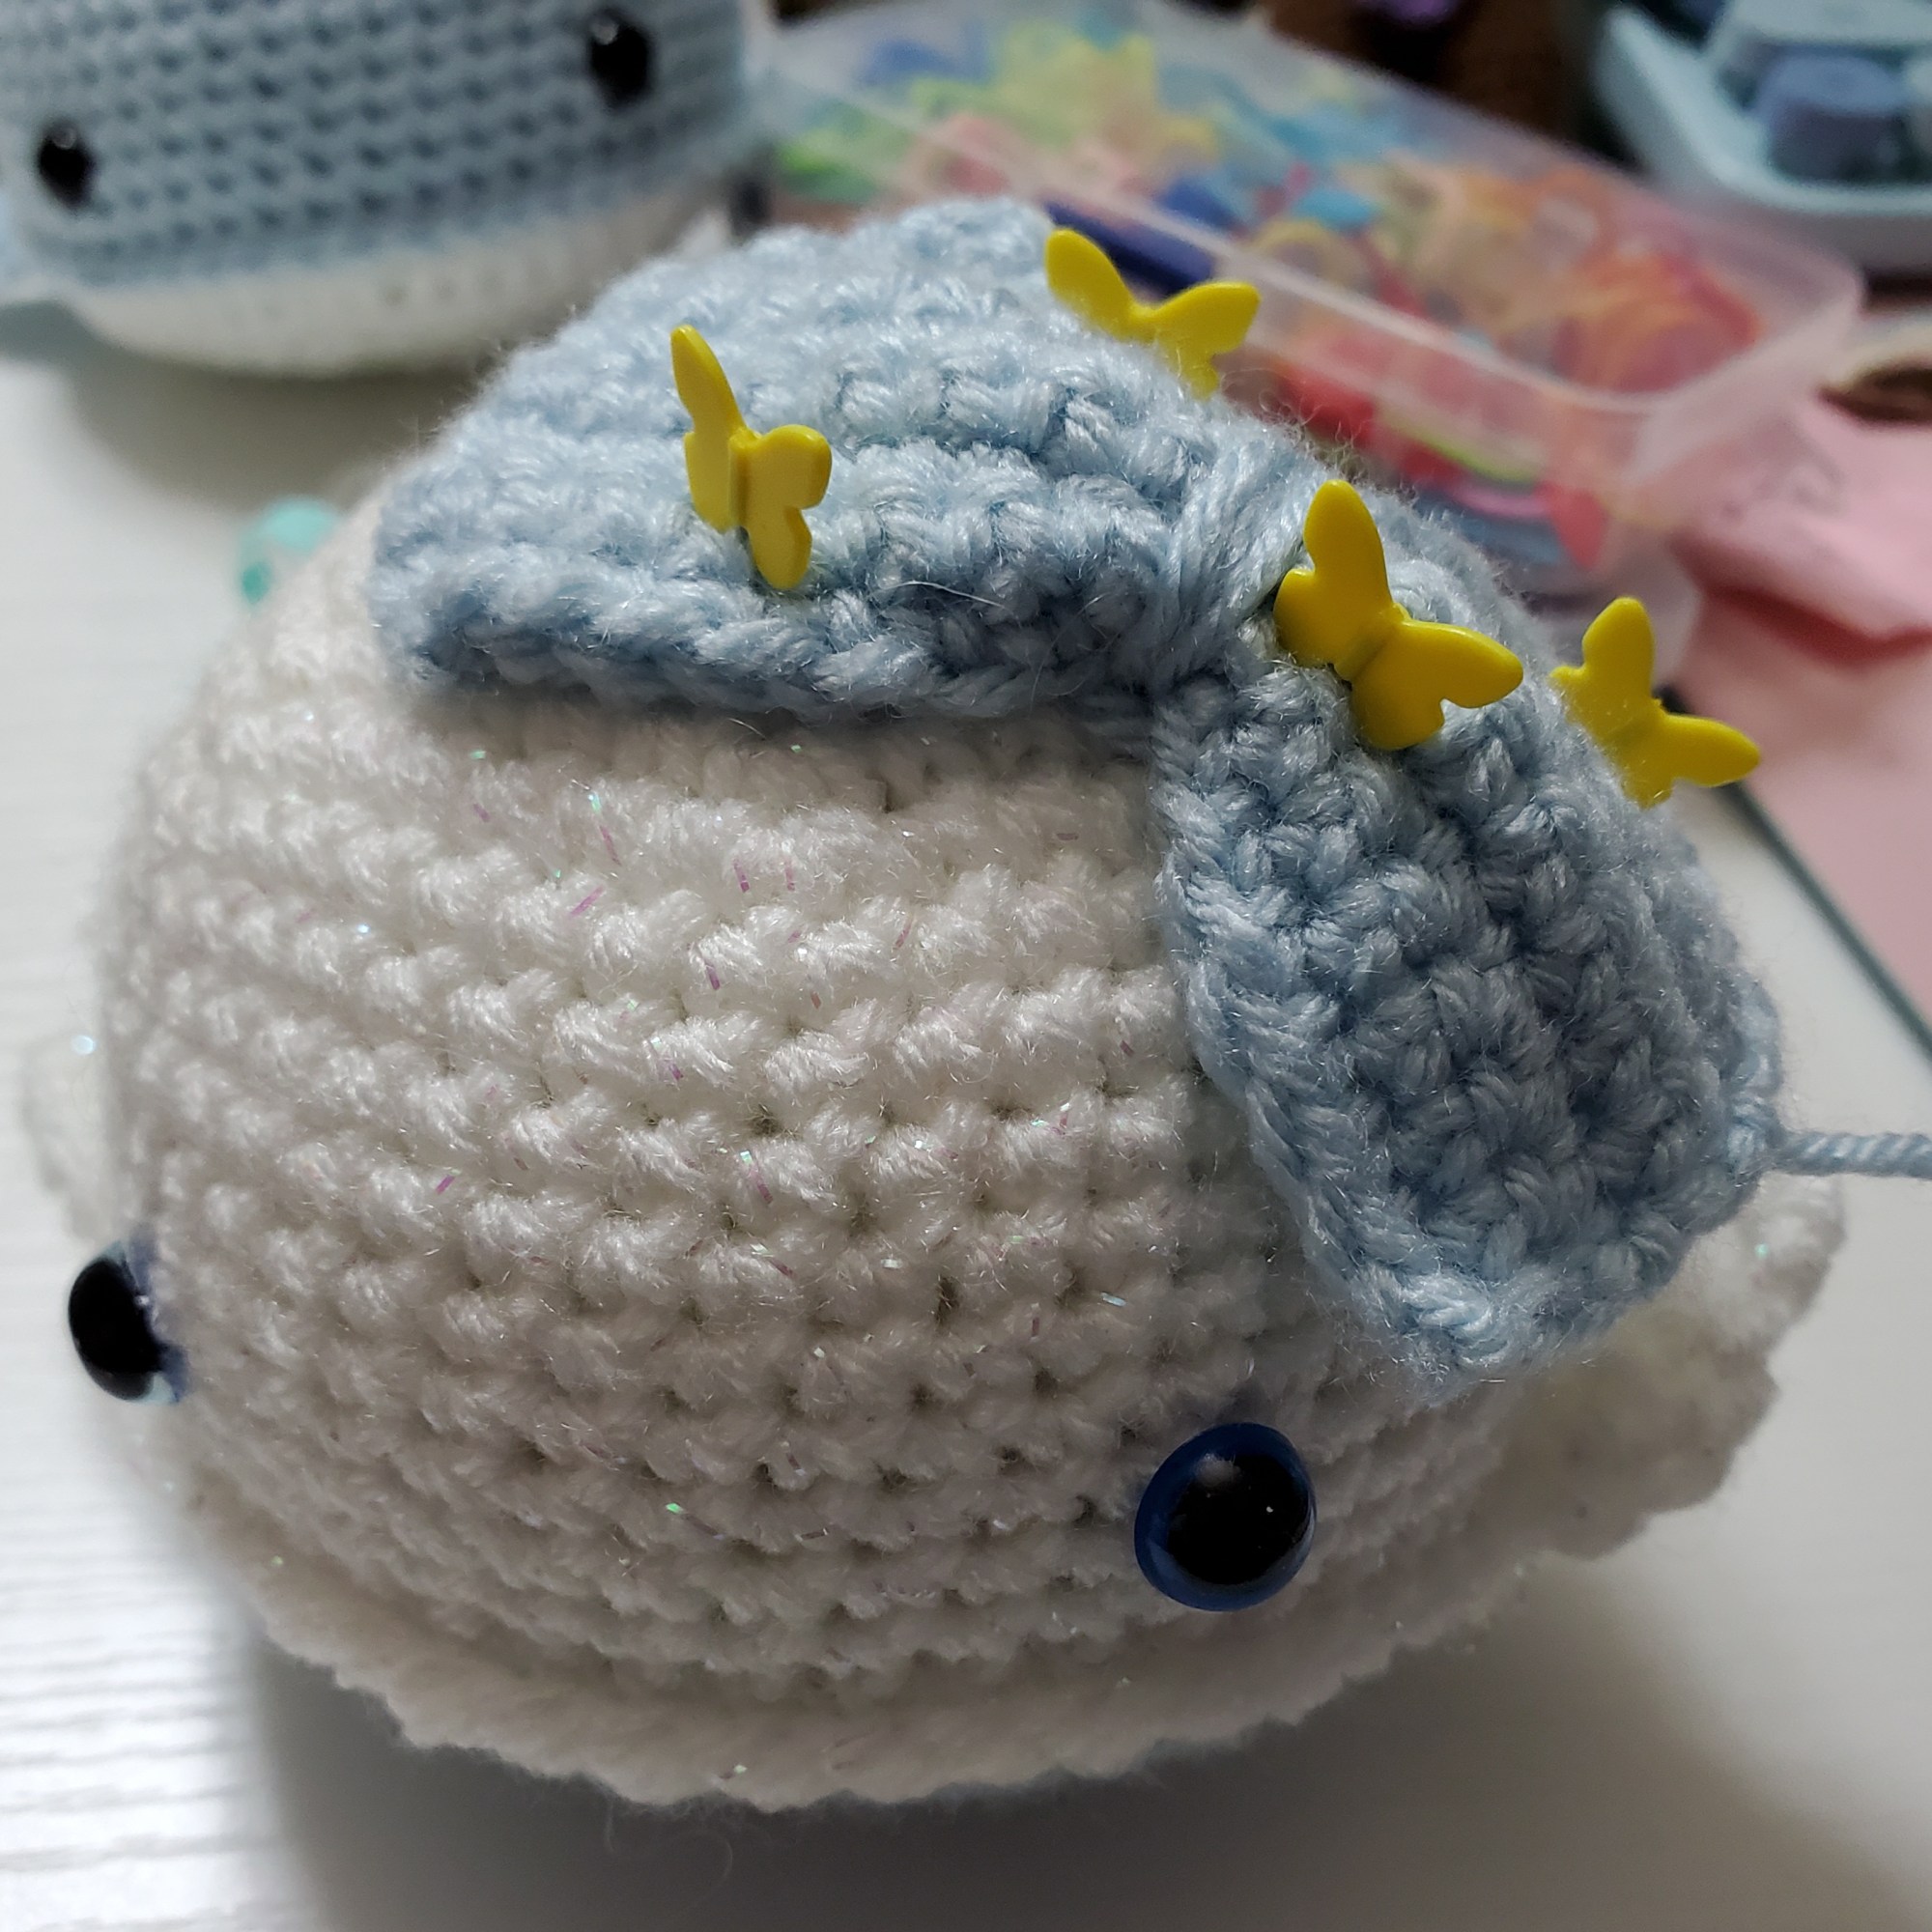

Now, you will sew the bow to your whale’s head. I just used a normal straight stictch and sewed around the outer edges of my stitches.
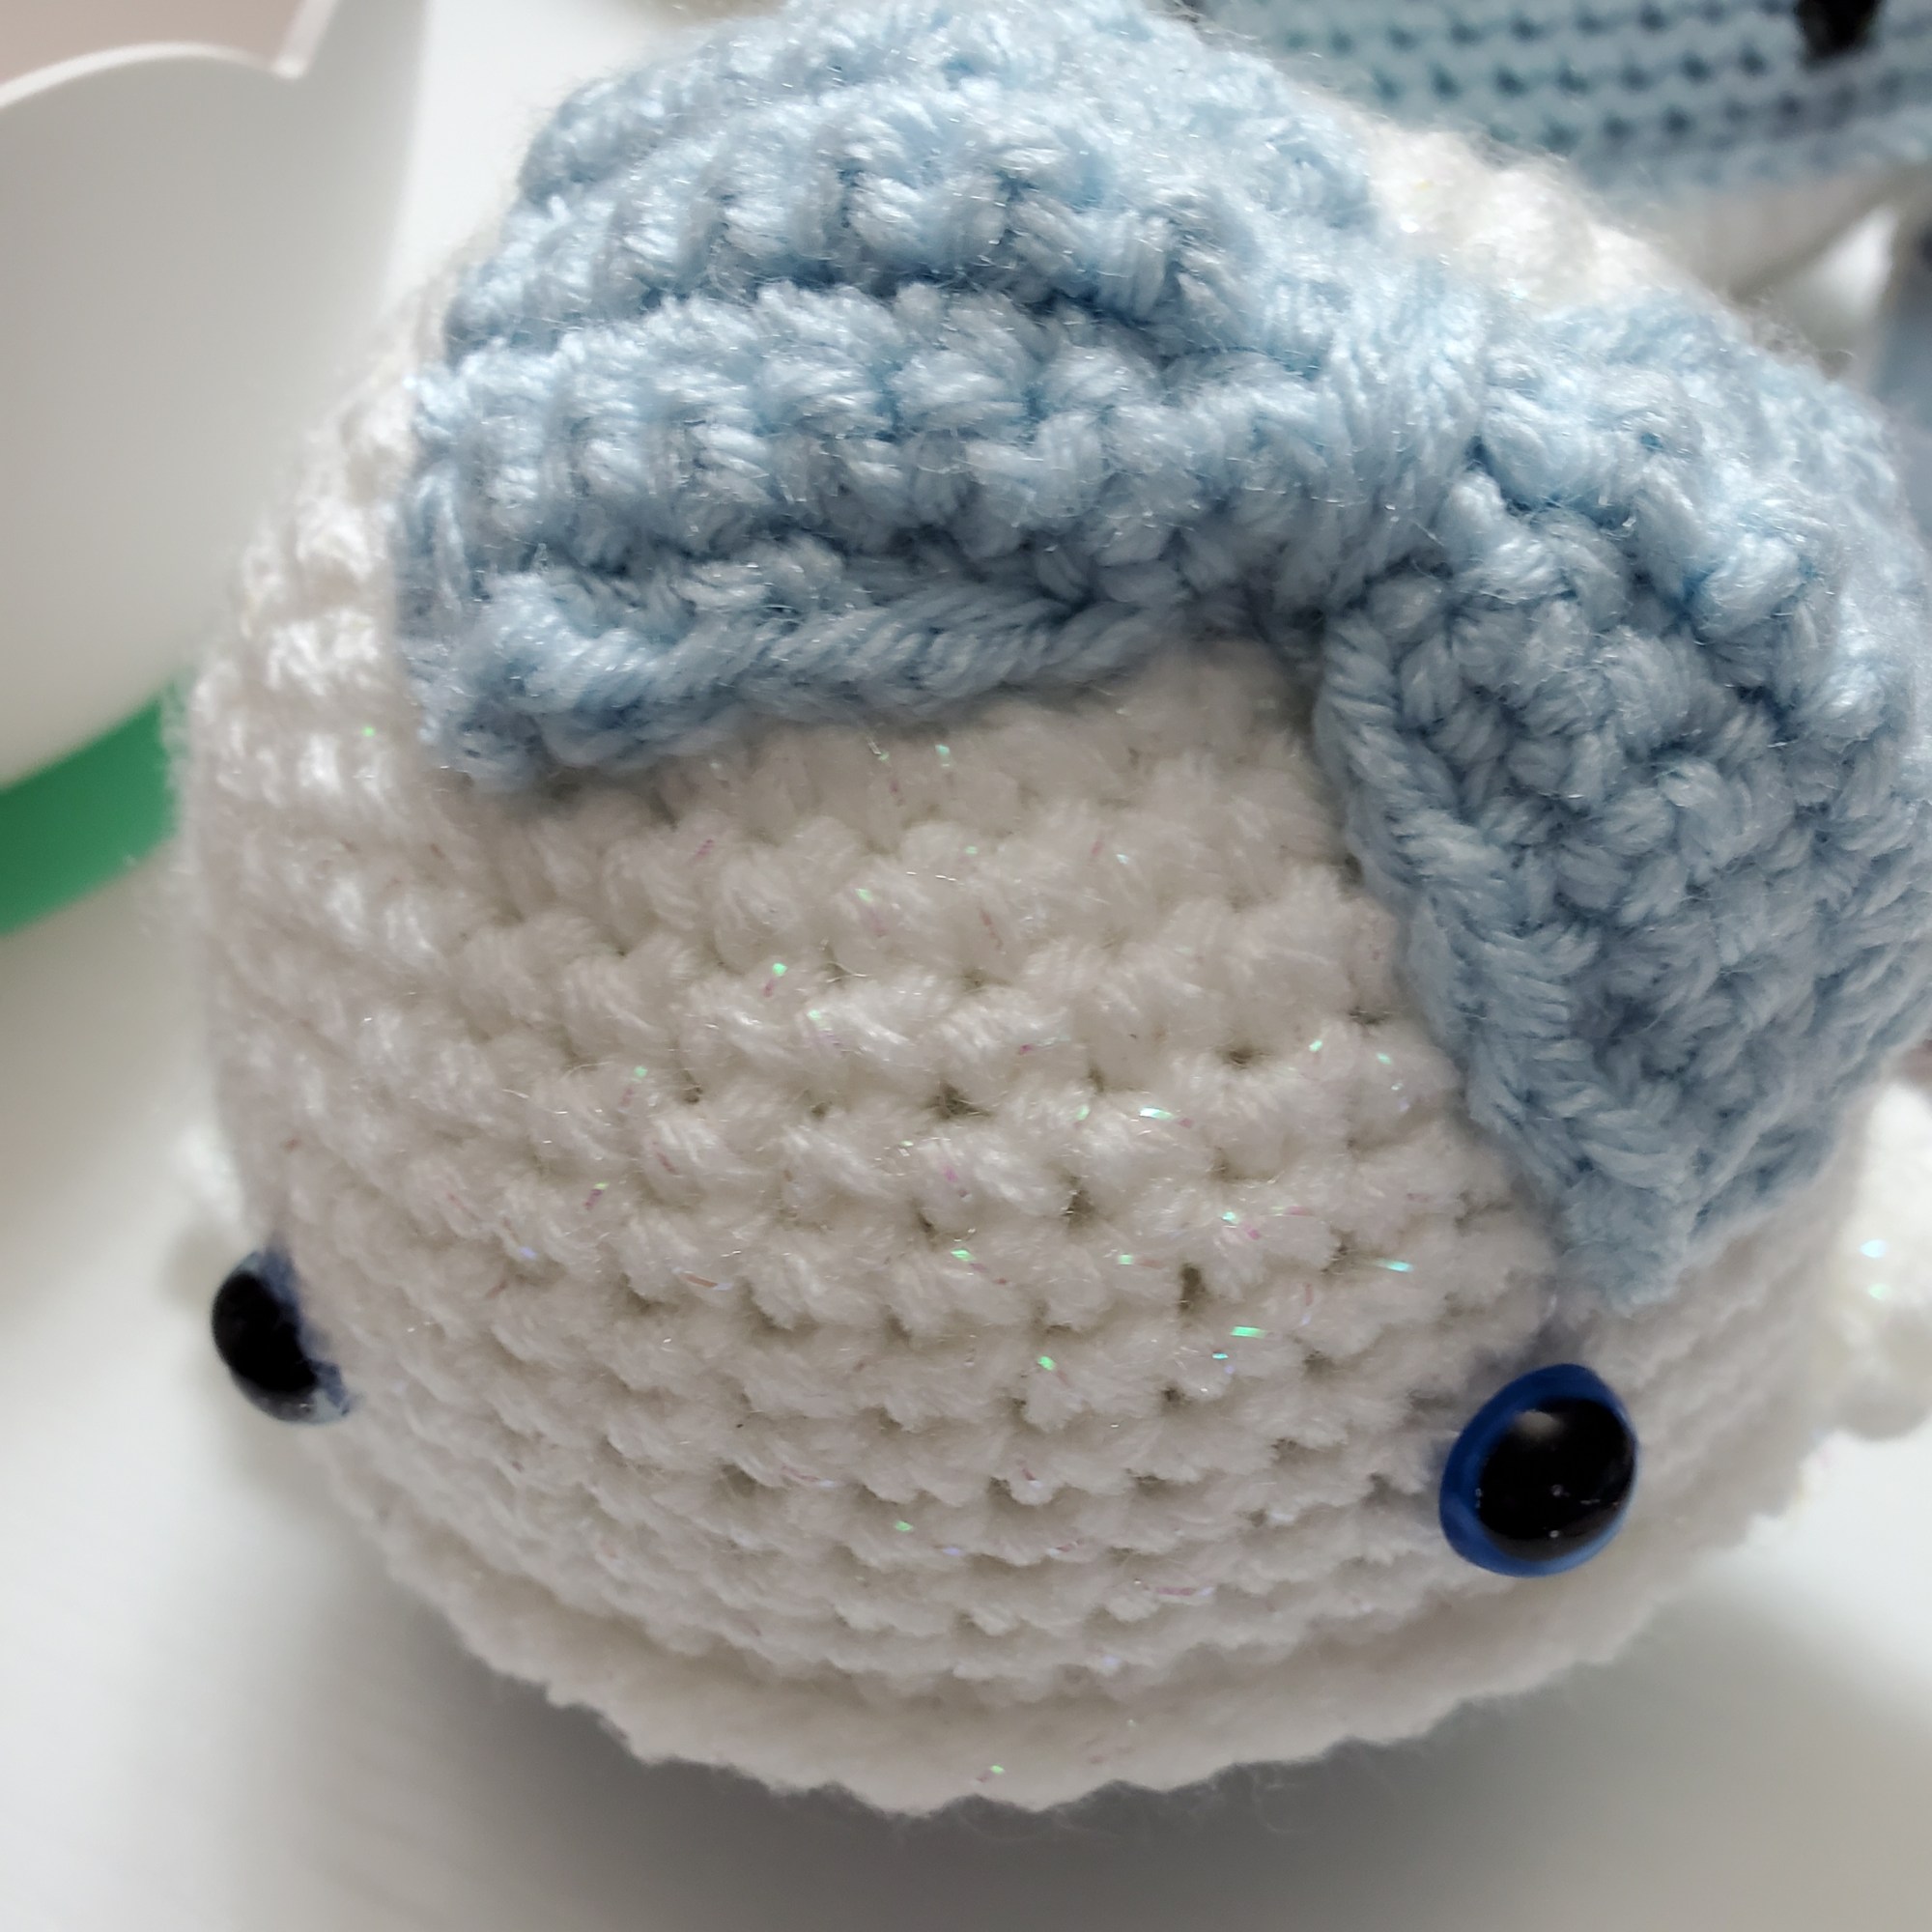

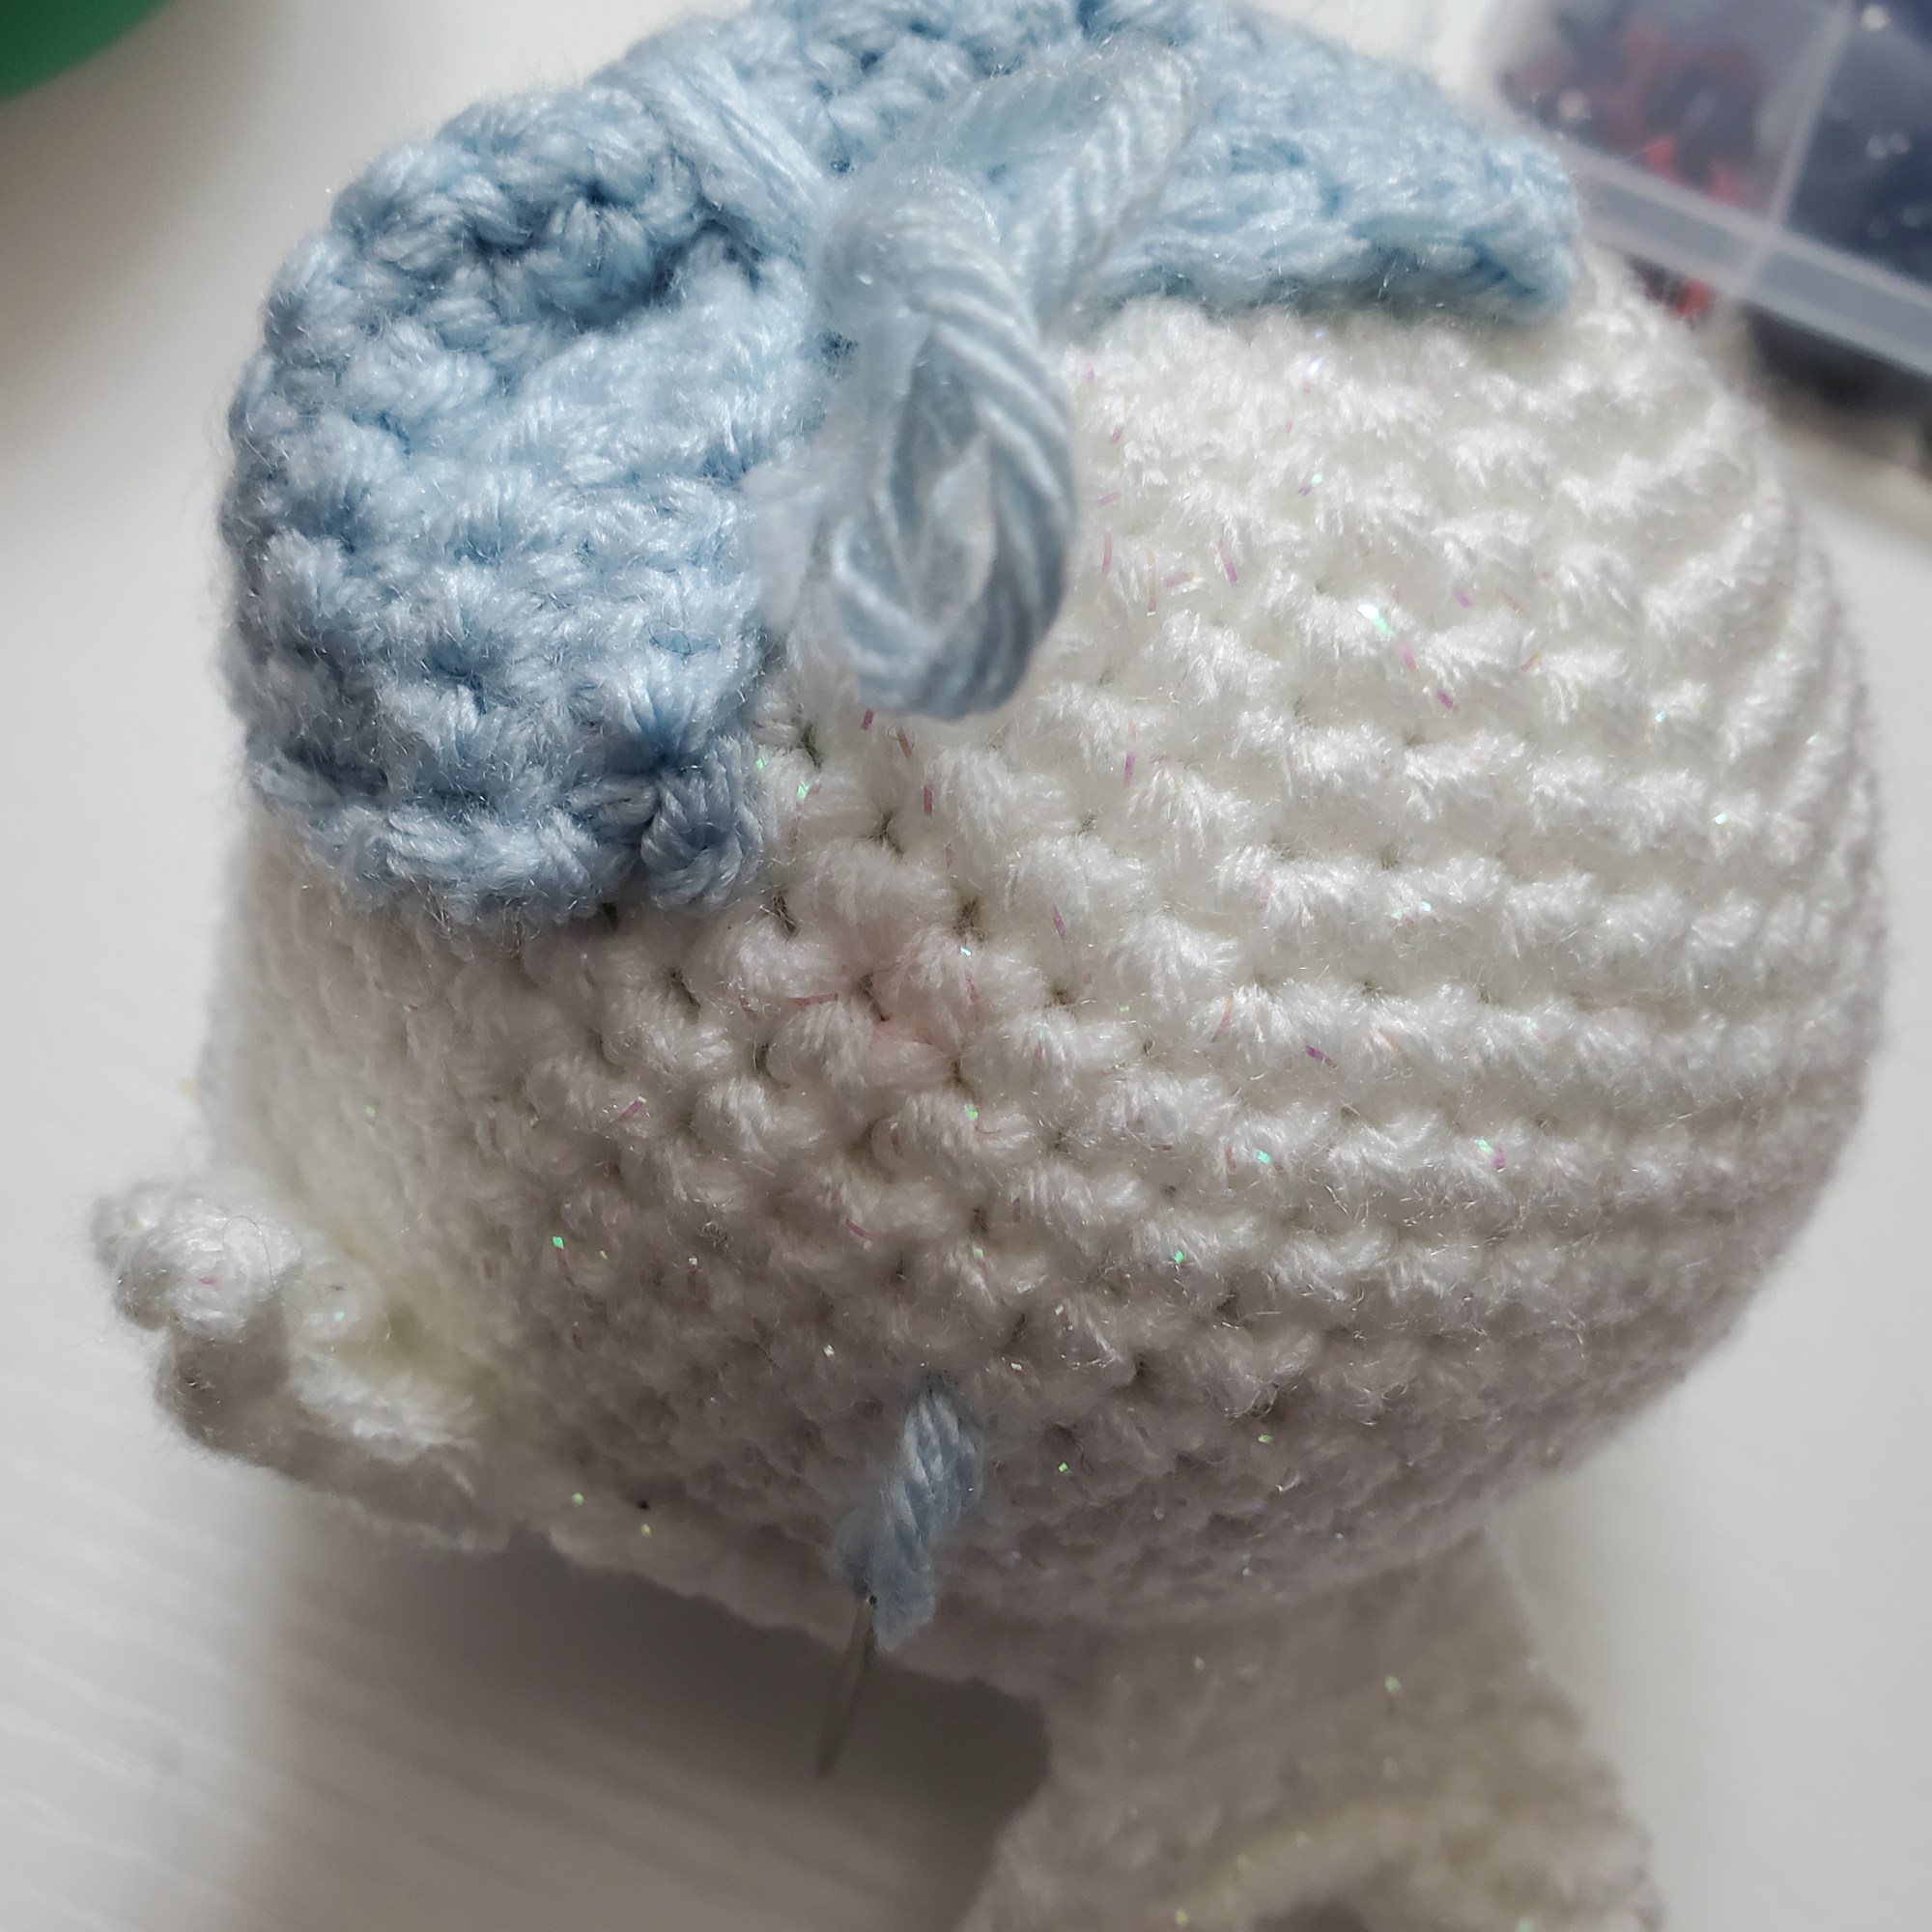
Run the yarn down through your whale and cut close to the body.
Your bow is now attached!!!
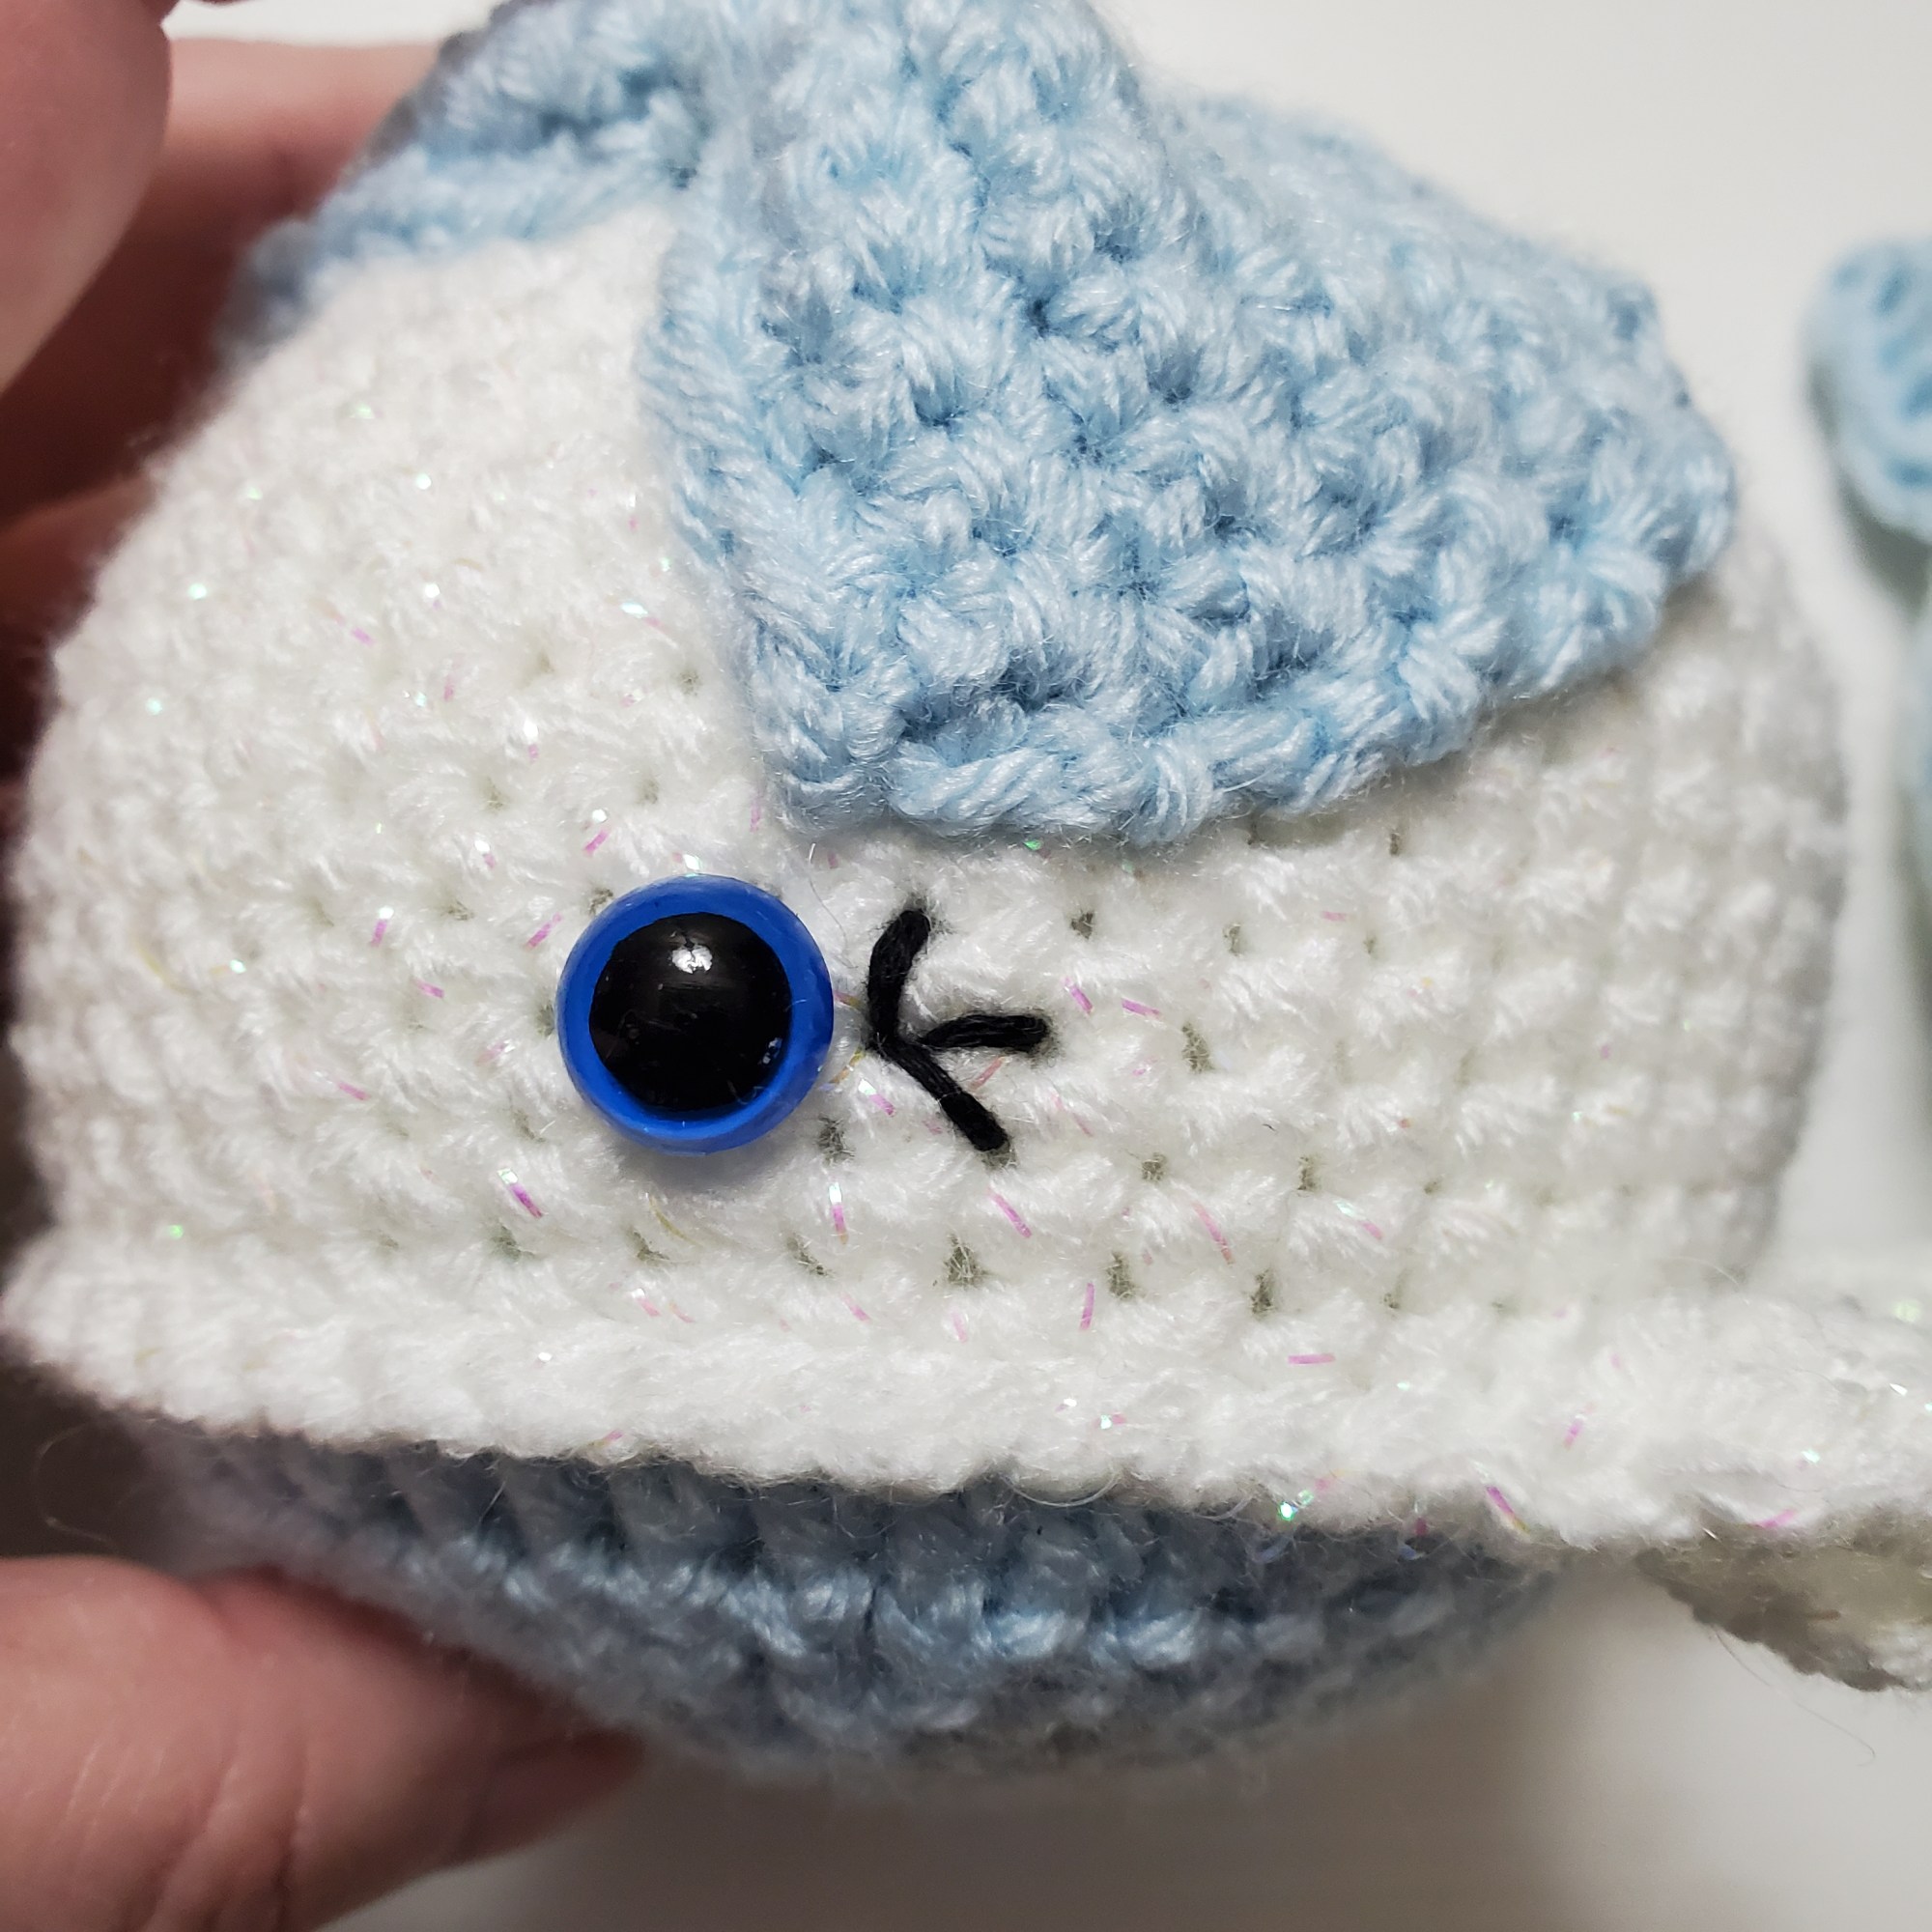
Last, we are going to embroider the eyelashes. The way you do this is take your embroidery floss. I kept all 6 strands and threaded it in my yarn needle. Tie a knot in the end and run the floss up from the bottom of your whale to hide the floss. Pull enough that you can’t see the knot, but do not pull tight enough for your thread to come out.
Then, just use the images below to recreate the eyelashes. They are just straight stitches. To do the opposite eye’s lashes, you may carry the thread over. But be careful not to pull tight and warp your whale’s face. To end, simply run the thread back out the bottom of the whale.
Now you are done with the base whale!
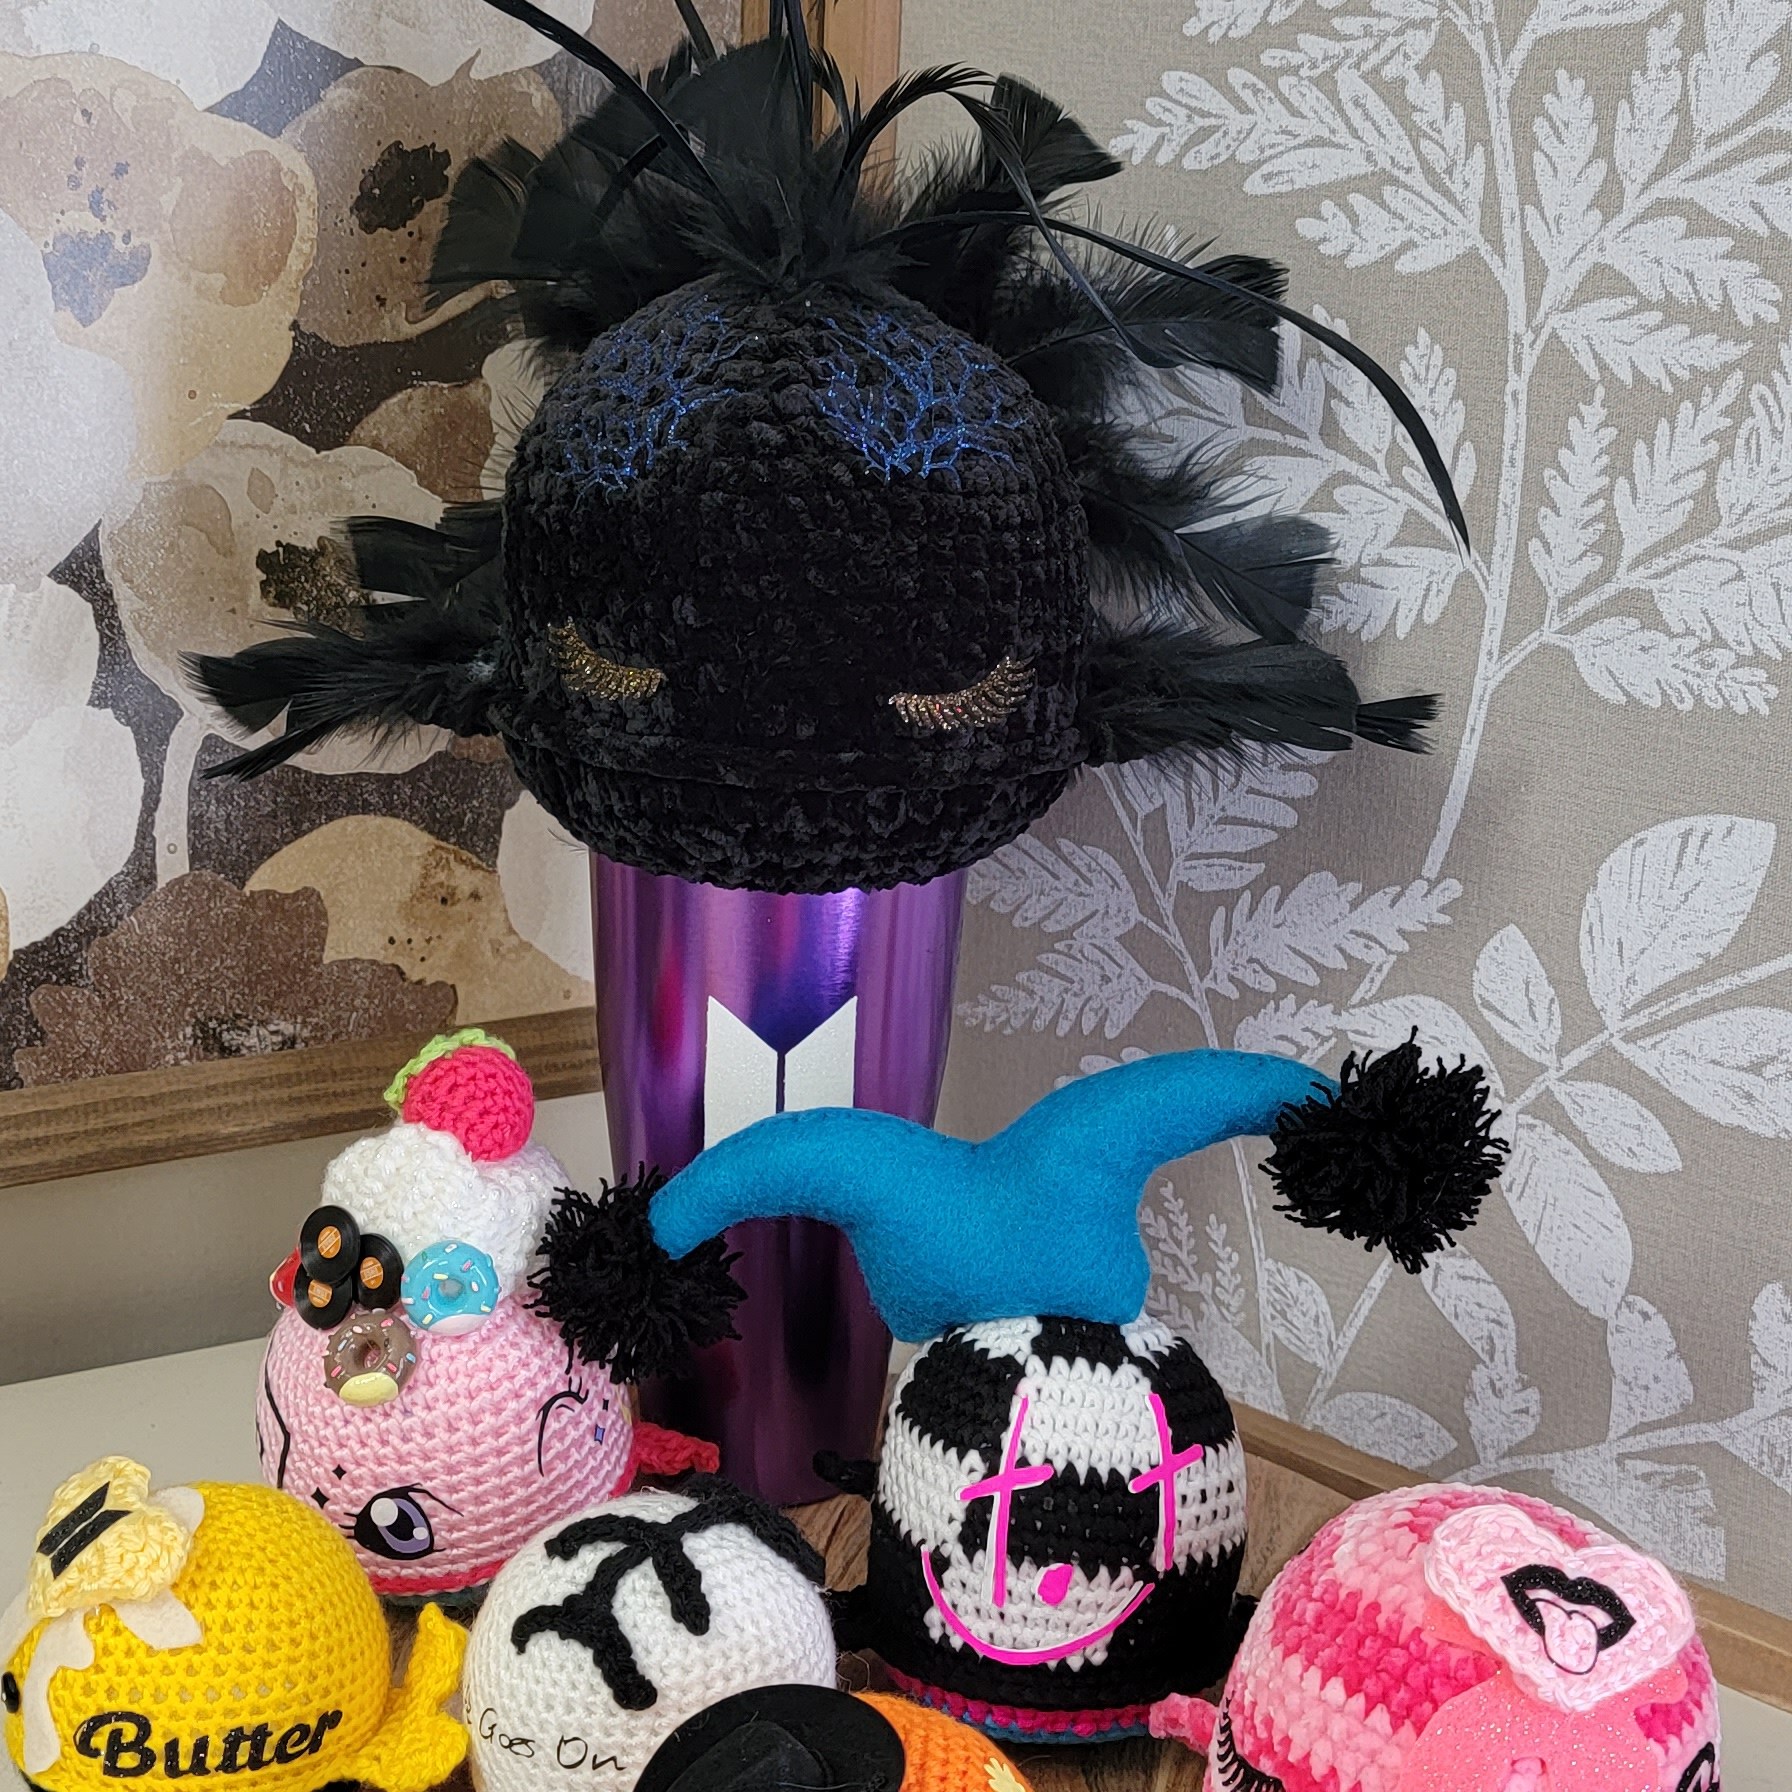
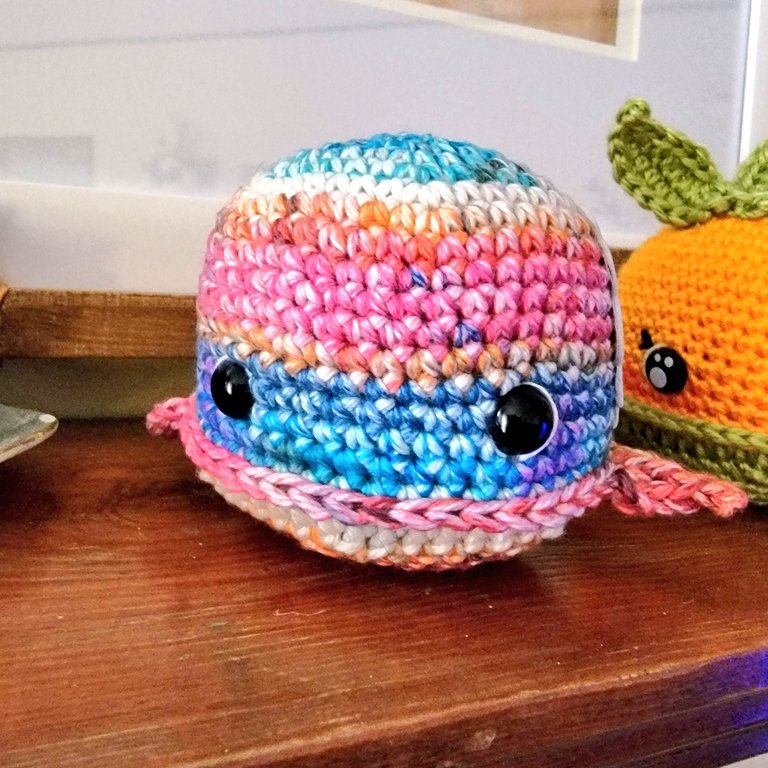
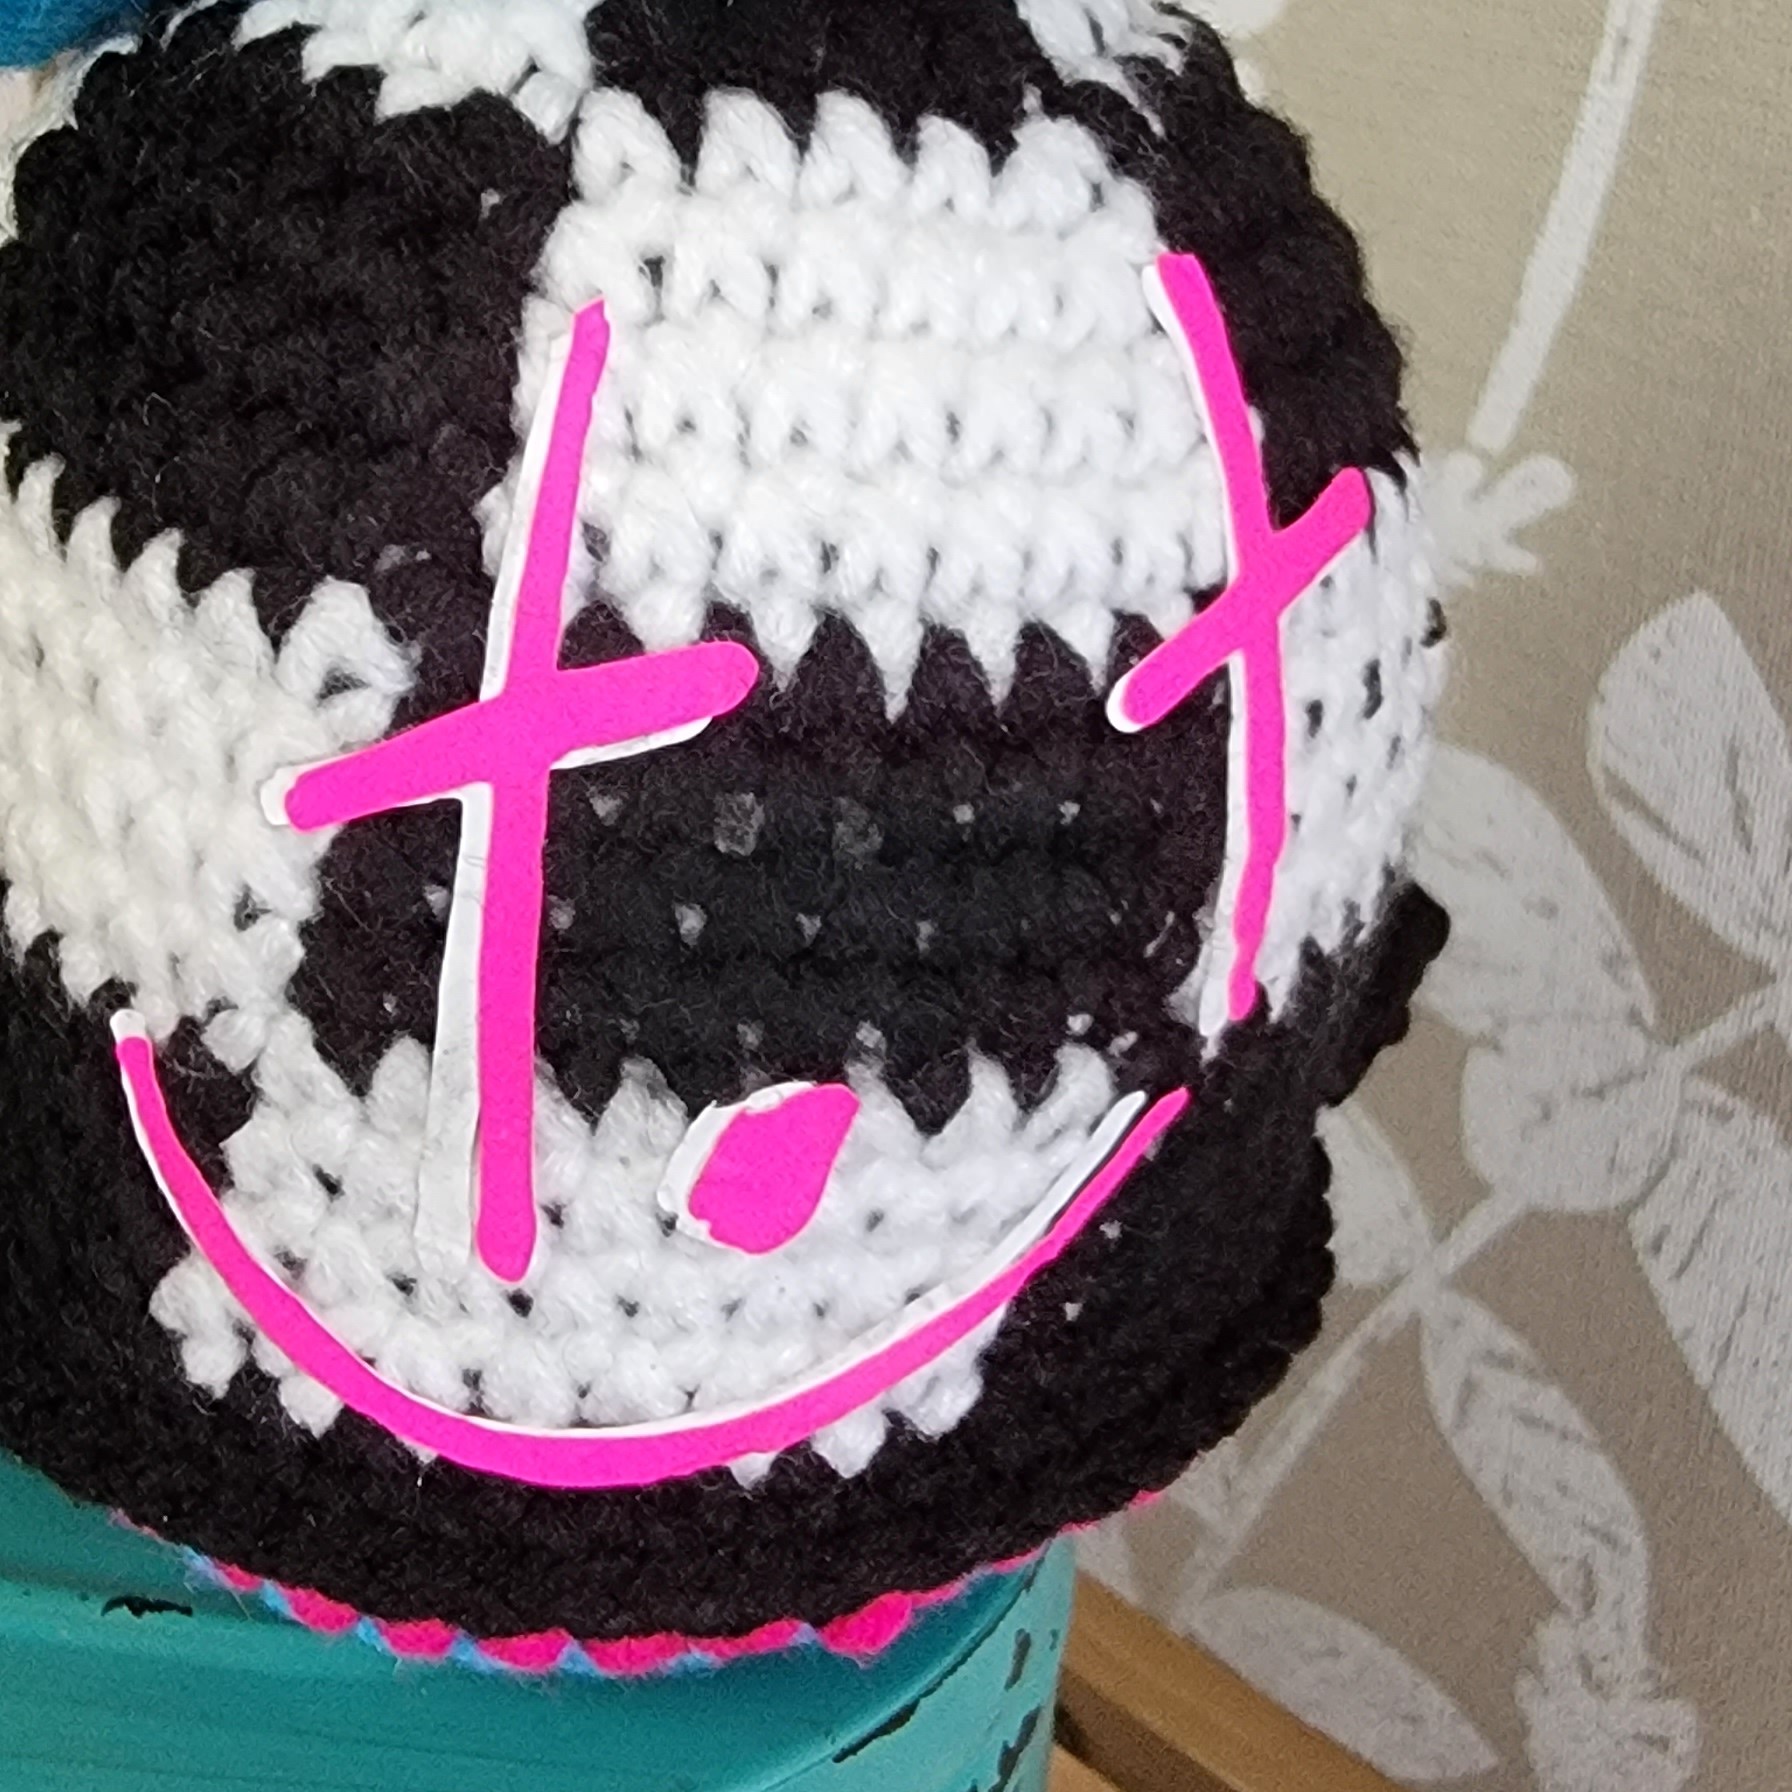
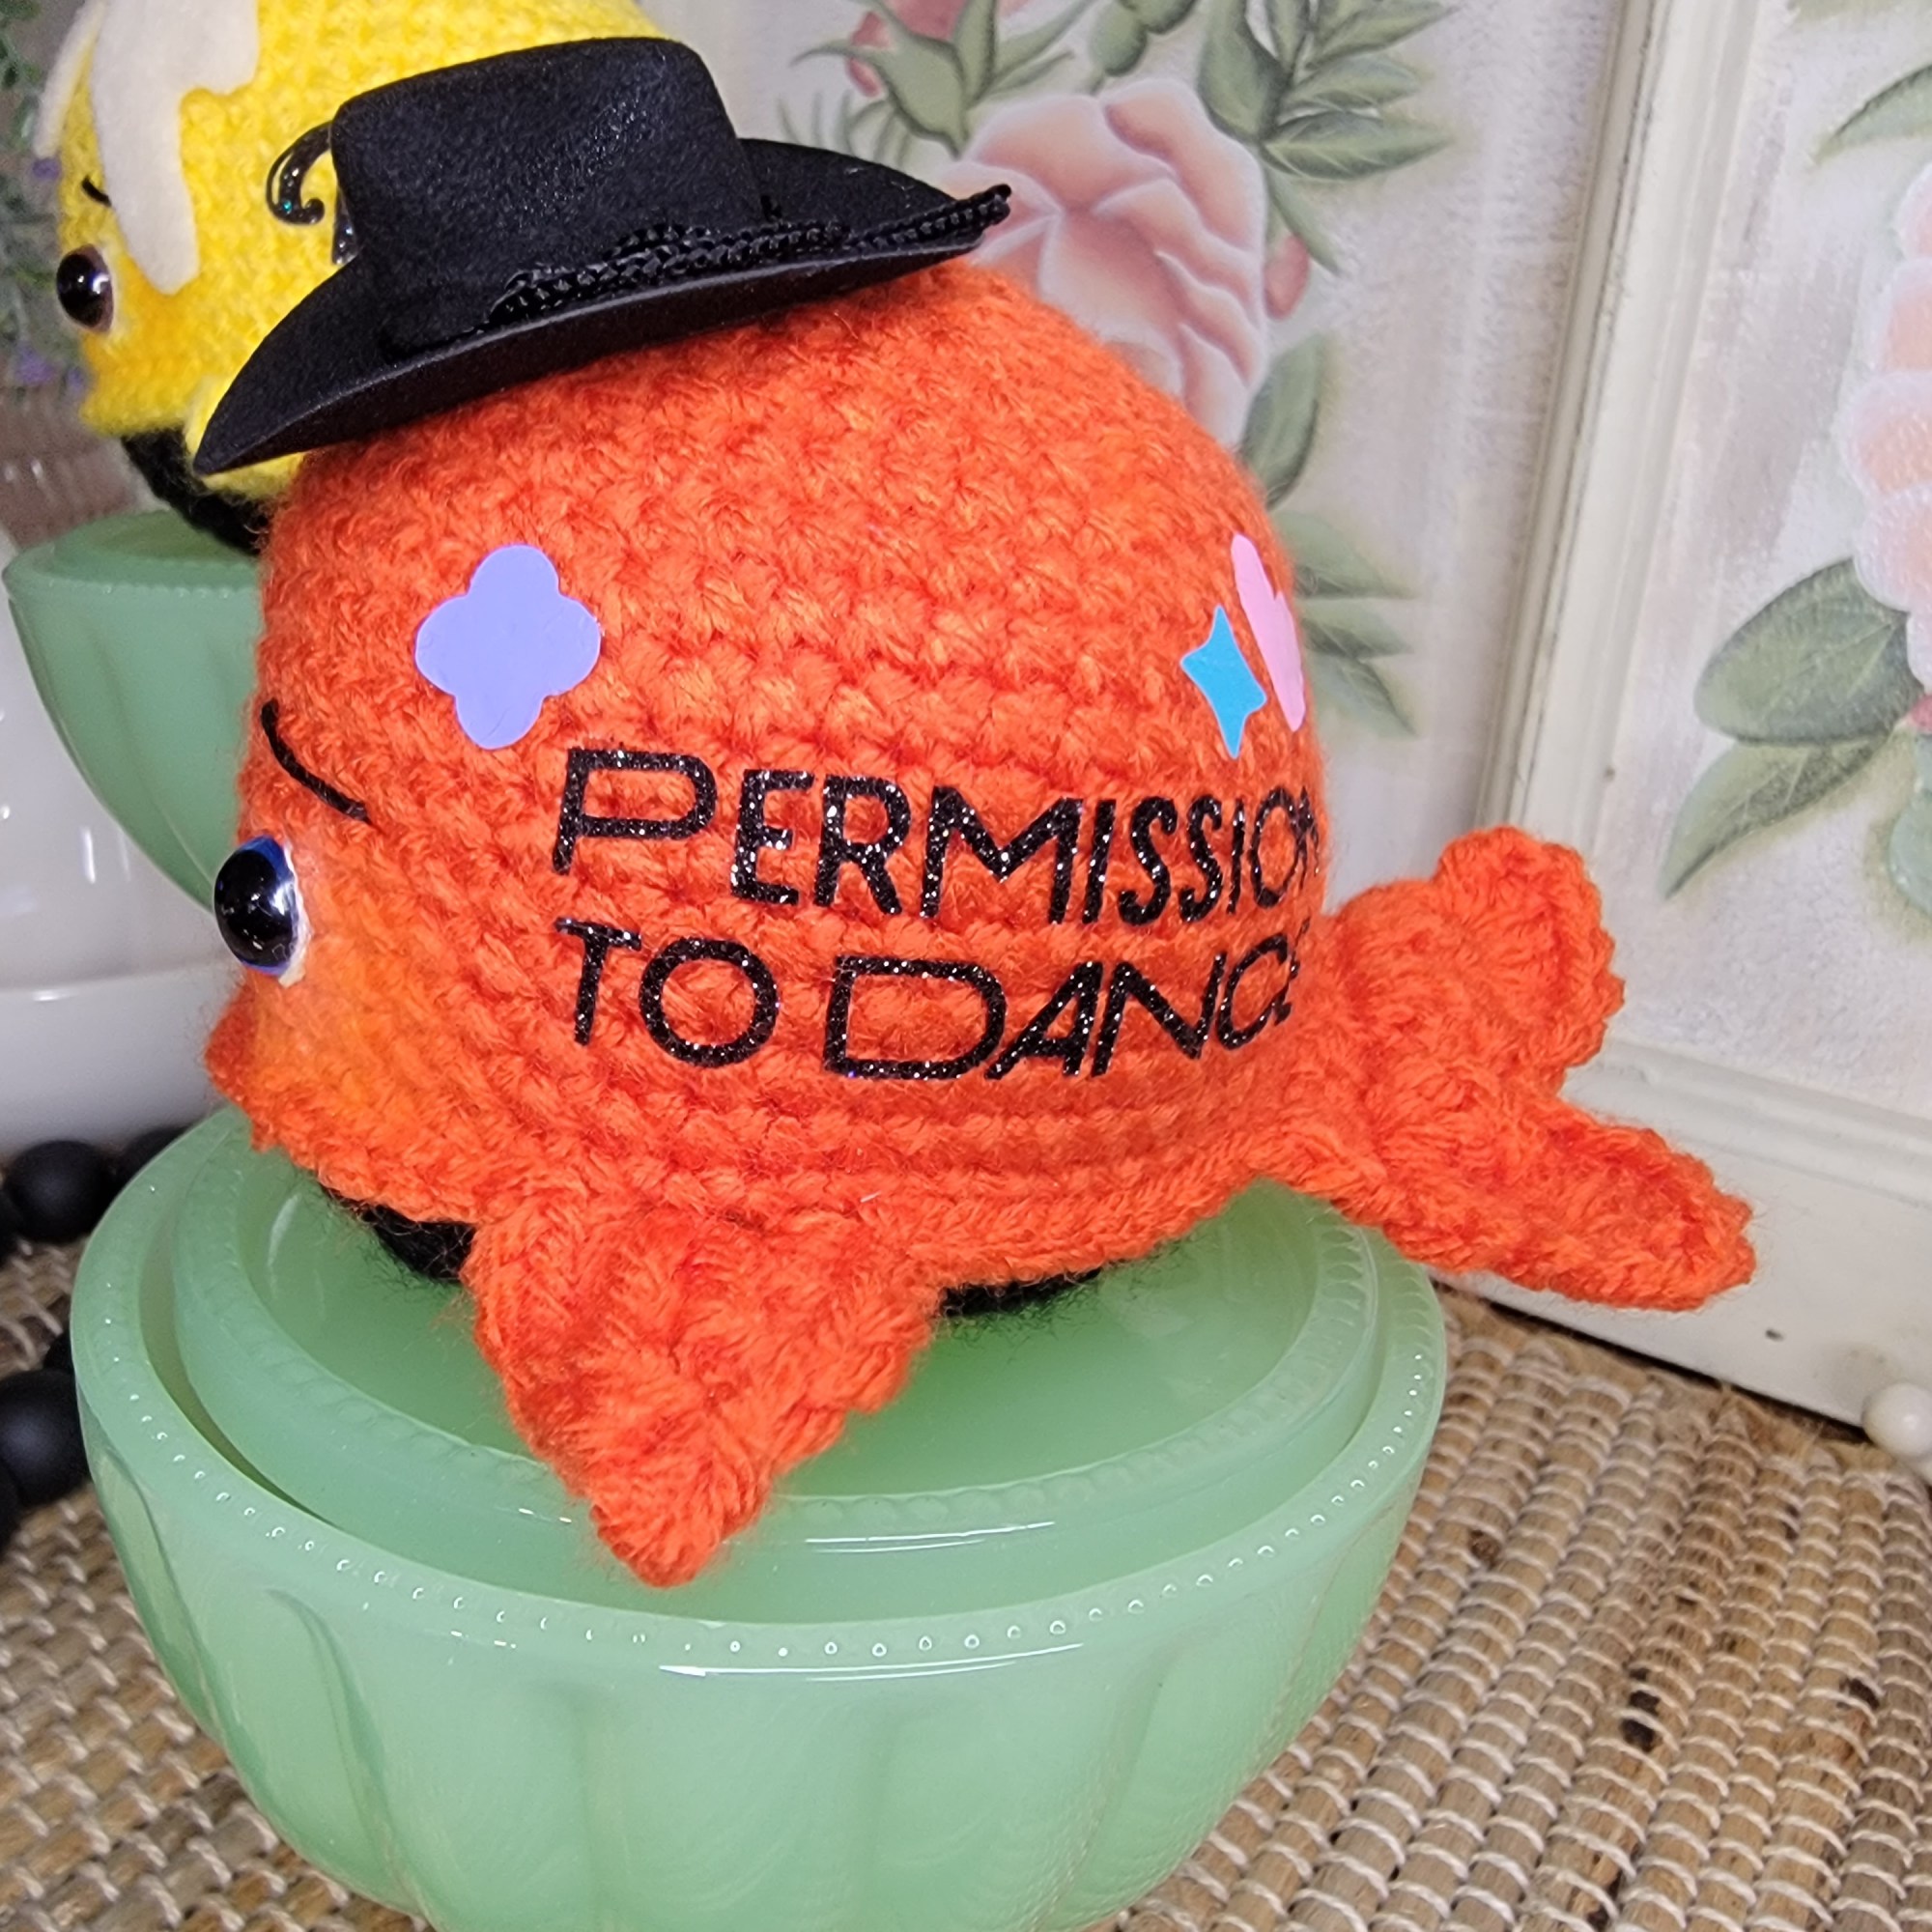
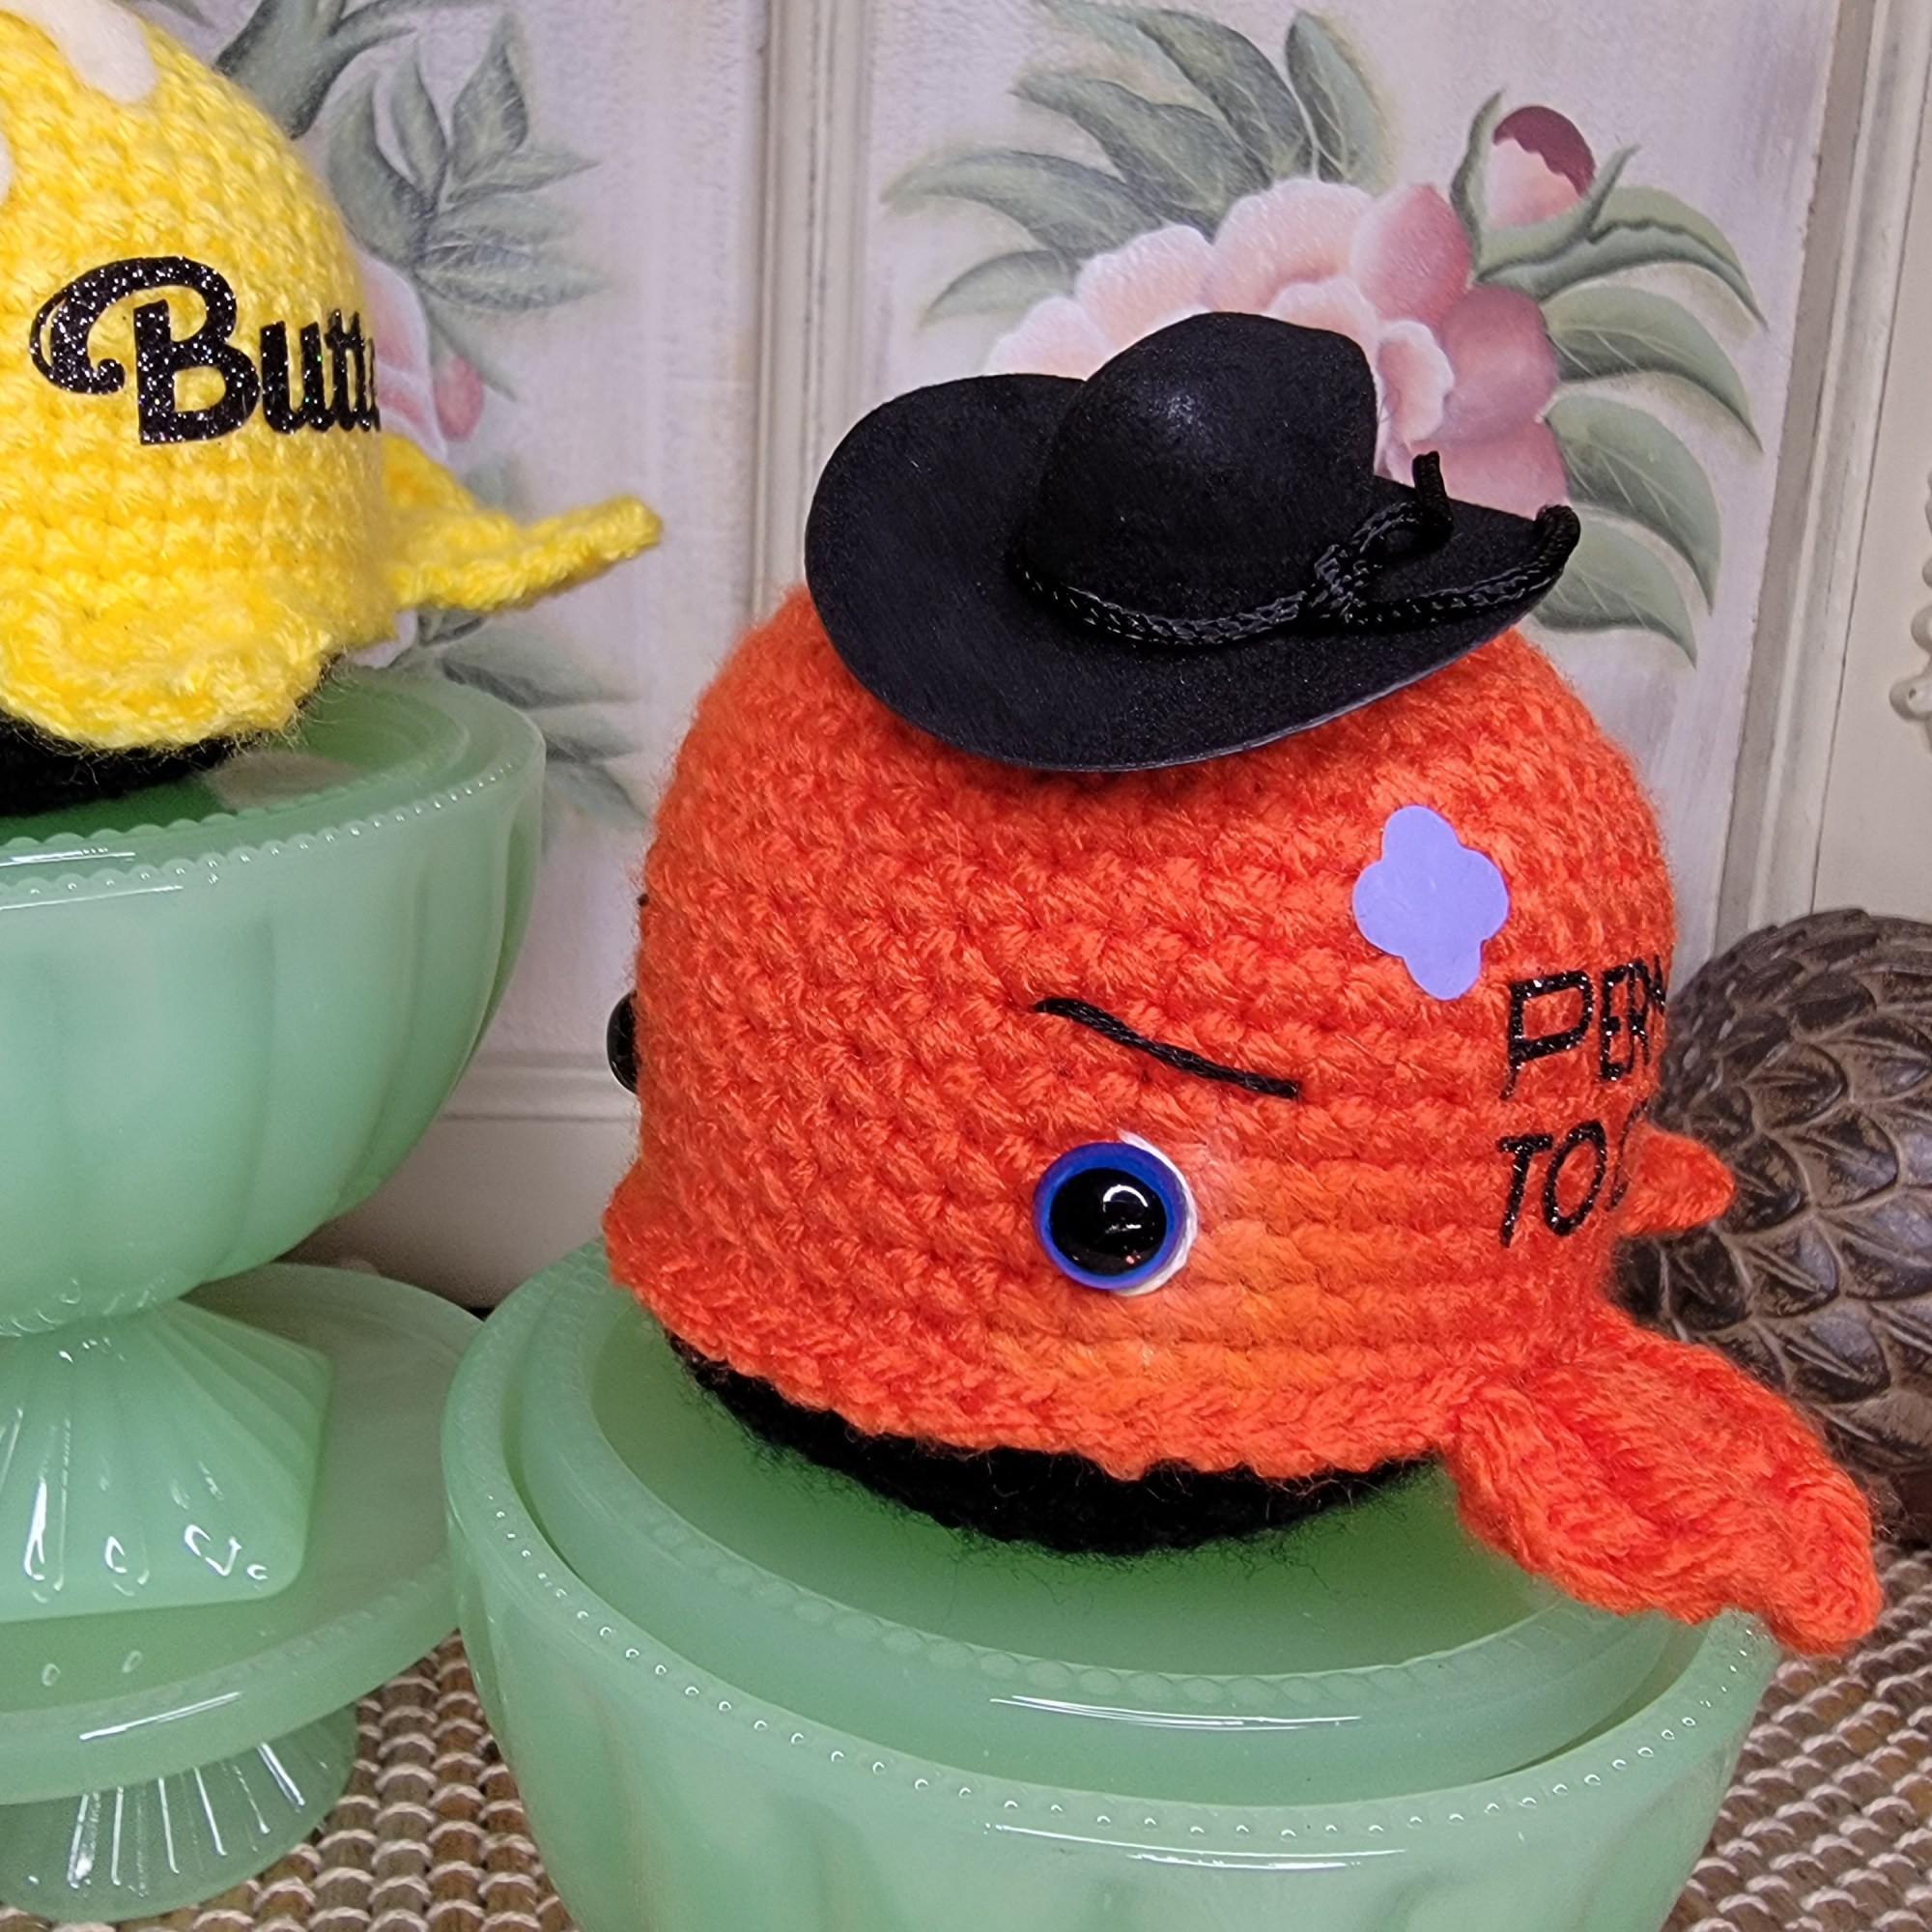
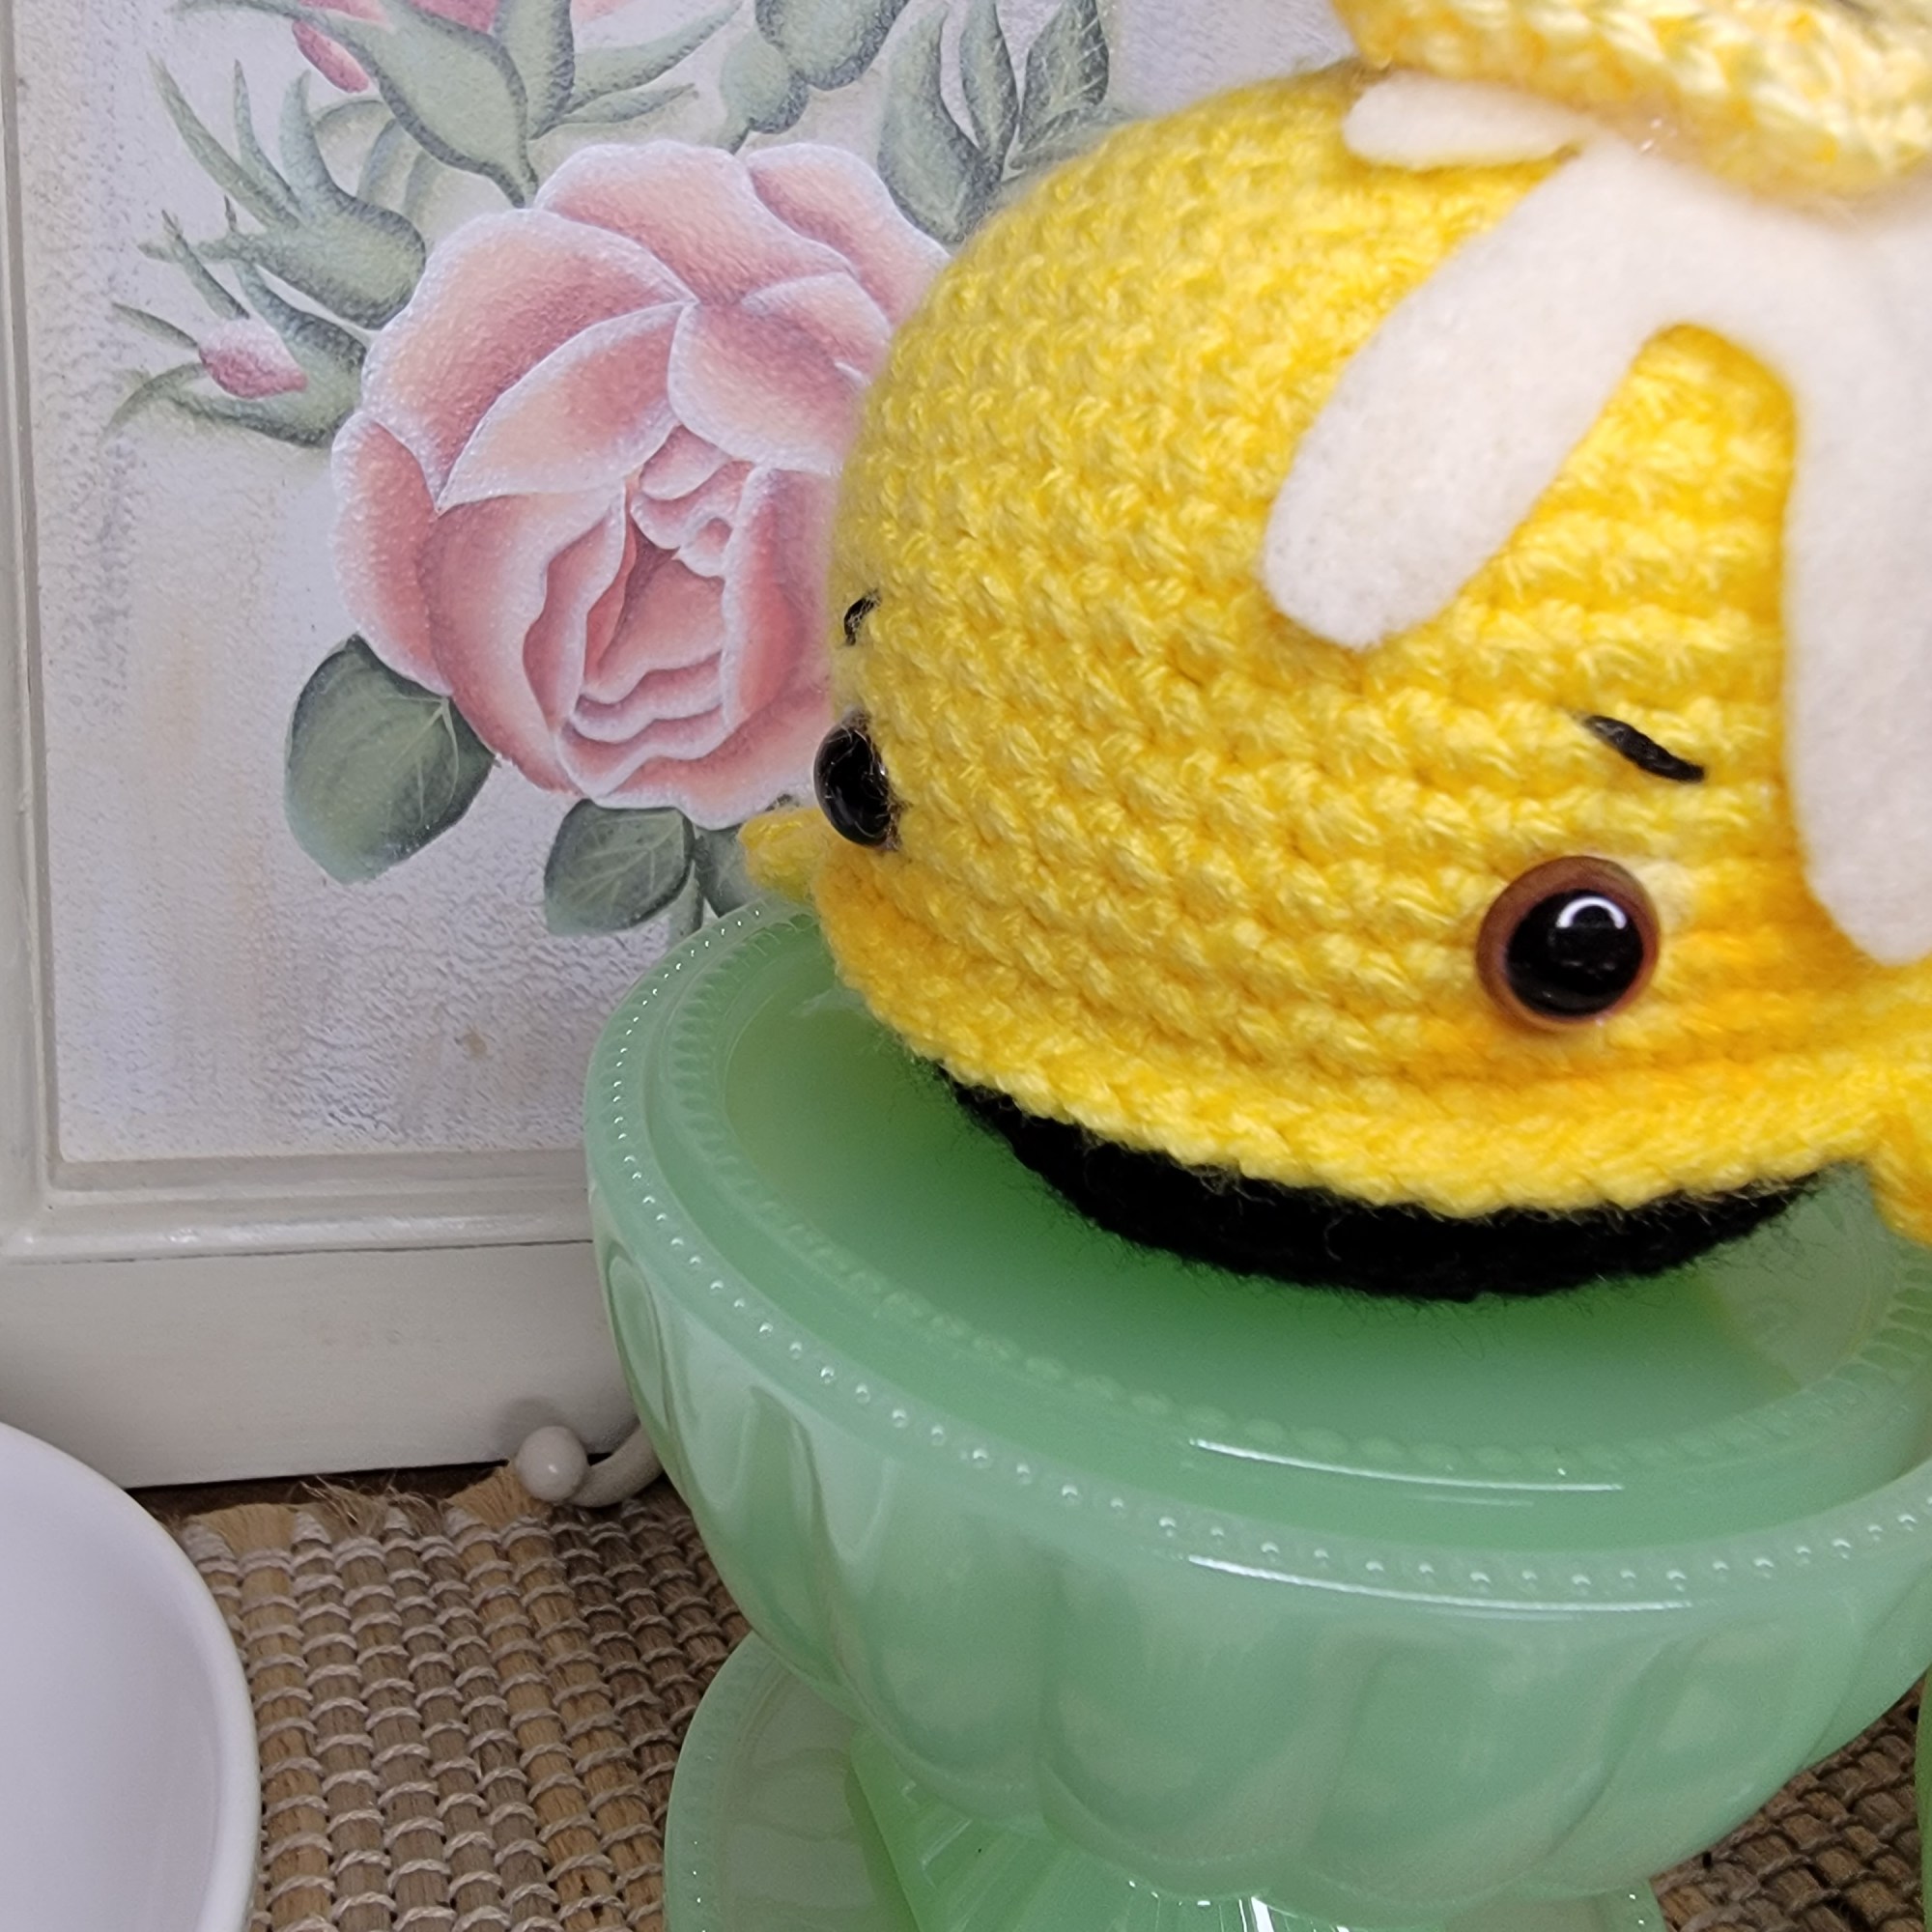
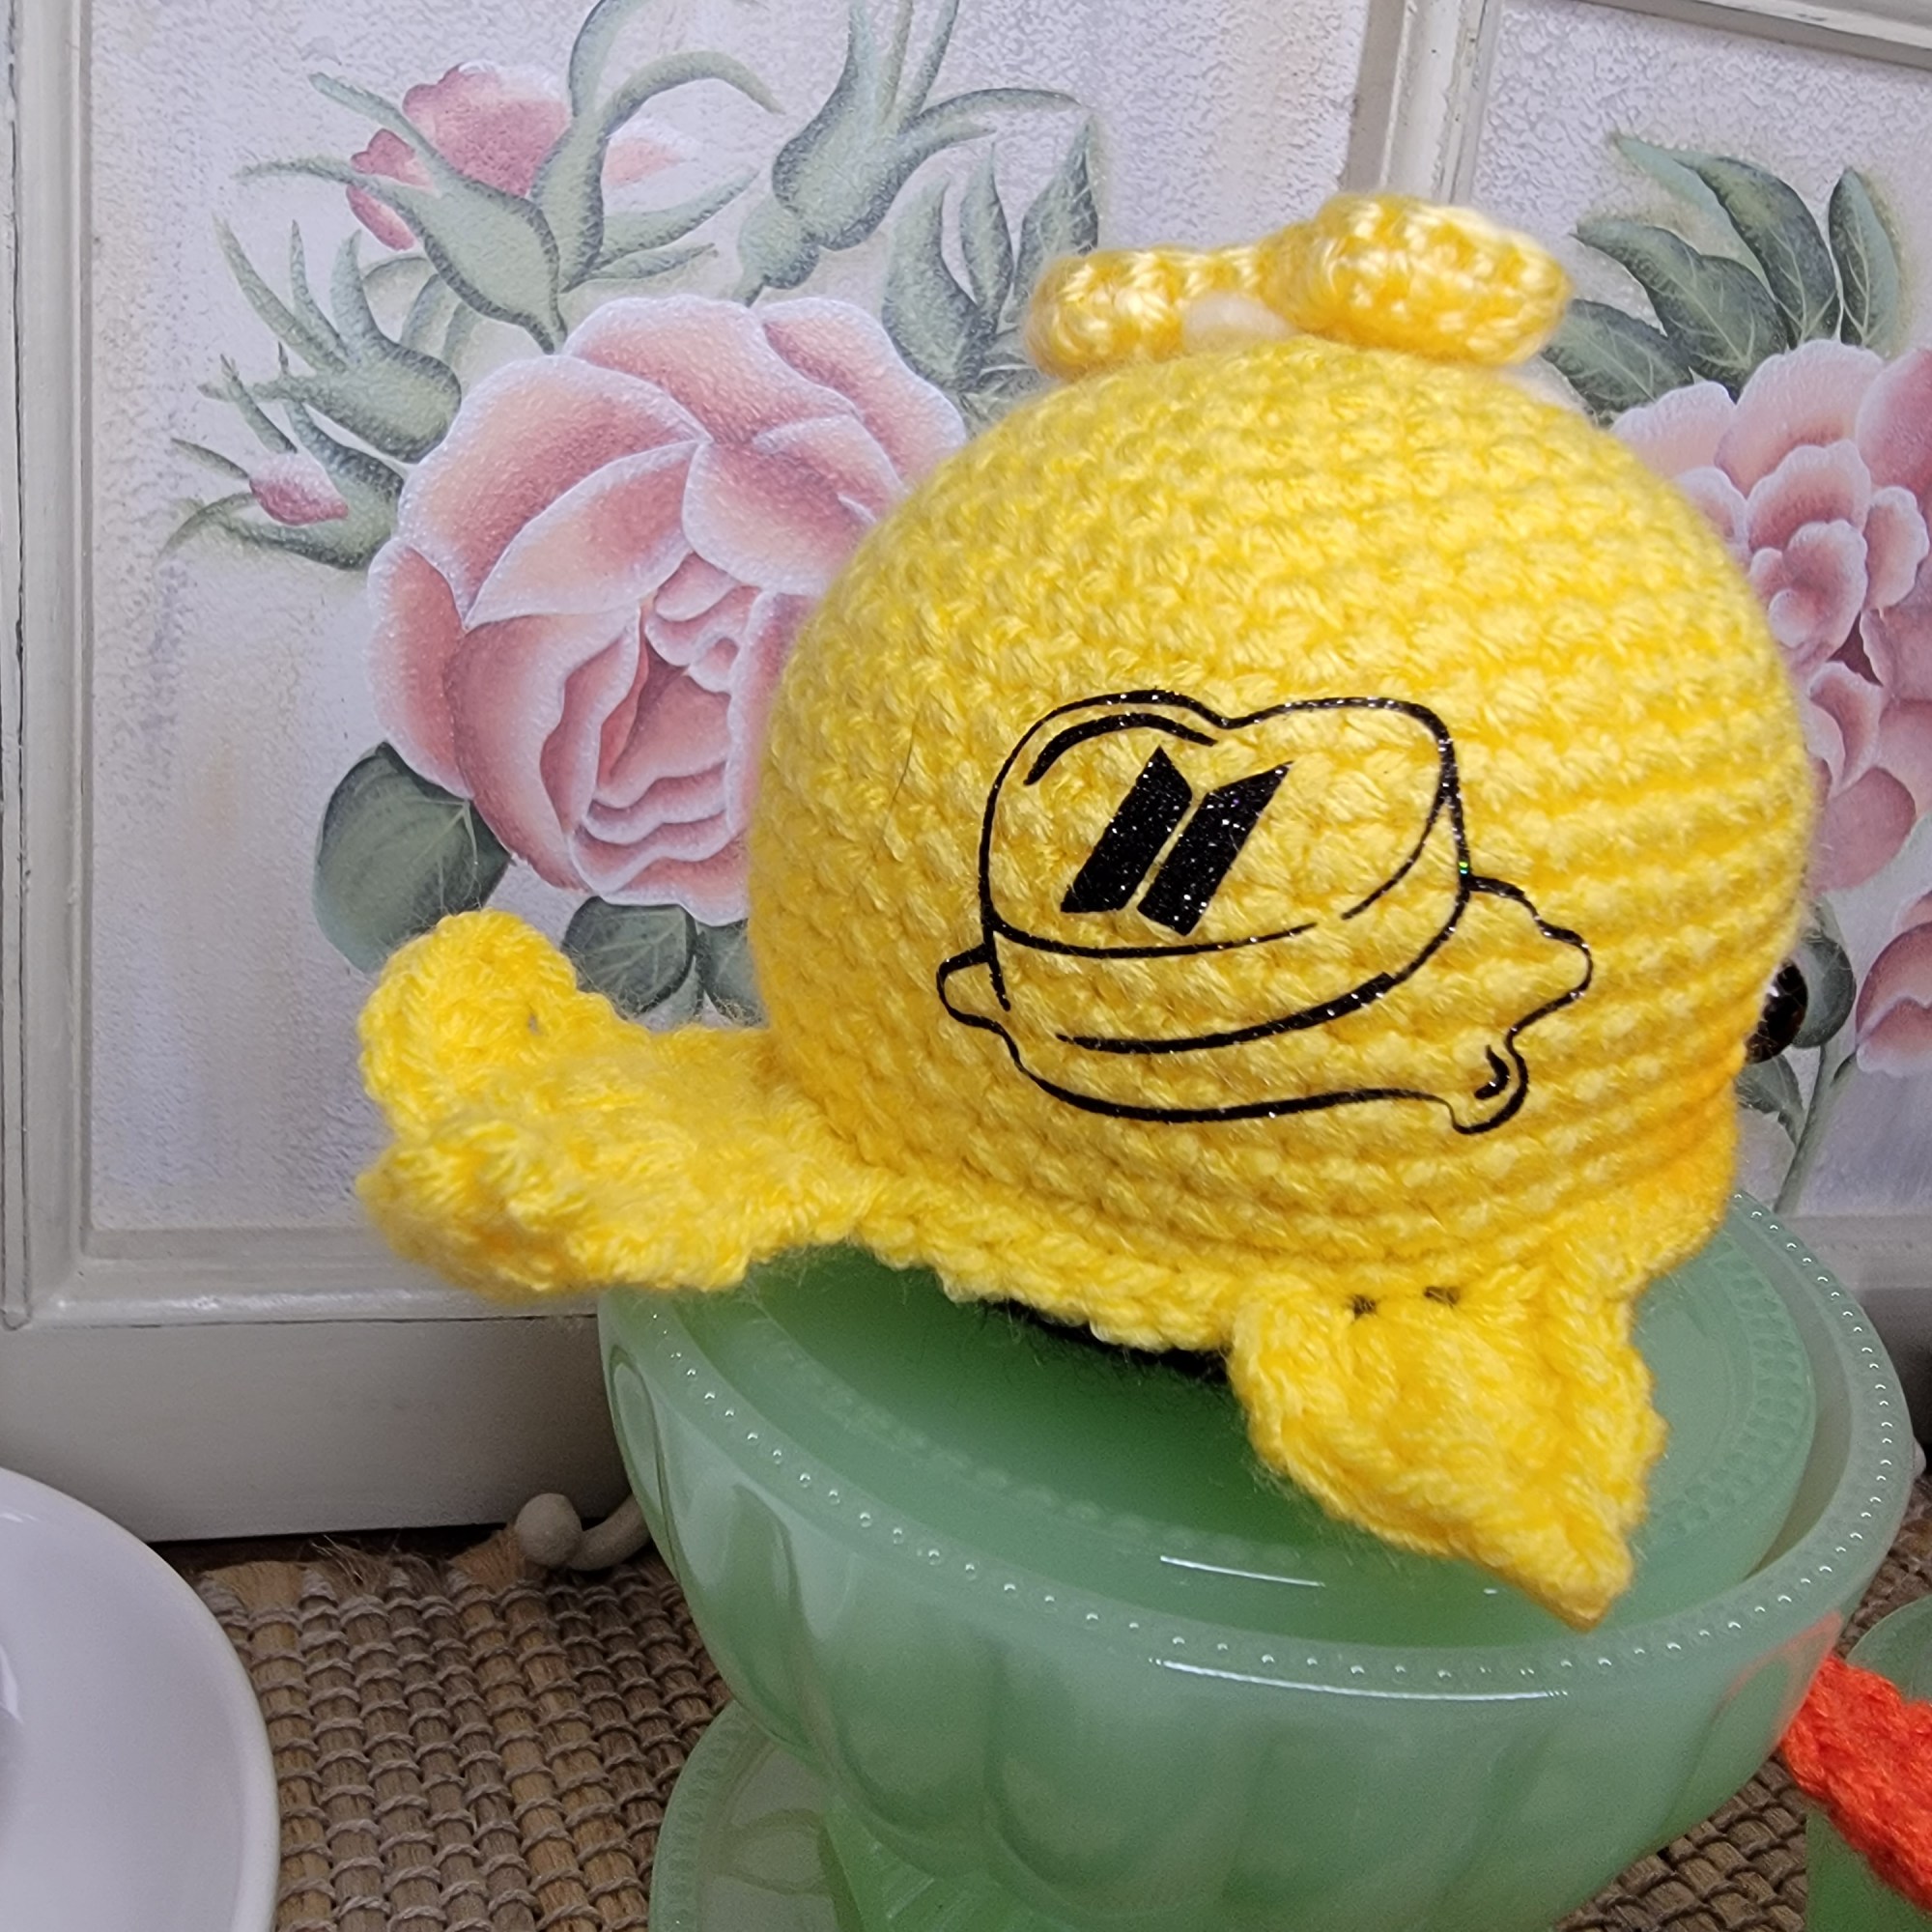
This is where you can think about customizing the doll. Sometimes, instead of using safety eyes, I use htv or felt to create the face. Sometimes, I put blush on the cheeks. You can leave off the bow and add a hat. The options are really endless!
Here’s a few of my whale creations for inspiration:


That’s it! We are at the end of this series! I hope you enjoyed creating your whale! I can’t wait to see them!
Thank you! Happy Crocheting!
