This is the second lesson in the learn to cross stitch series. Last time, we learned about all the materials that you need to gather to begin. Today, we will learn how to find the center of your aida fabric and get it on your hoop.
If you haven’t, wash your hands. This is the way you should always begin your cross-stitch sessions. Your hands have oils on them that can stain and damage your work. It is a good habit to simply wash your hands before you start each time.
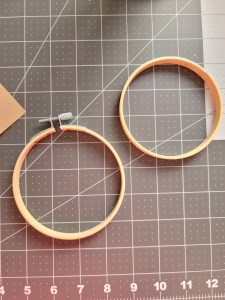
Next, gather your materials for today. You will need a piece of Aida that is larger than your hoop, your hoop, and a cross-stitch needle.

Now, take your hoop apart. To do this, unscrew the top. Not all the way. Simply loosen it enough that the top hoop will slide off the bottom hoop.
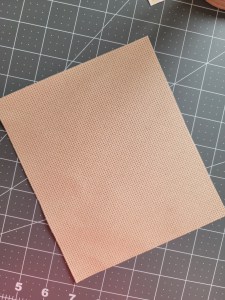
Set your hoop aside and grab your aida fabric.
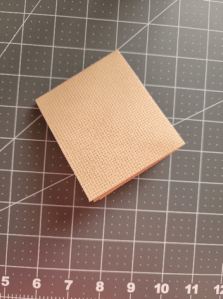
Your fabric should be about 2 to 3 inches larger than your hoop on all sides. Fold this piece of fabric in half.
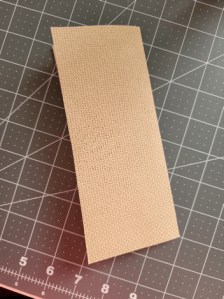
Then, turn your fabric and fold it in half again. You should end up with a square that is folded twice.
The center of the fabric is where the two fold lines meet. Do not worry that you have creased your fabric. The lines will come out as you stitch and when you iron as your final step. You can now insert your cross stitch needle into the holes of the square where the two lines meet and unfold your fabric.
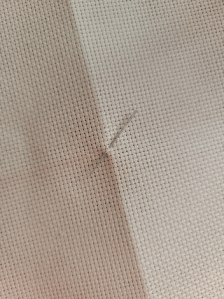
Here I have marked the center of my fabric. You do not have to use a cross stitch need to mark it. You can also just use the fold lines as your guide. I do both depending on how I’m feeling when I start a project.
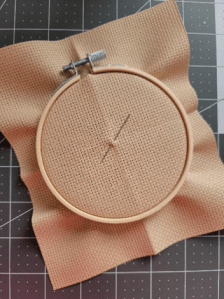
Now, place this piece of fabric on top of your bottom hoop. It is the one without the screw in the top. Align the center of the fabric over the center of the hoop. Then, place your top hoop over the top of the bottom hoop and fabric. Align the top hoop so that the screw is at the top of your project. This will allow you to see the top line run through the middle of the screw. Push your top hoop onto the top of the fabric and bottom hoop. You can begin to tighten the screw. You may pull your fabric as you tighten the top screw. The fabric should be taut but not distorted. Be careful that you do not pull so tight as to misalign and distort your fabric.
Now you are ready to stitch! Next lesson we will learn about unwinding our thread and getting it on the needle. See you next time and as always feel free to ask questions!
